|
Mew Gull’s Cockpit Conversion
For ten years I was trying to figure a
way to make the cockpit locker lids watertight, well at the very least, rain
proof.
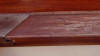
a1

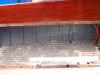
The problem with the existing ones was that the channels were not deep
and wide enough and so
the rain would go down and run along the inside
top of the lid and soak everything in the locker.
c1
c2
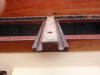
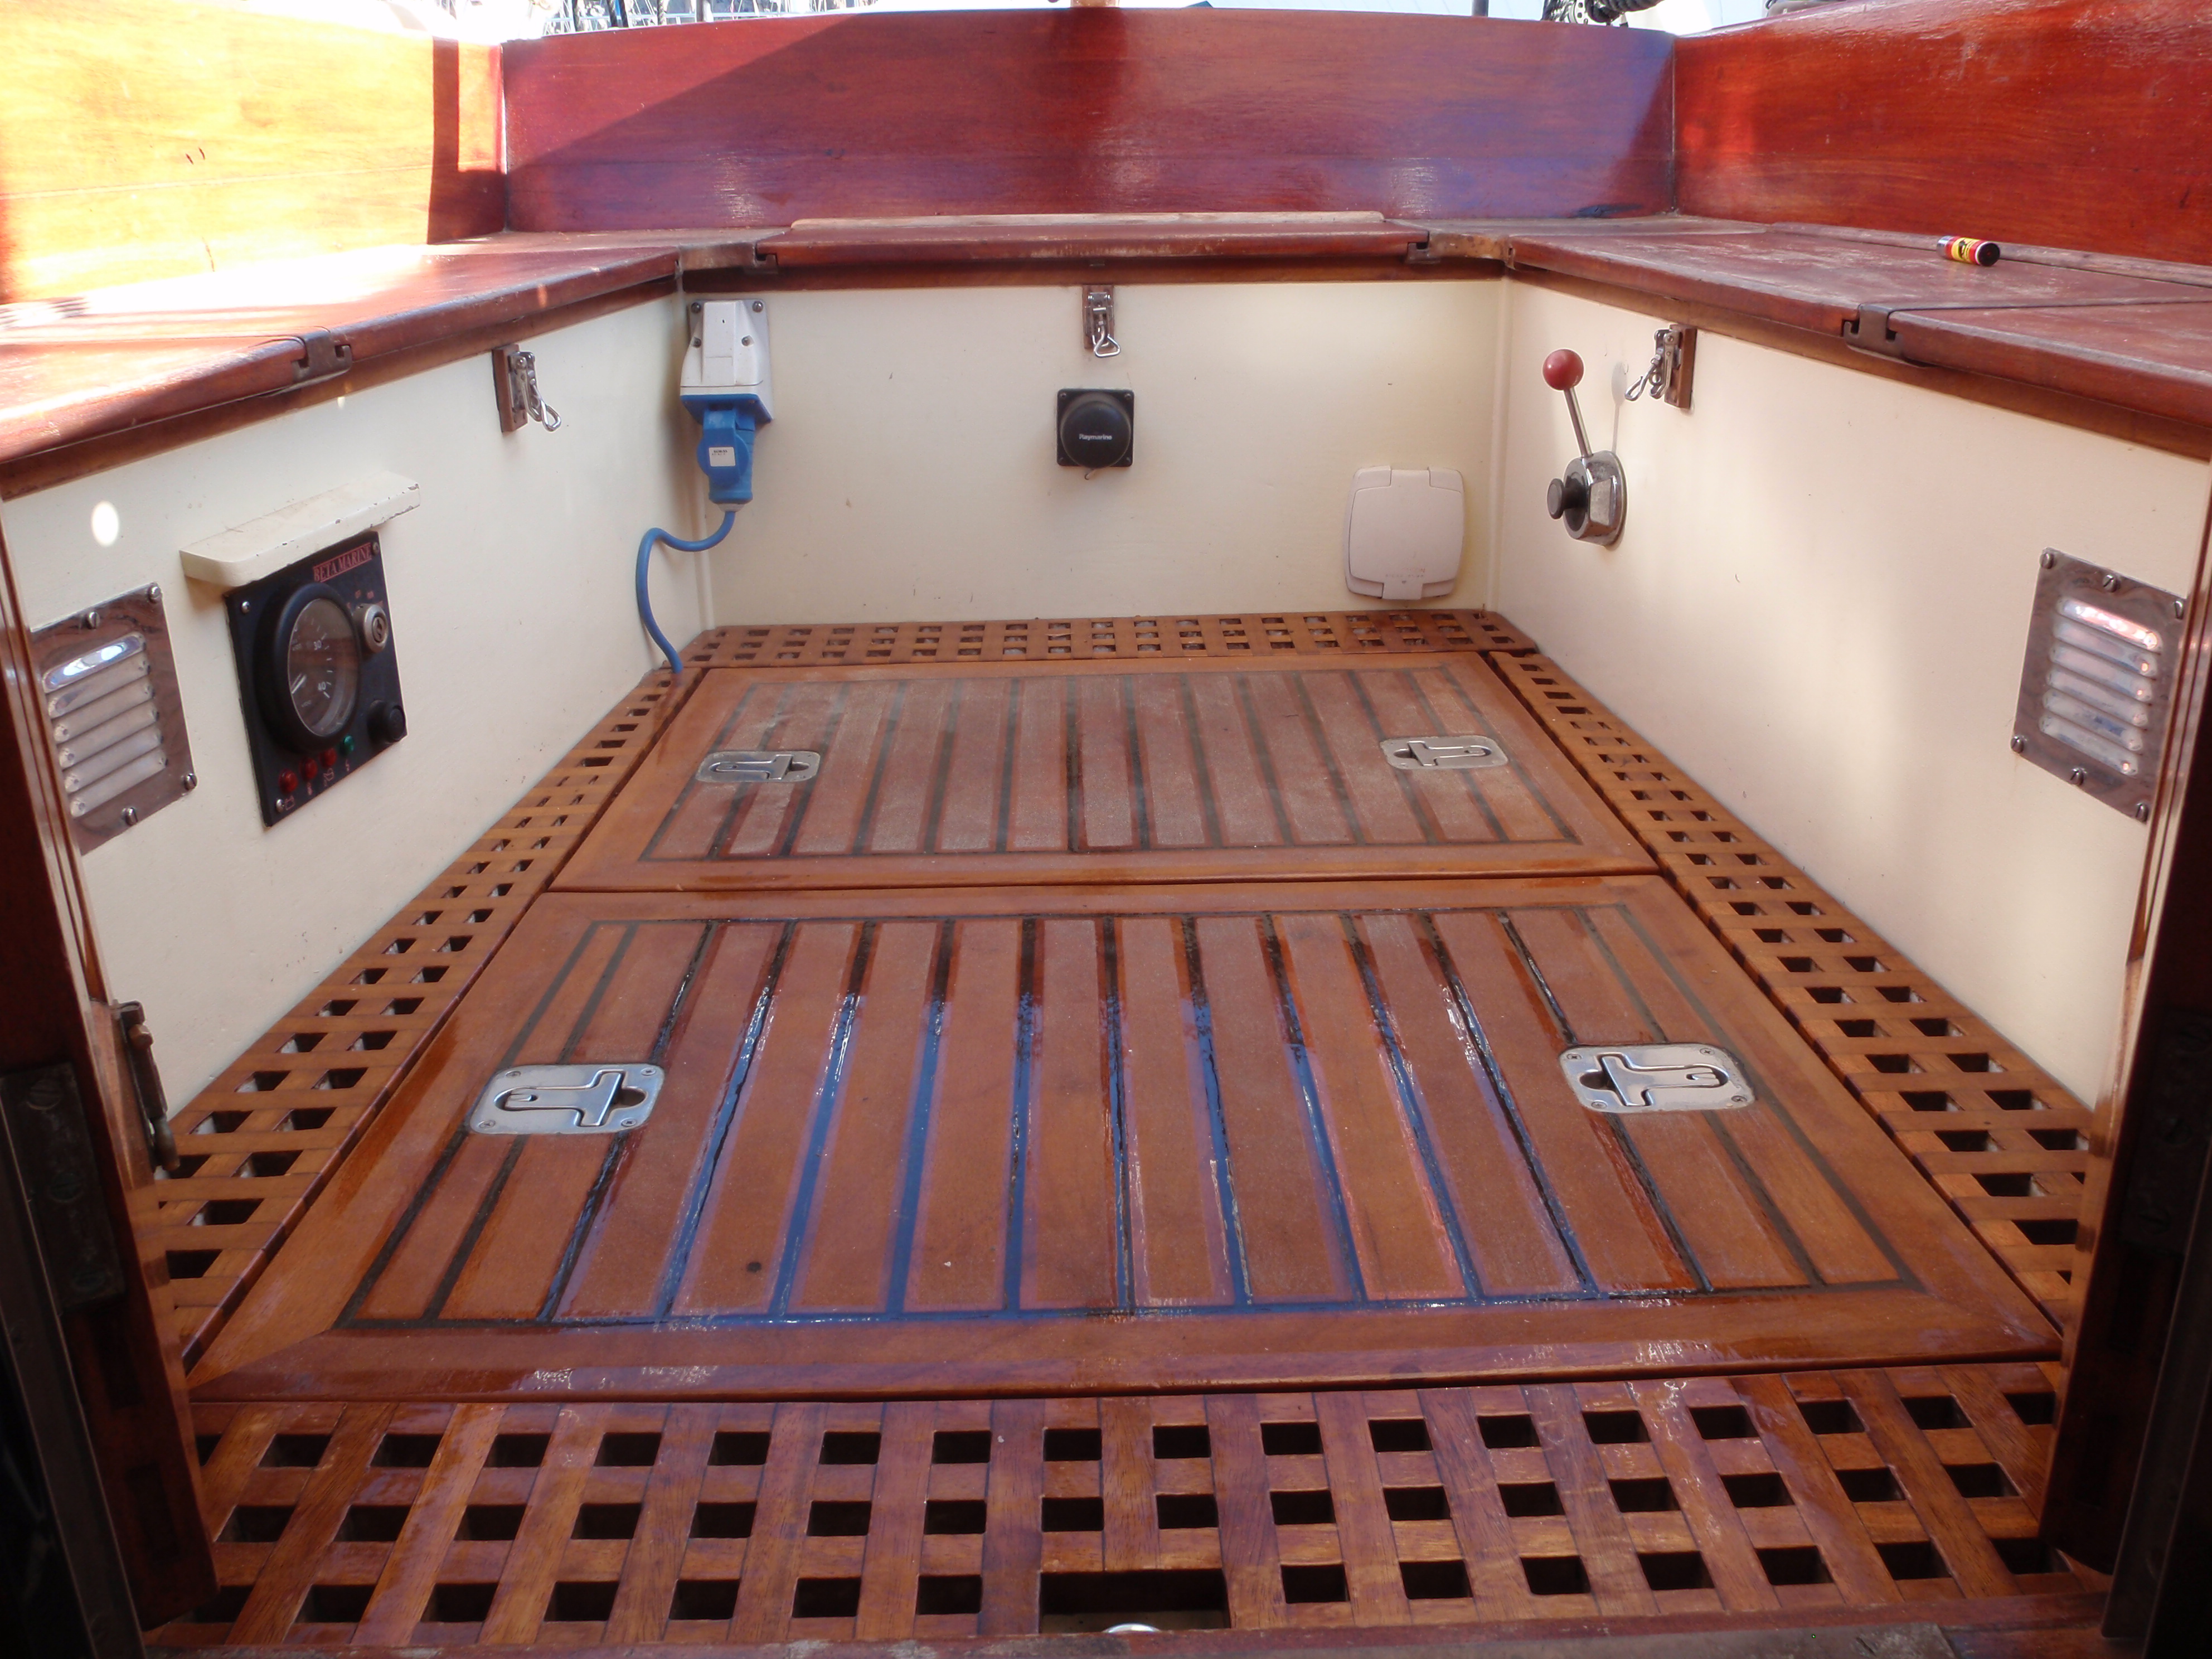
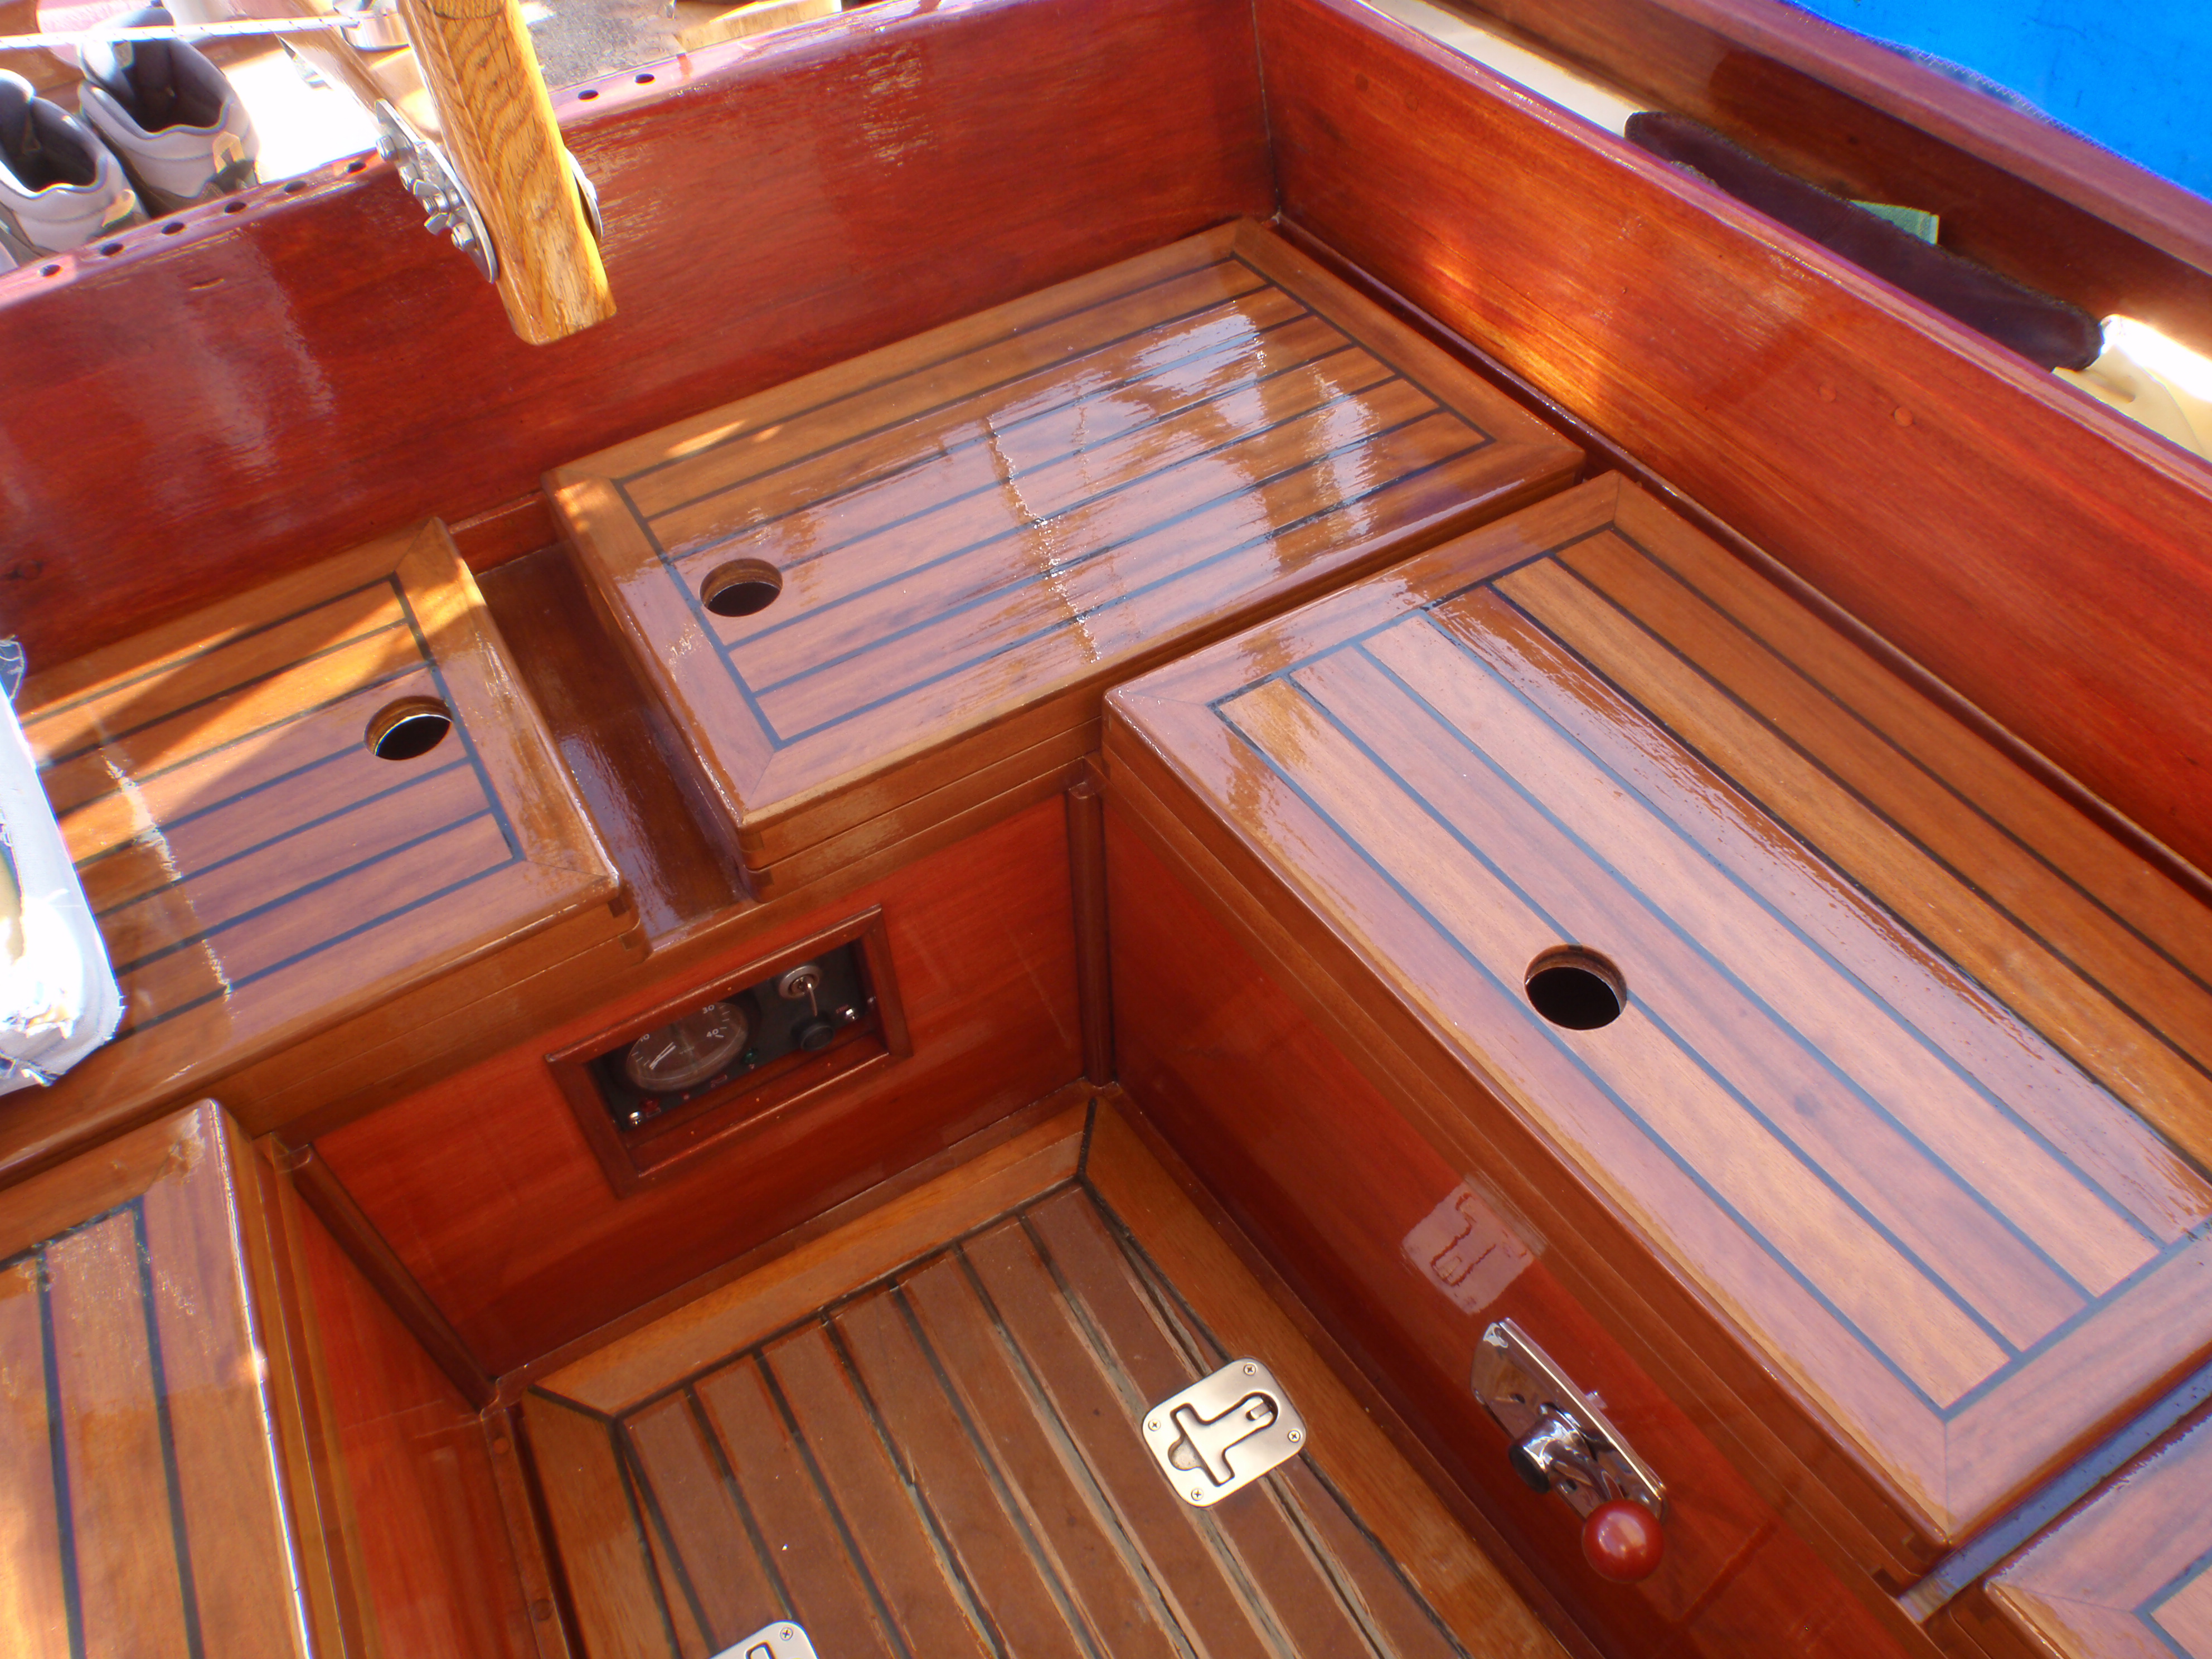
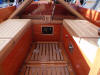
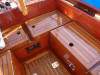
What I wanted was a decent size lid, with the base having an outer and
inner coaming with drain holes, so if the water did get in to the outer
channel it would drain out before it got passed the inner coaming.
a3
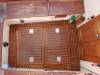
I had already made the two cockpit sole lids and the grating surround
eight years ago, which did a
great job of keeping the water out and
draining quickly. It looked nice too, so I was loathed to rip it all out and
start again, but in the end the only solution I could think of was to bring
in the cockpit sides, to give me enough space for a good size hinged lid.
The thing about small boats is: If you want to change something you’ll
have to do ten other things to
achieve the goal!
d1
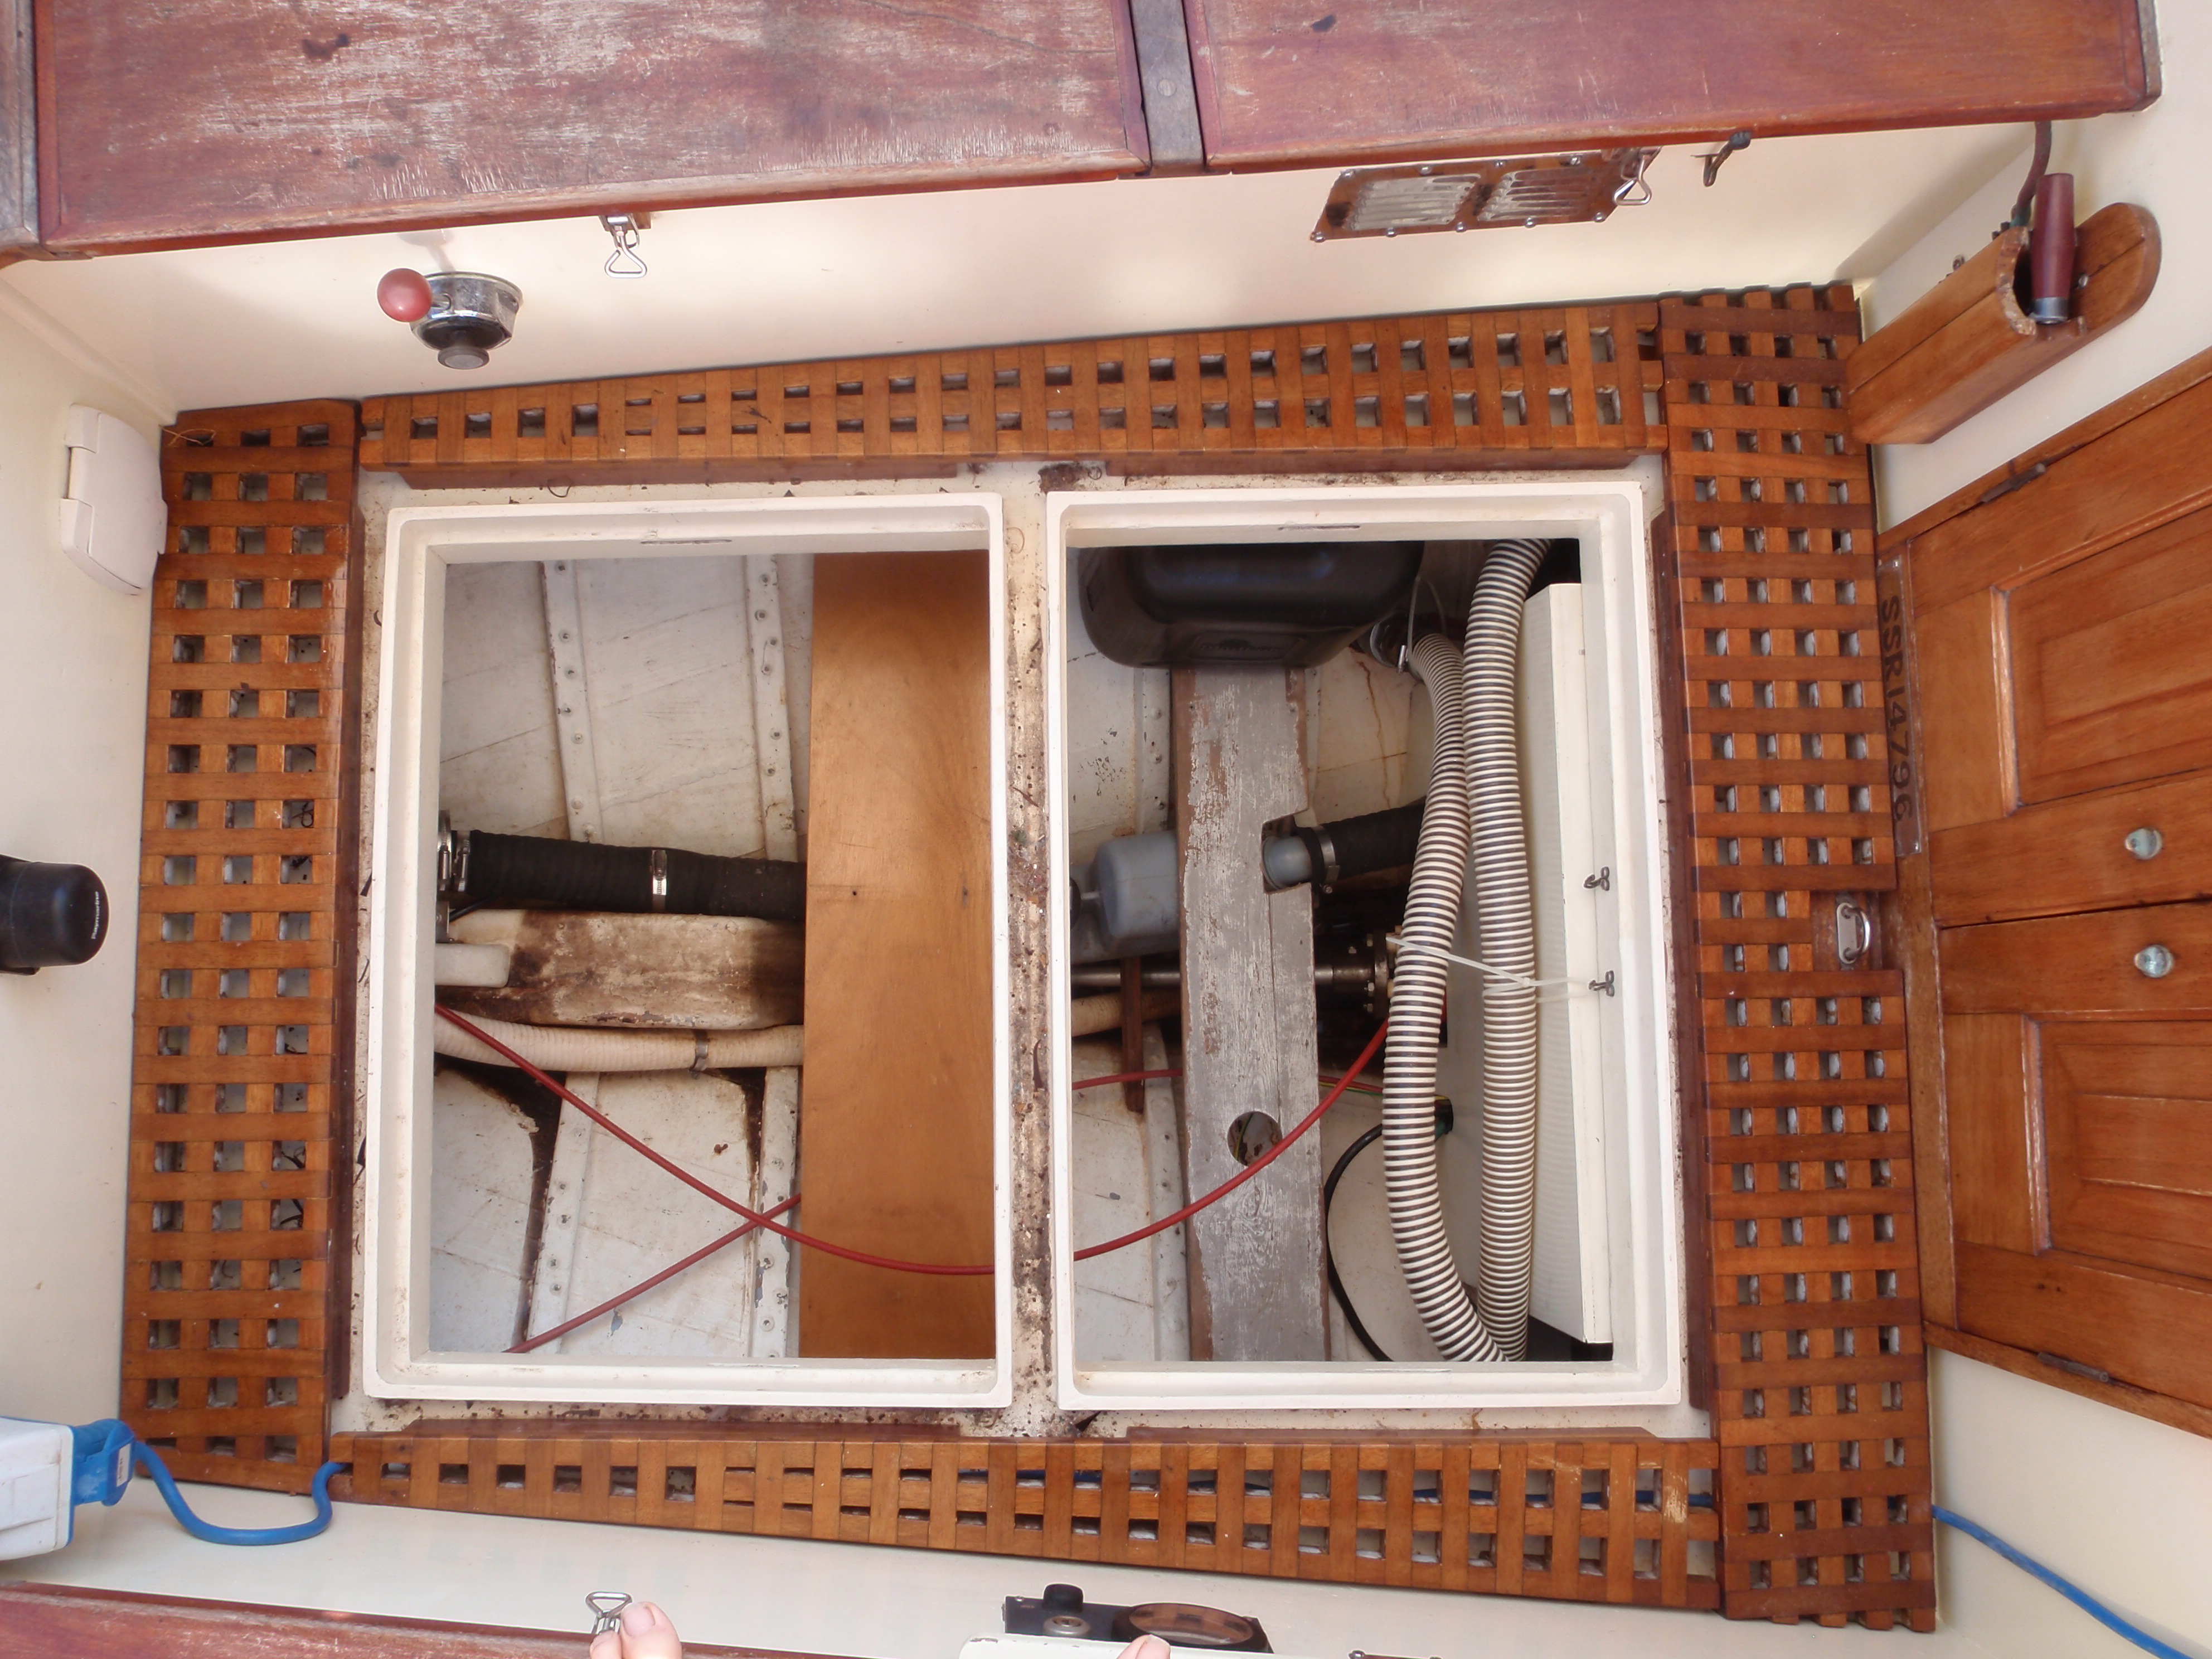
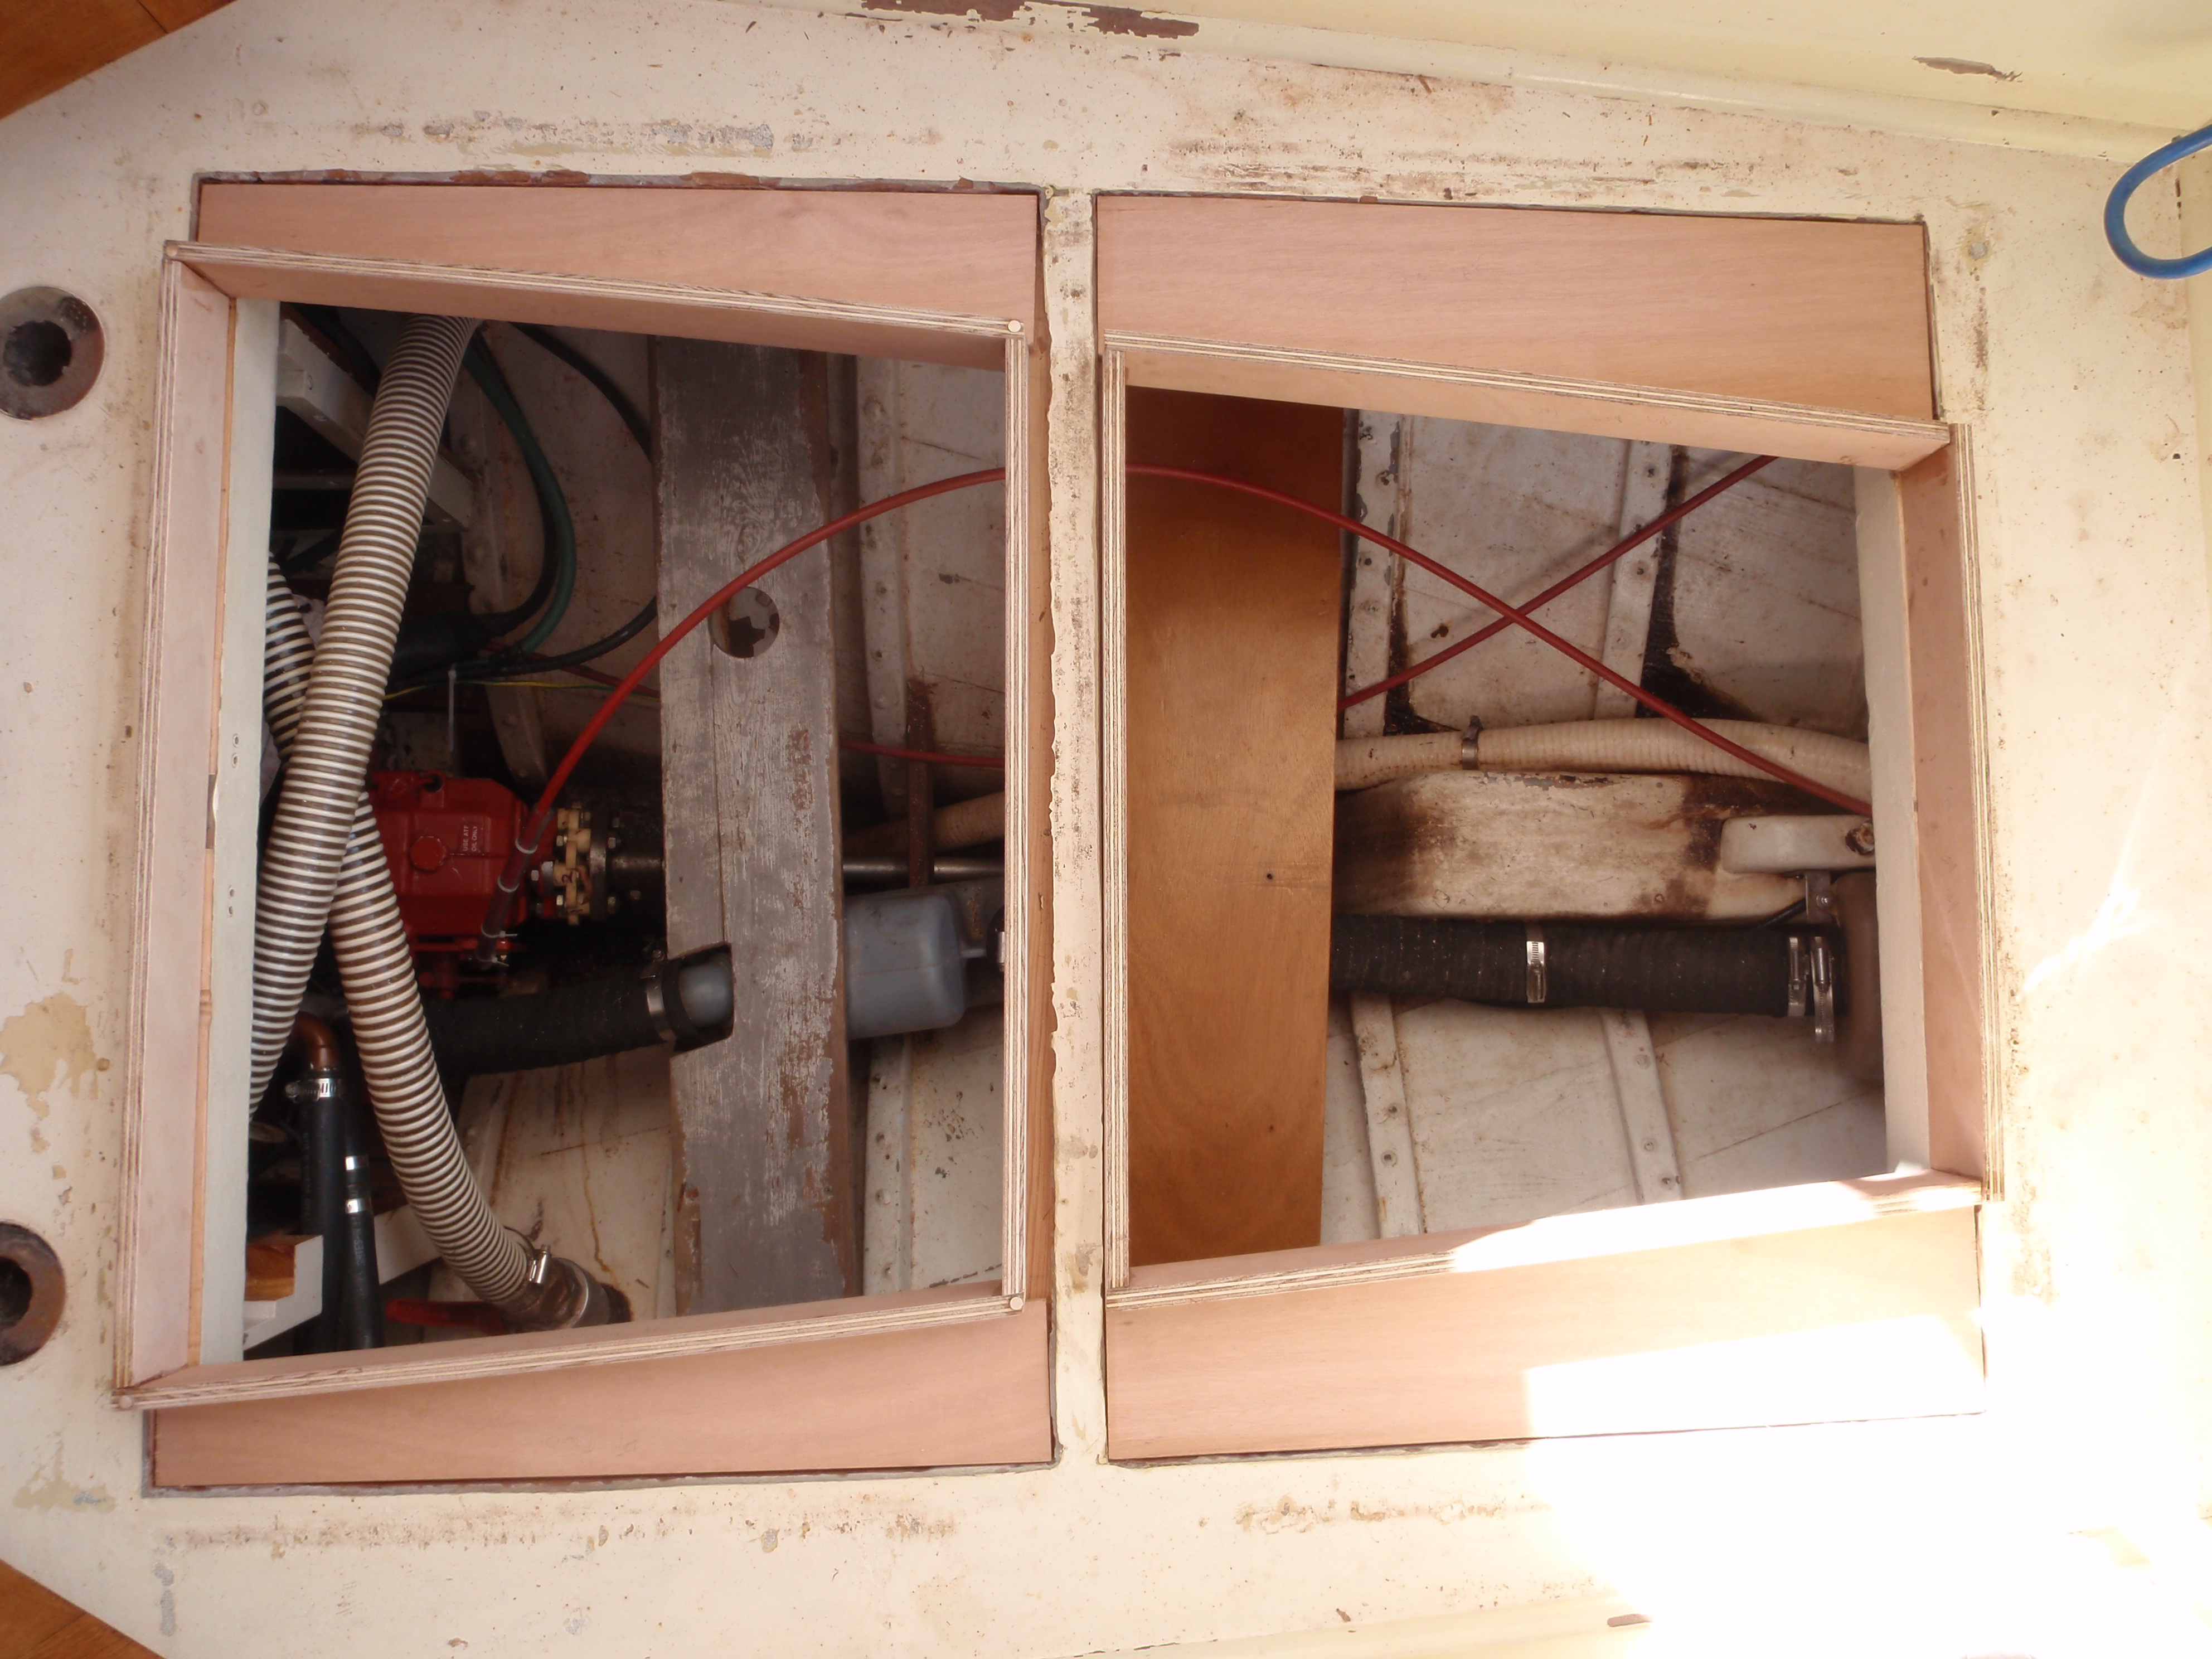
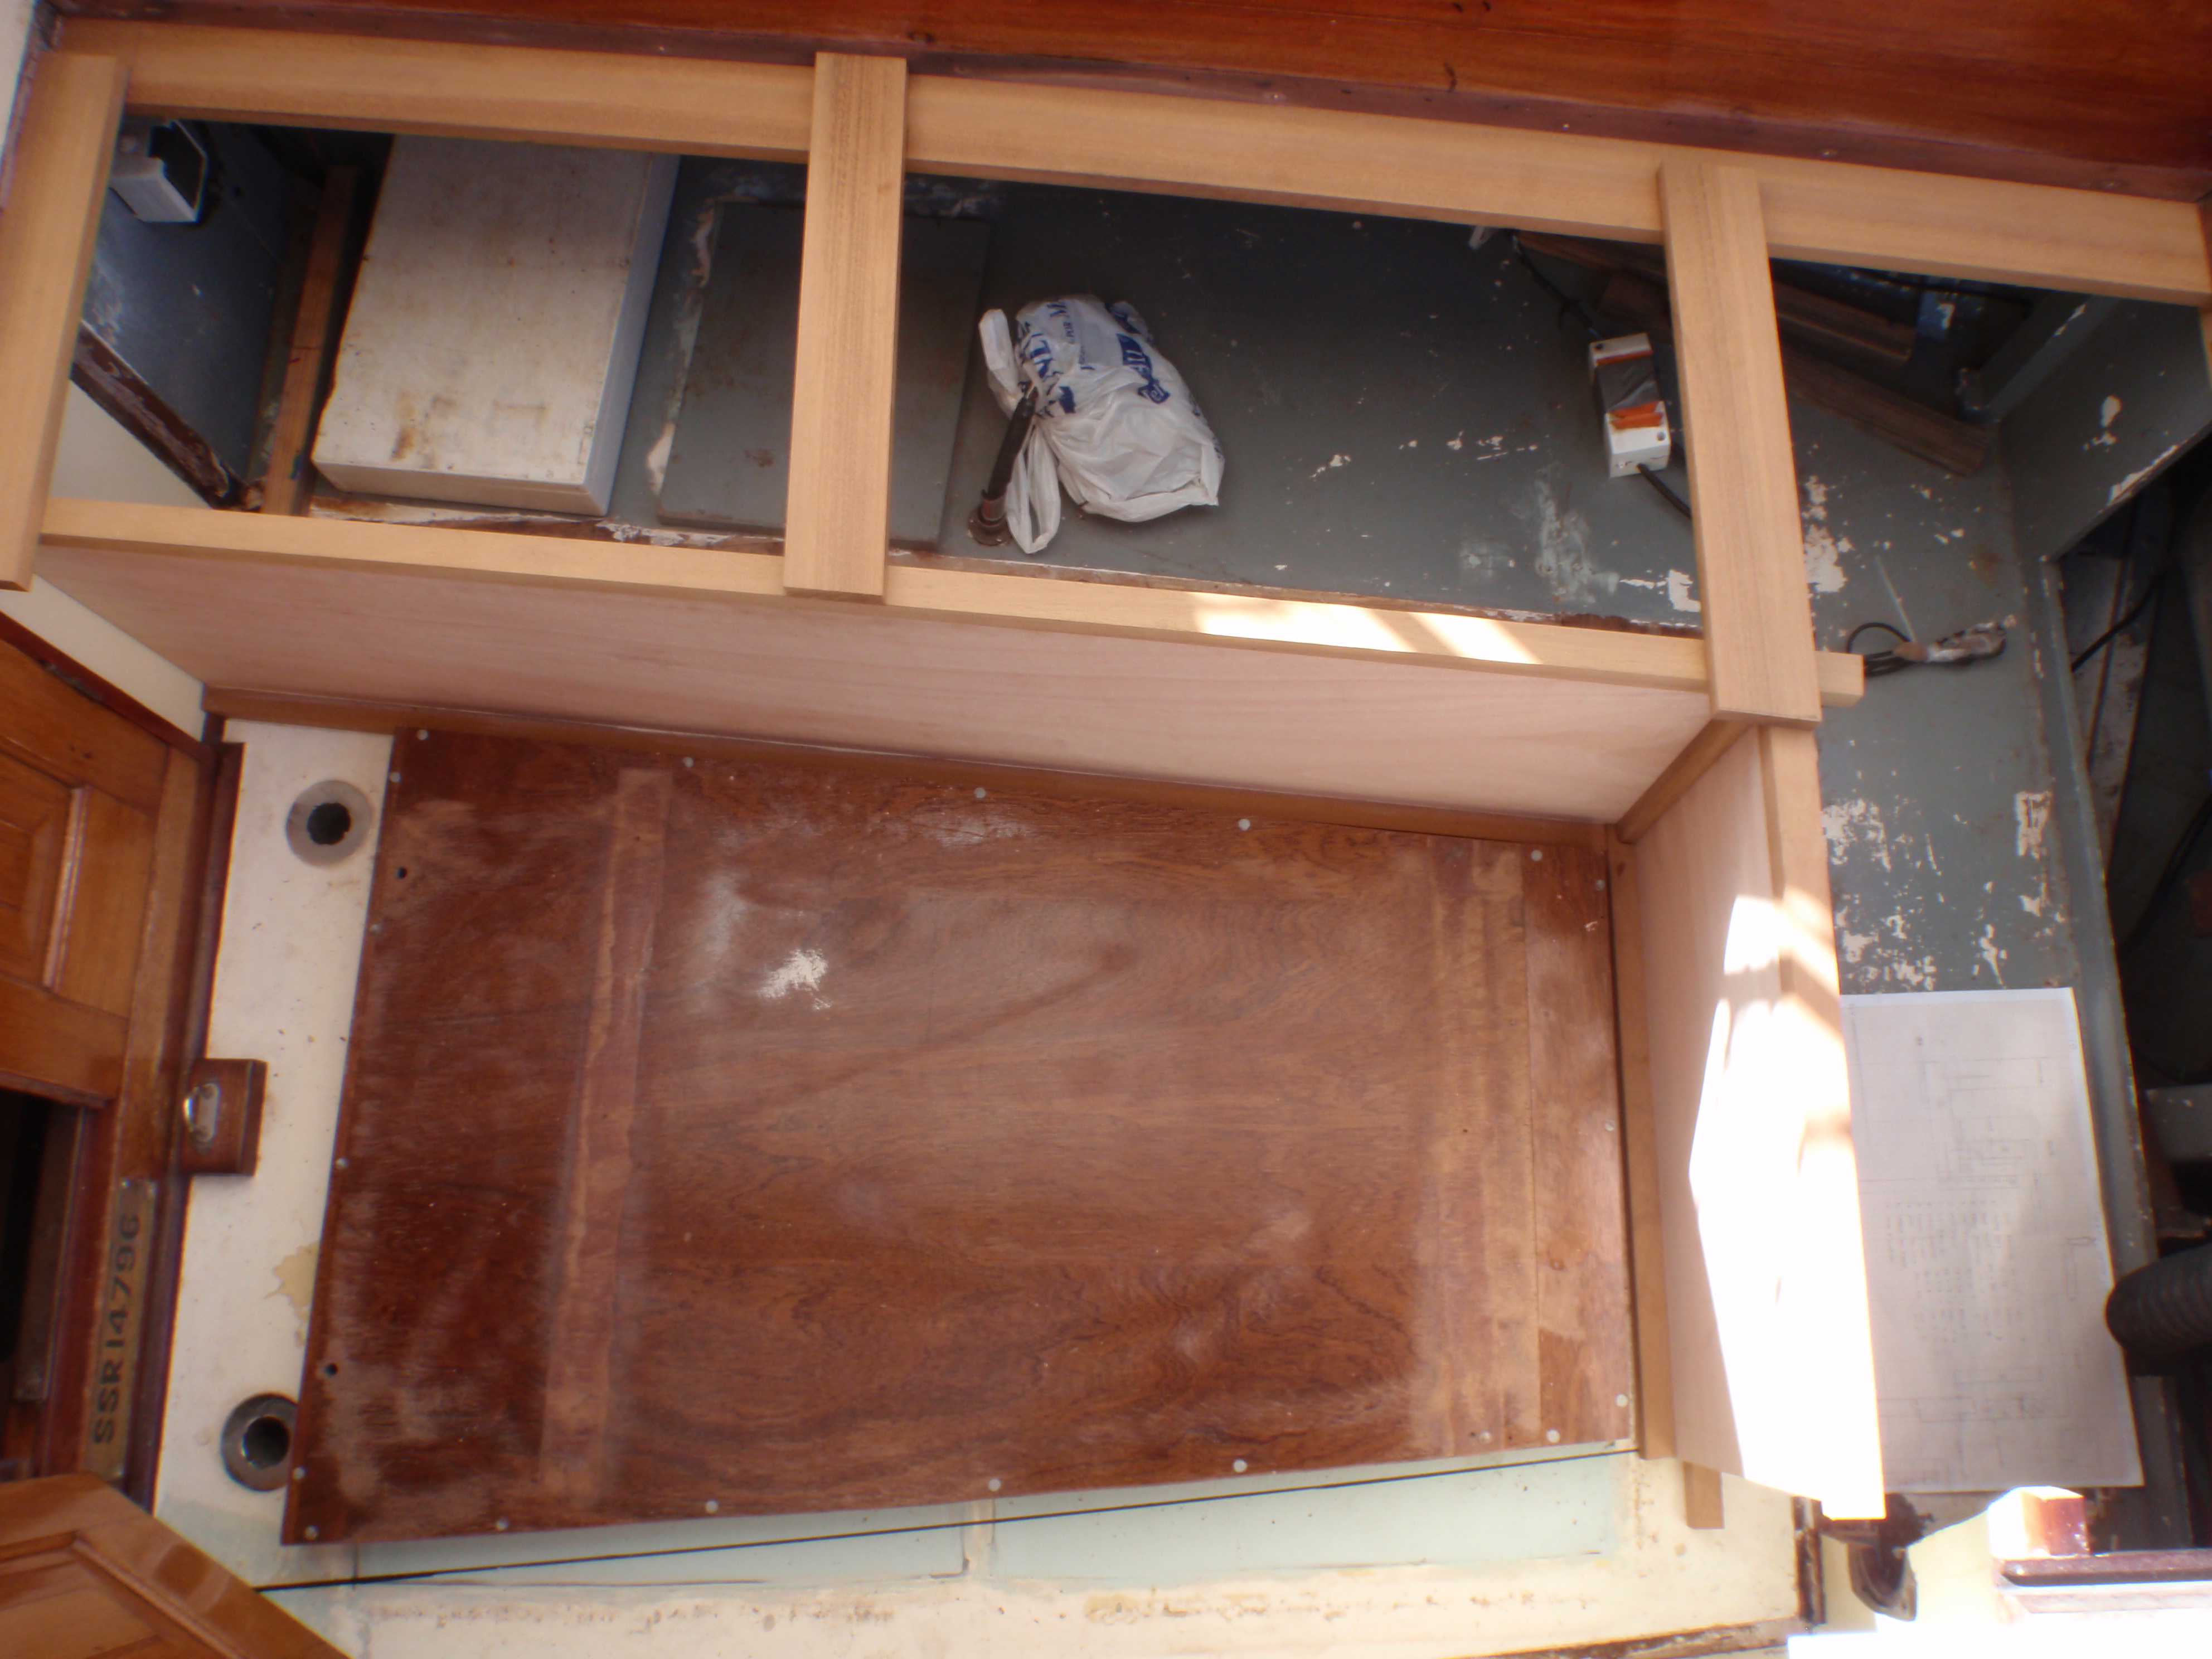
My first task was to take out the grating, remove the existing cockpit
sole coaming and reshape it.
d3

e1
Then the lids were cut to fit the coamings, and the cock pit drains were
moved in board.
f3

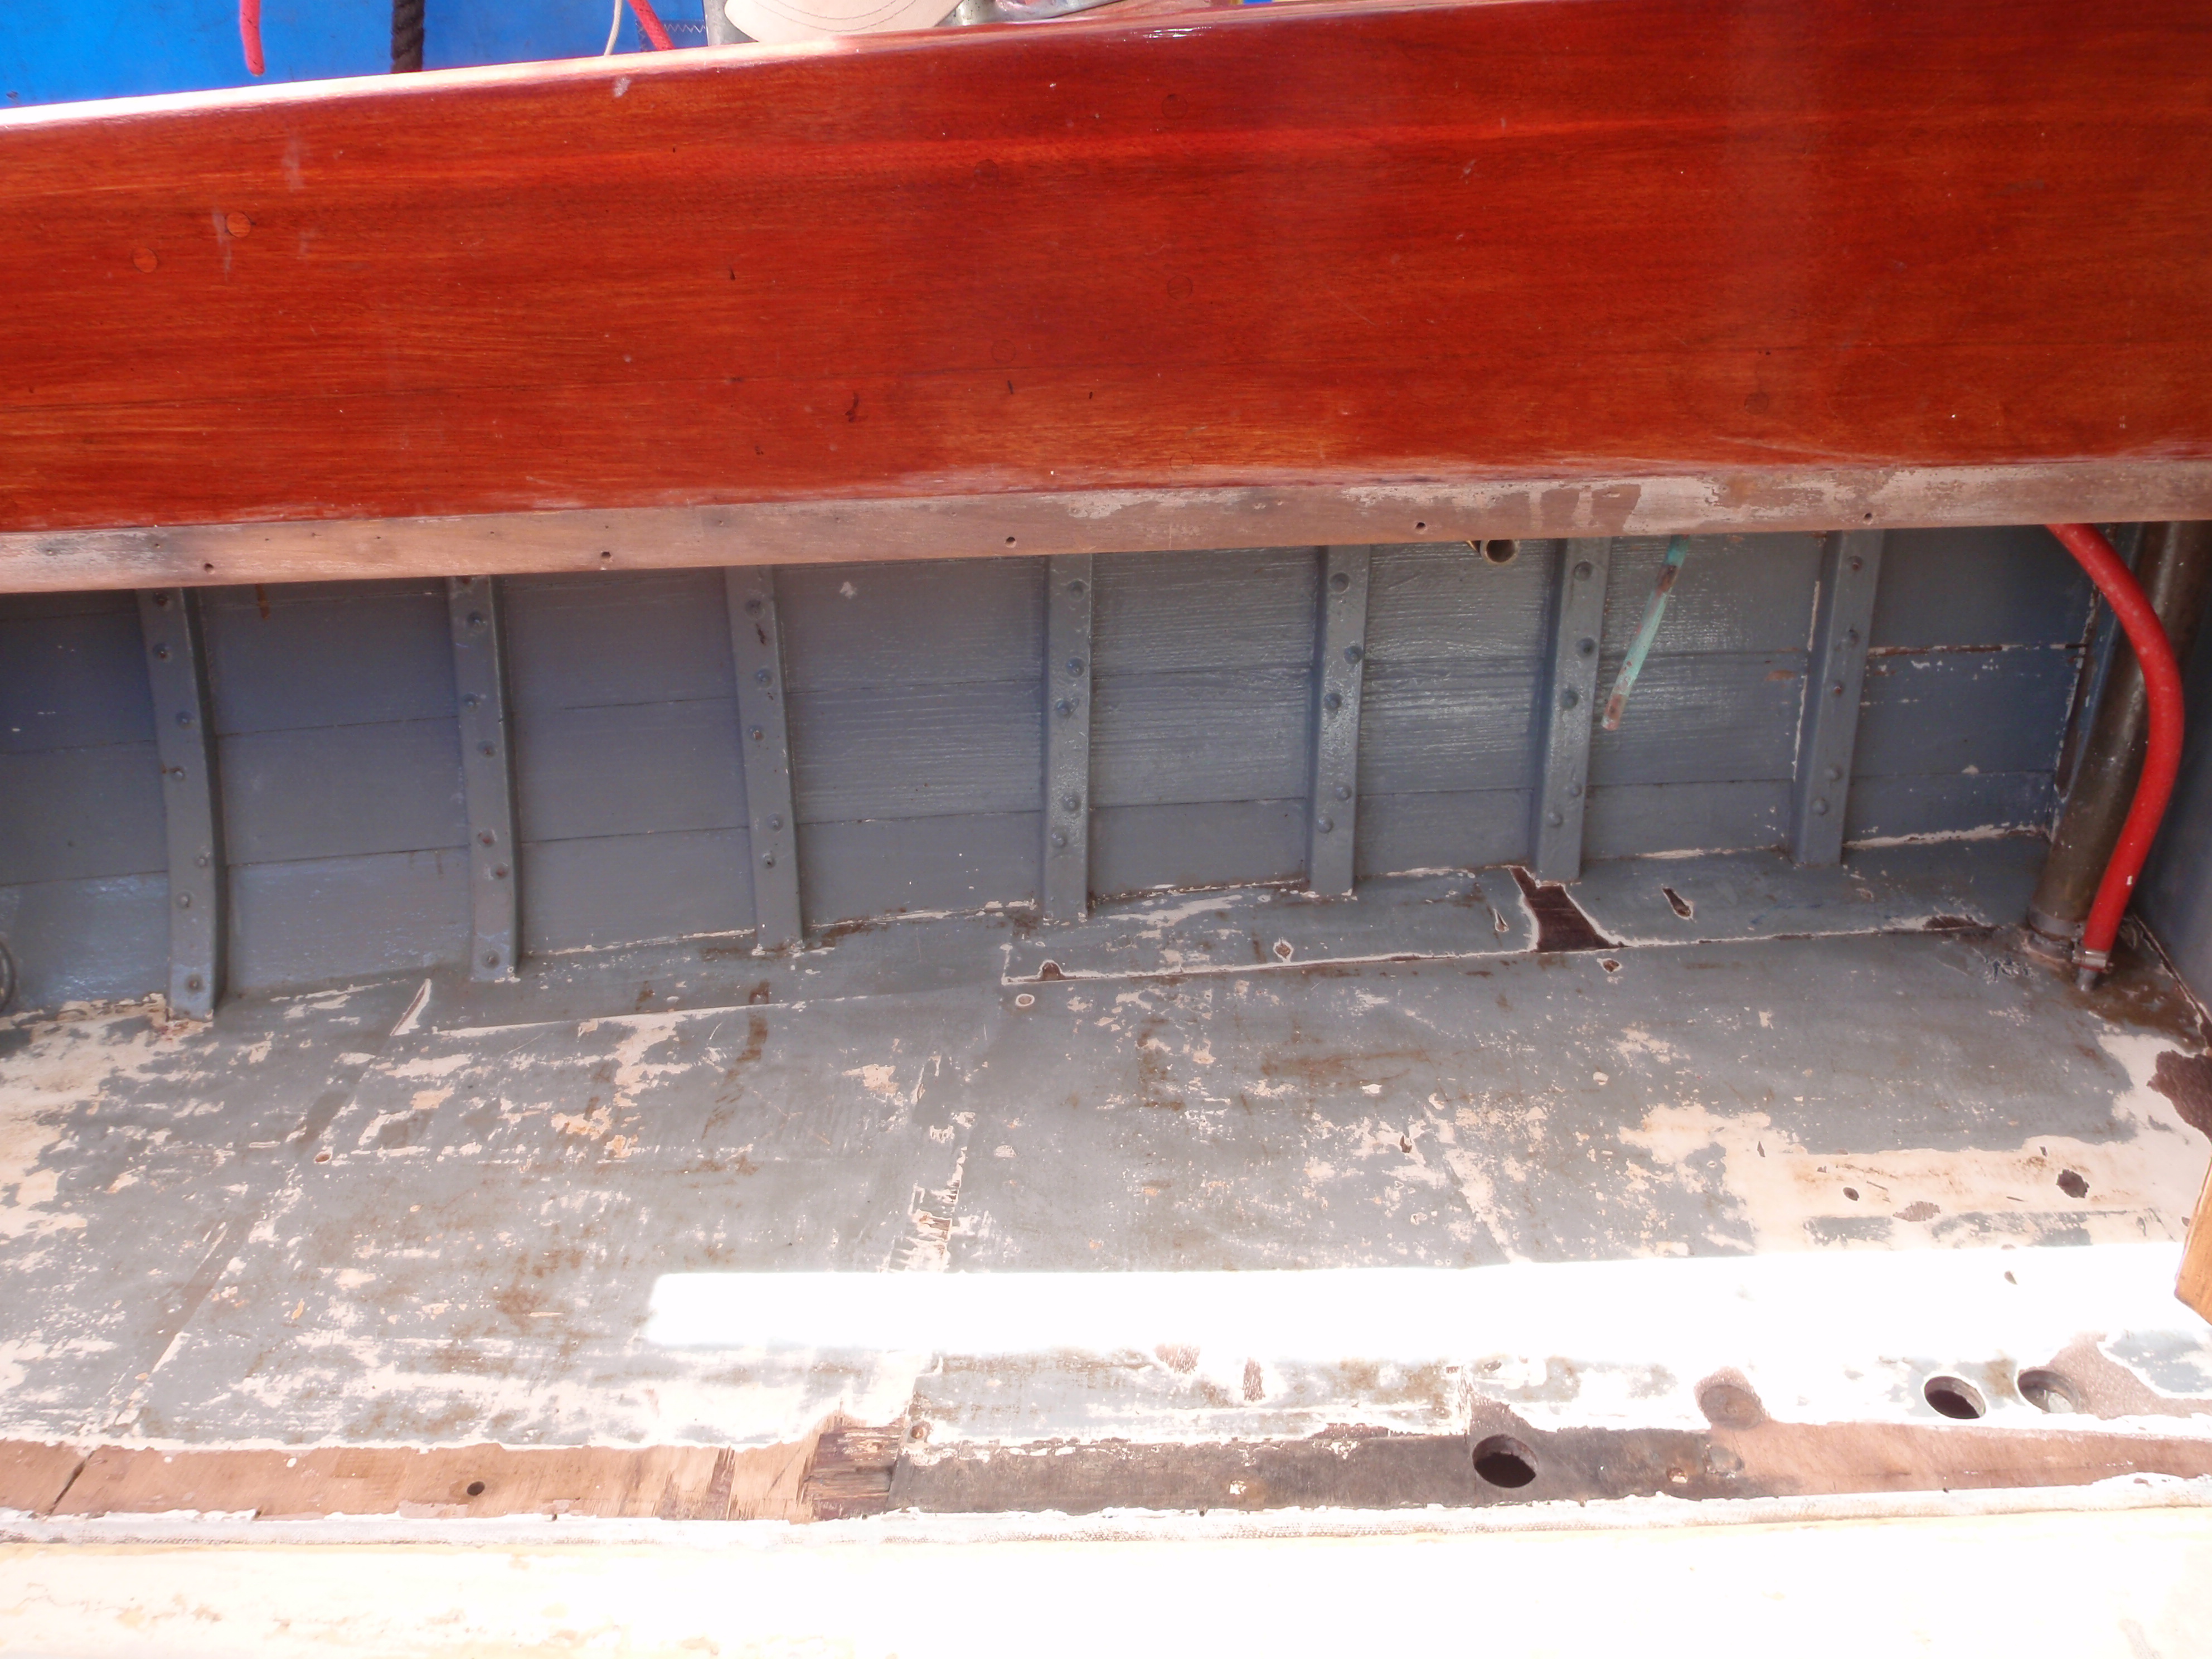
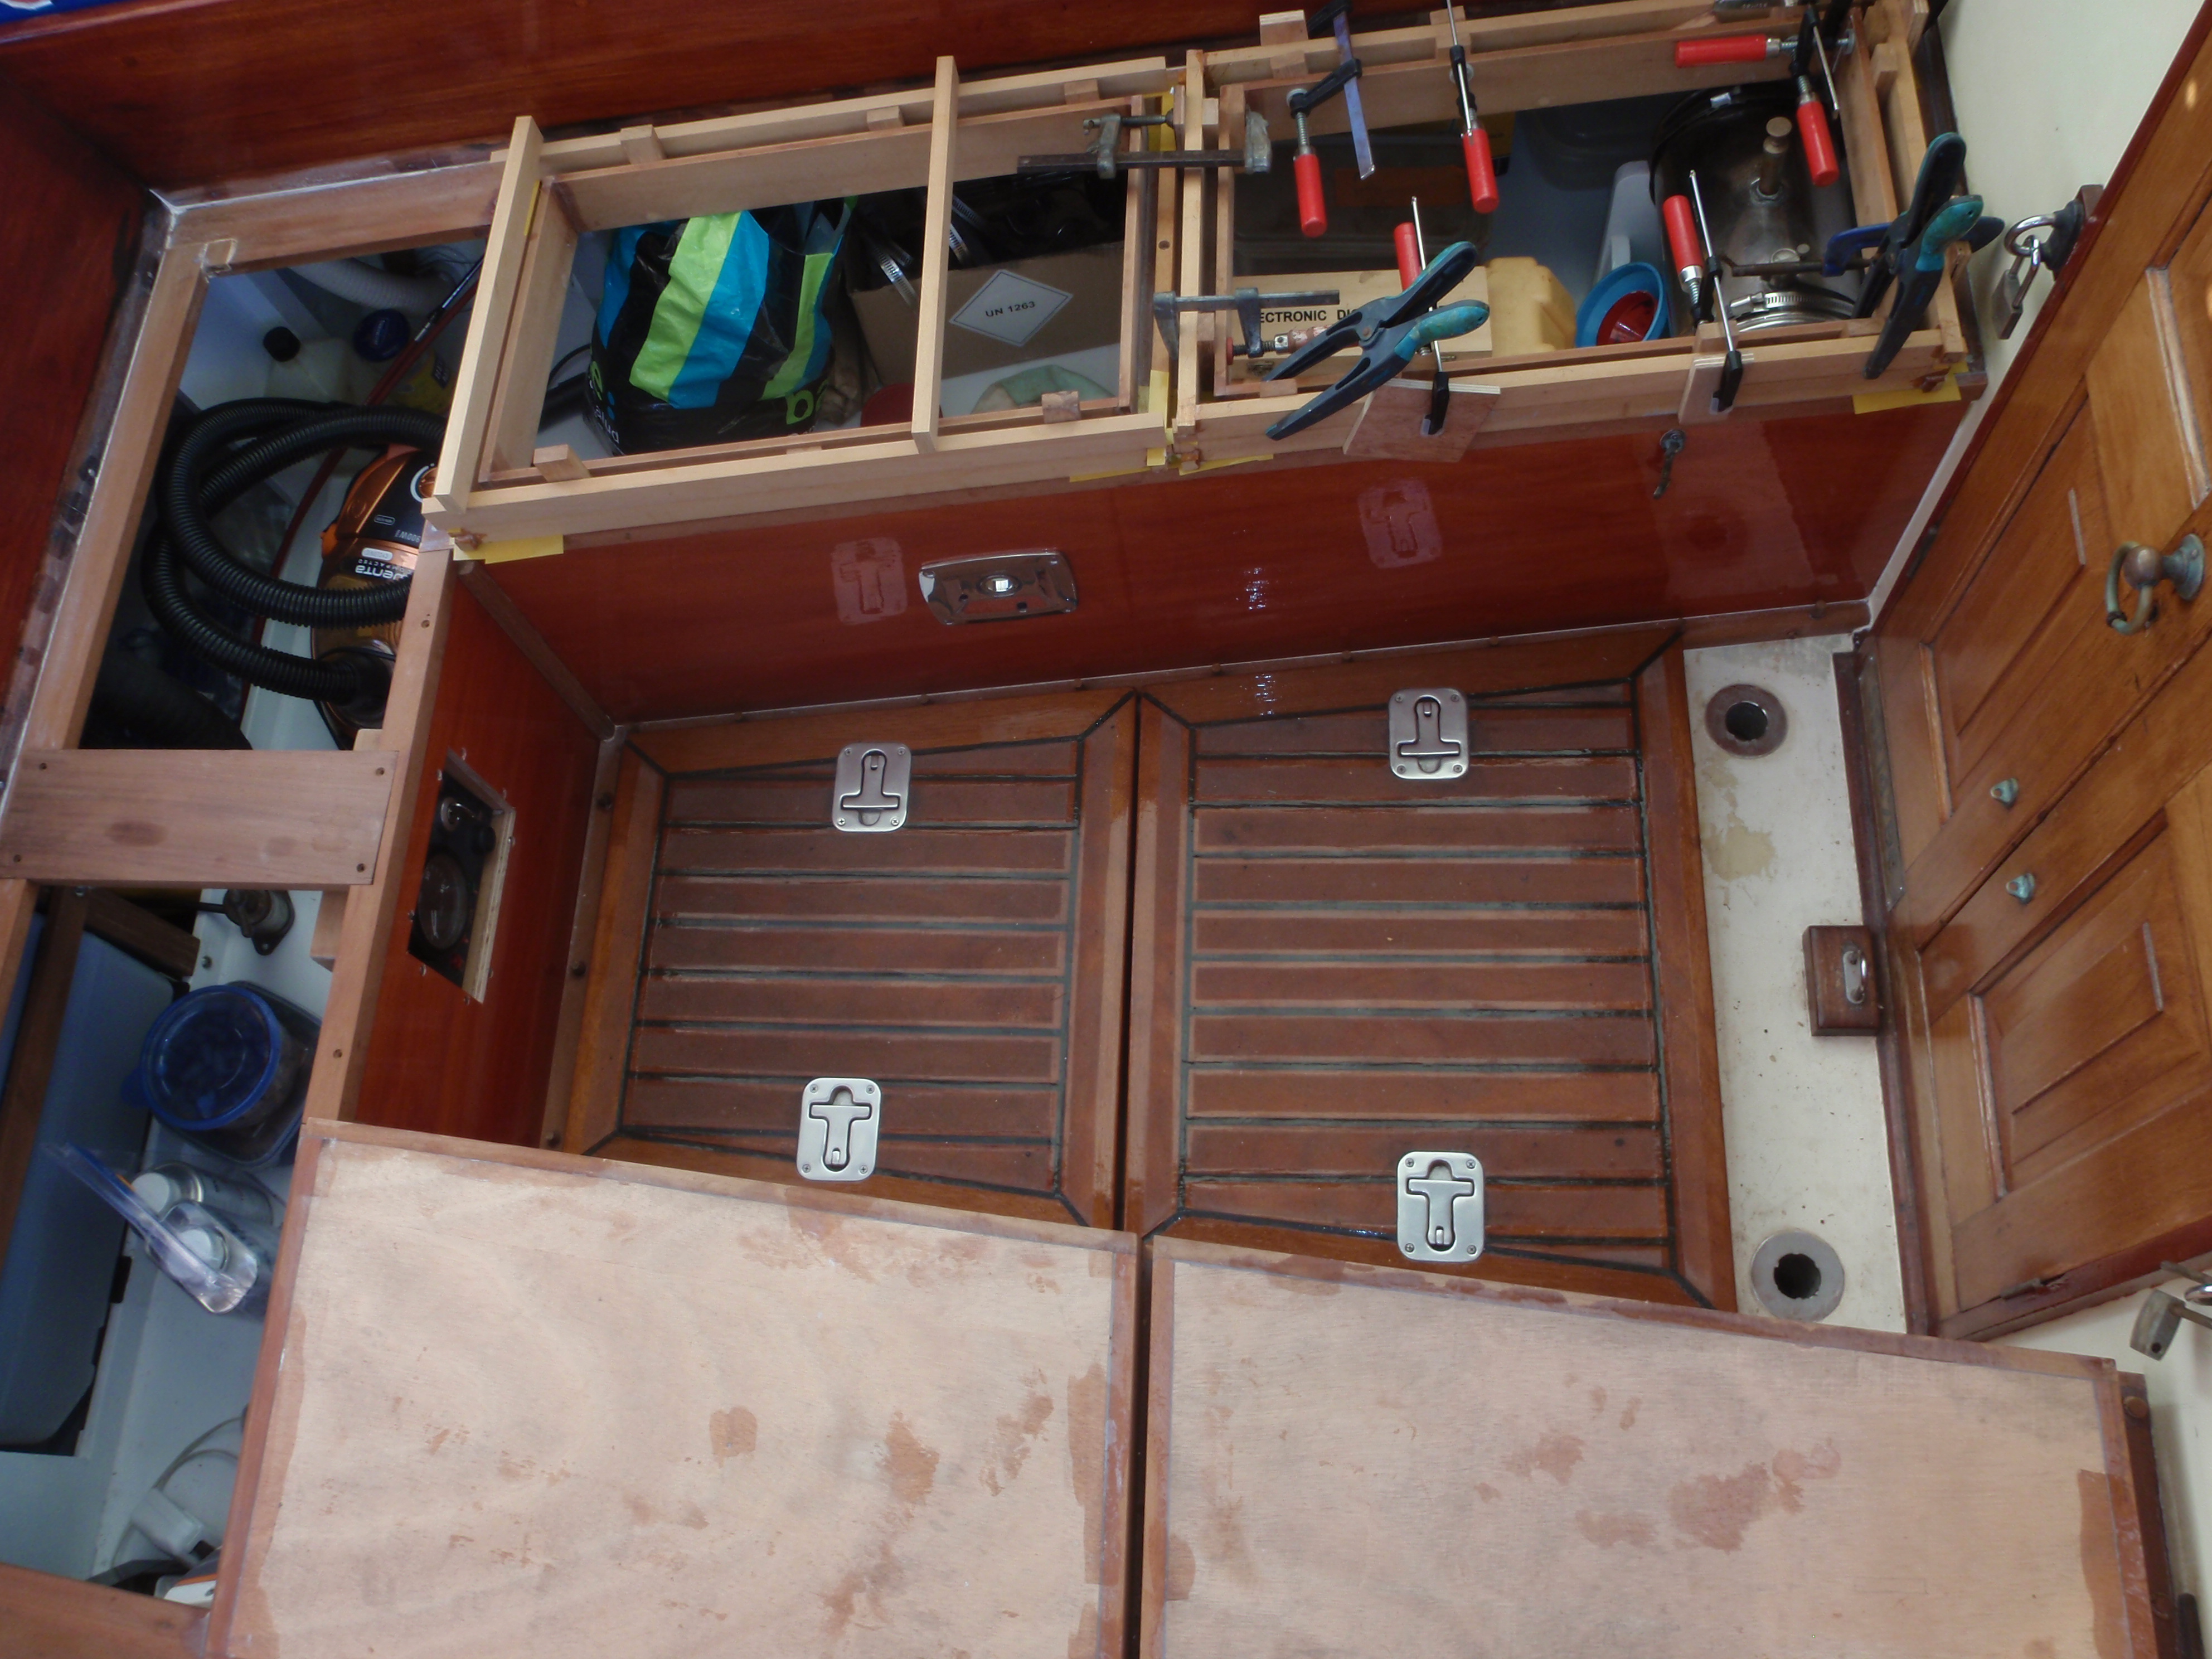
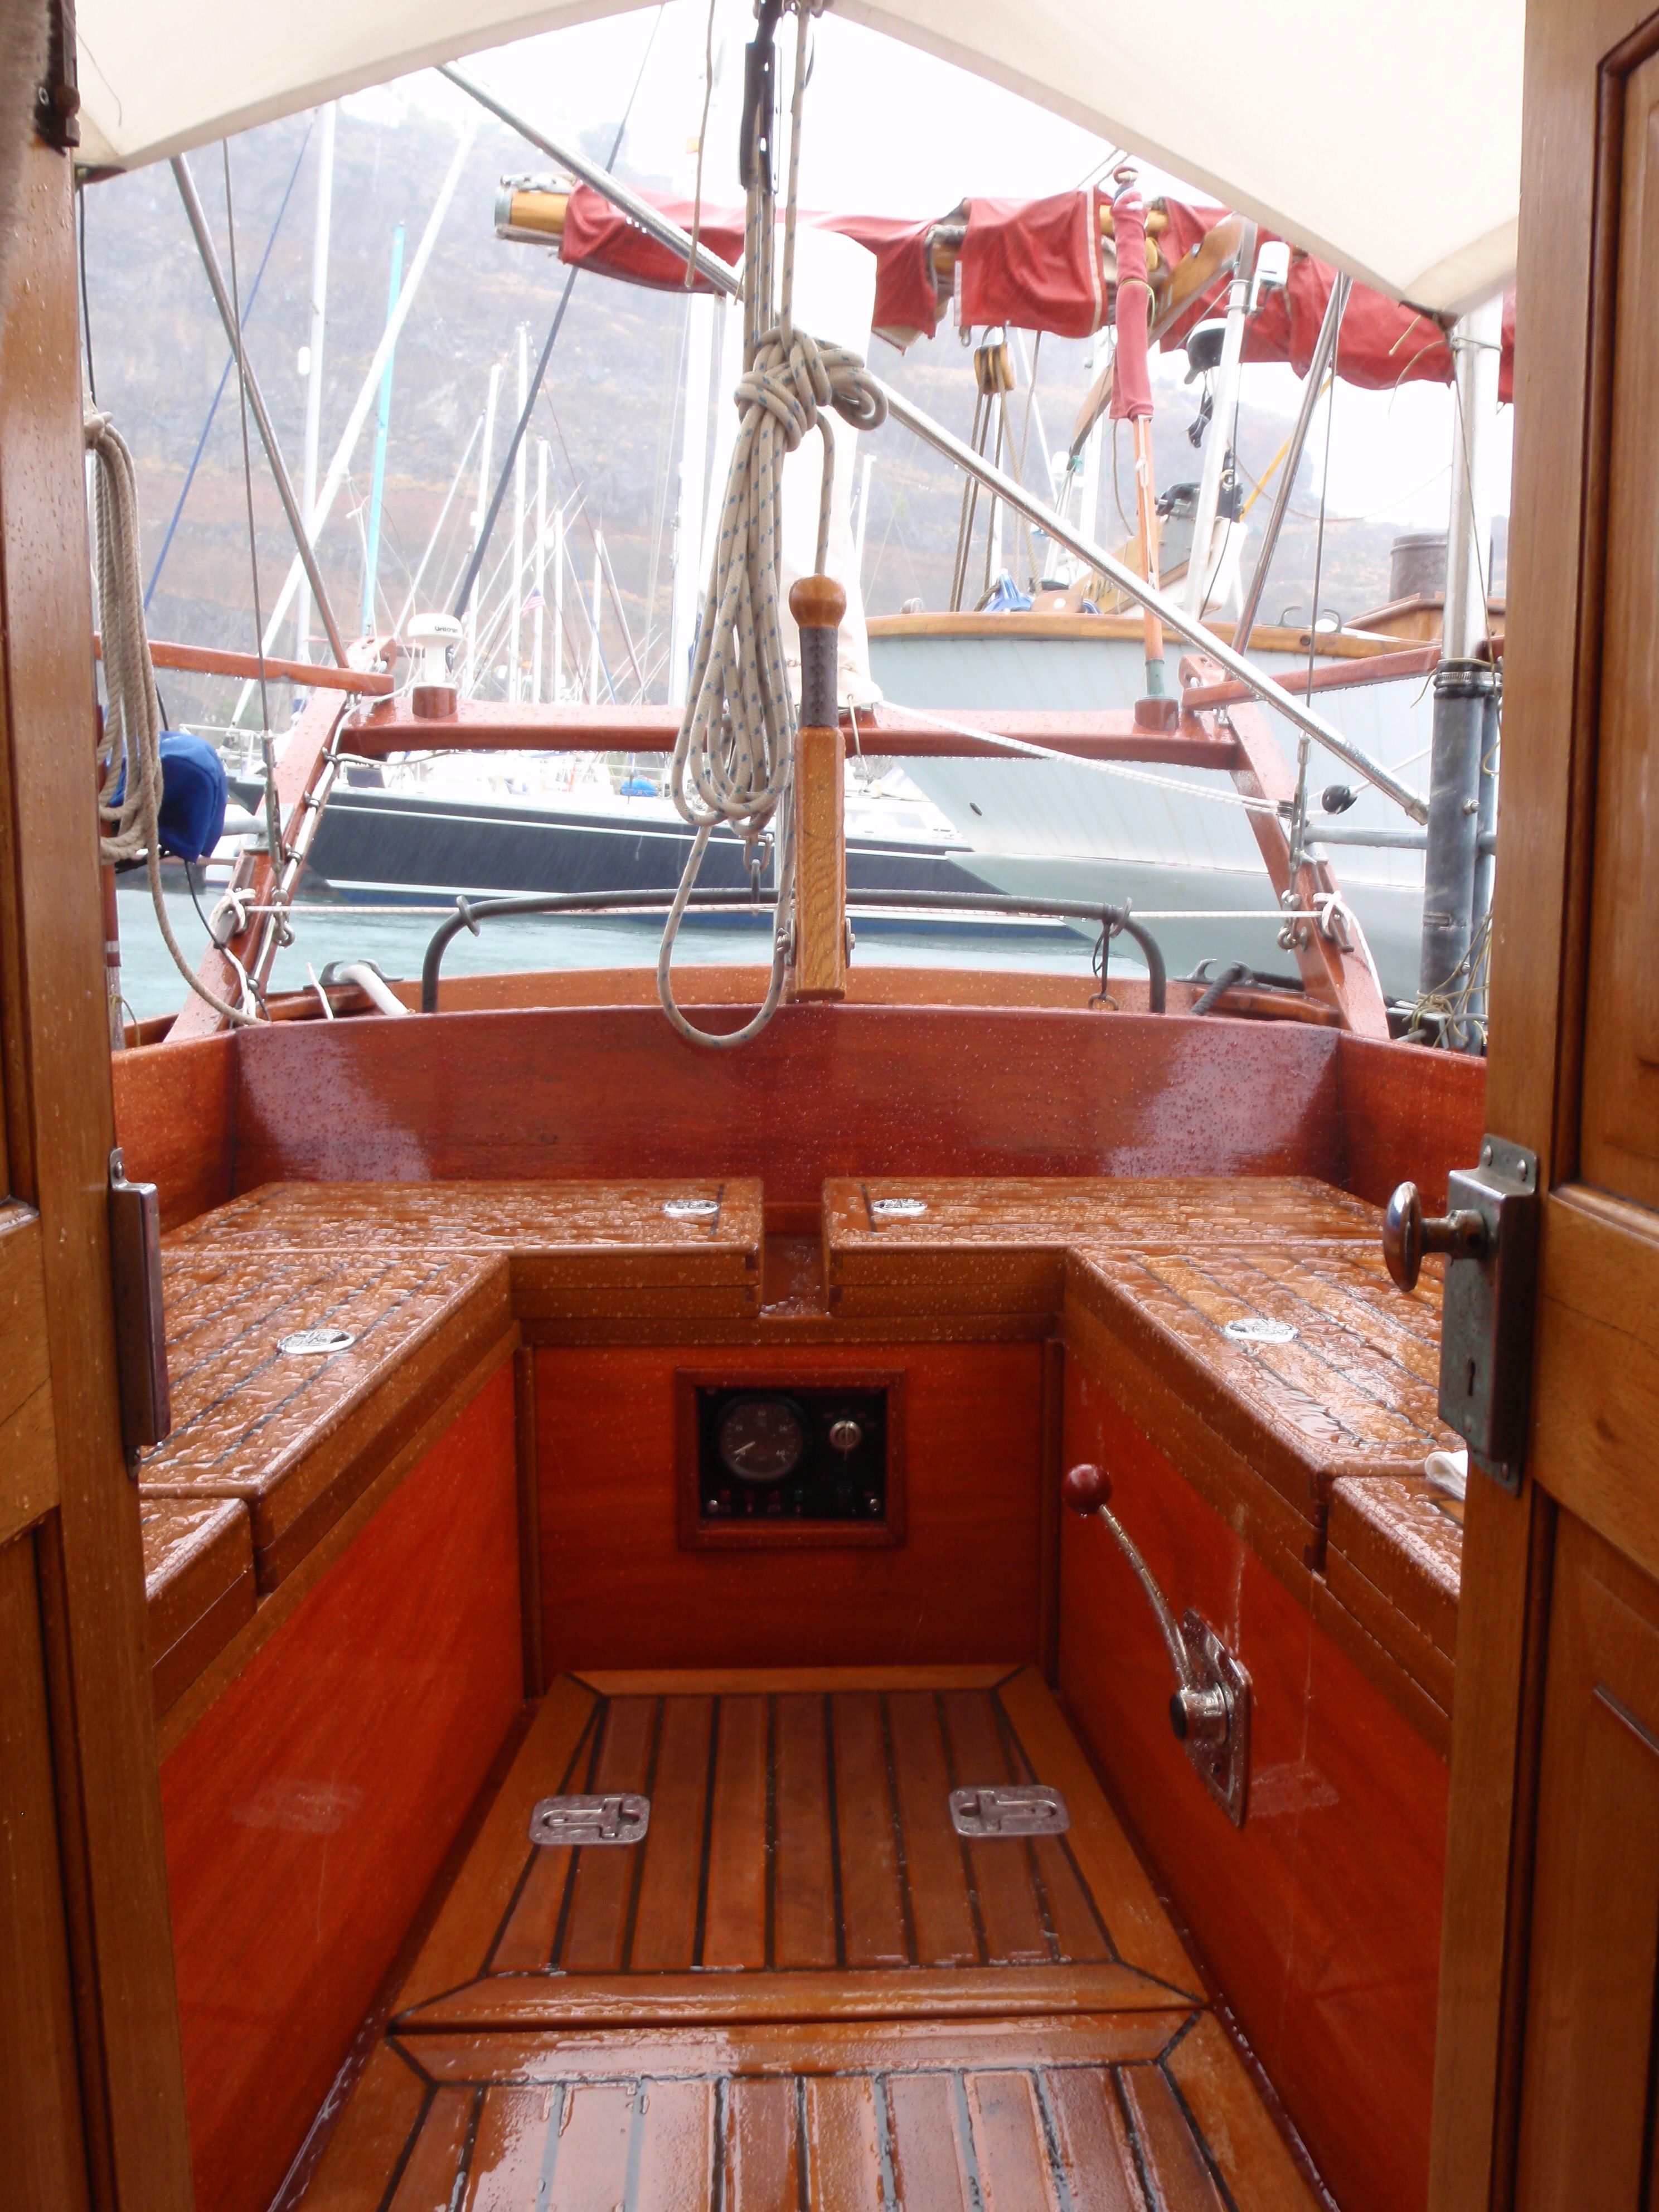
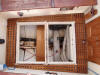
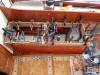
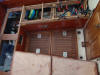
Now the demolition really starts: I removed the cockpit lids, engine
ignition panel, cross pieces and side.
As we were living on board at
the time I had to work on the starboard side and aft, and then the port
side, to allow us access on and off the boat.
g3

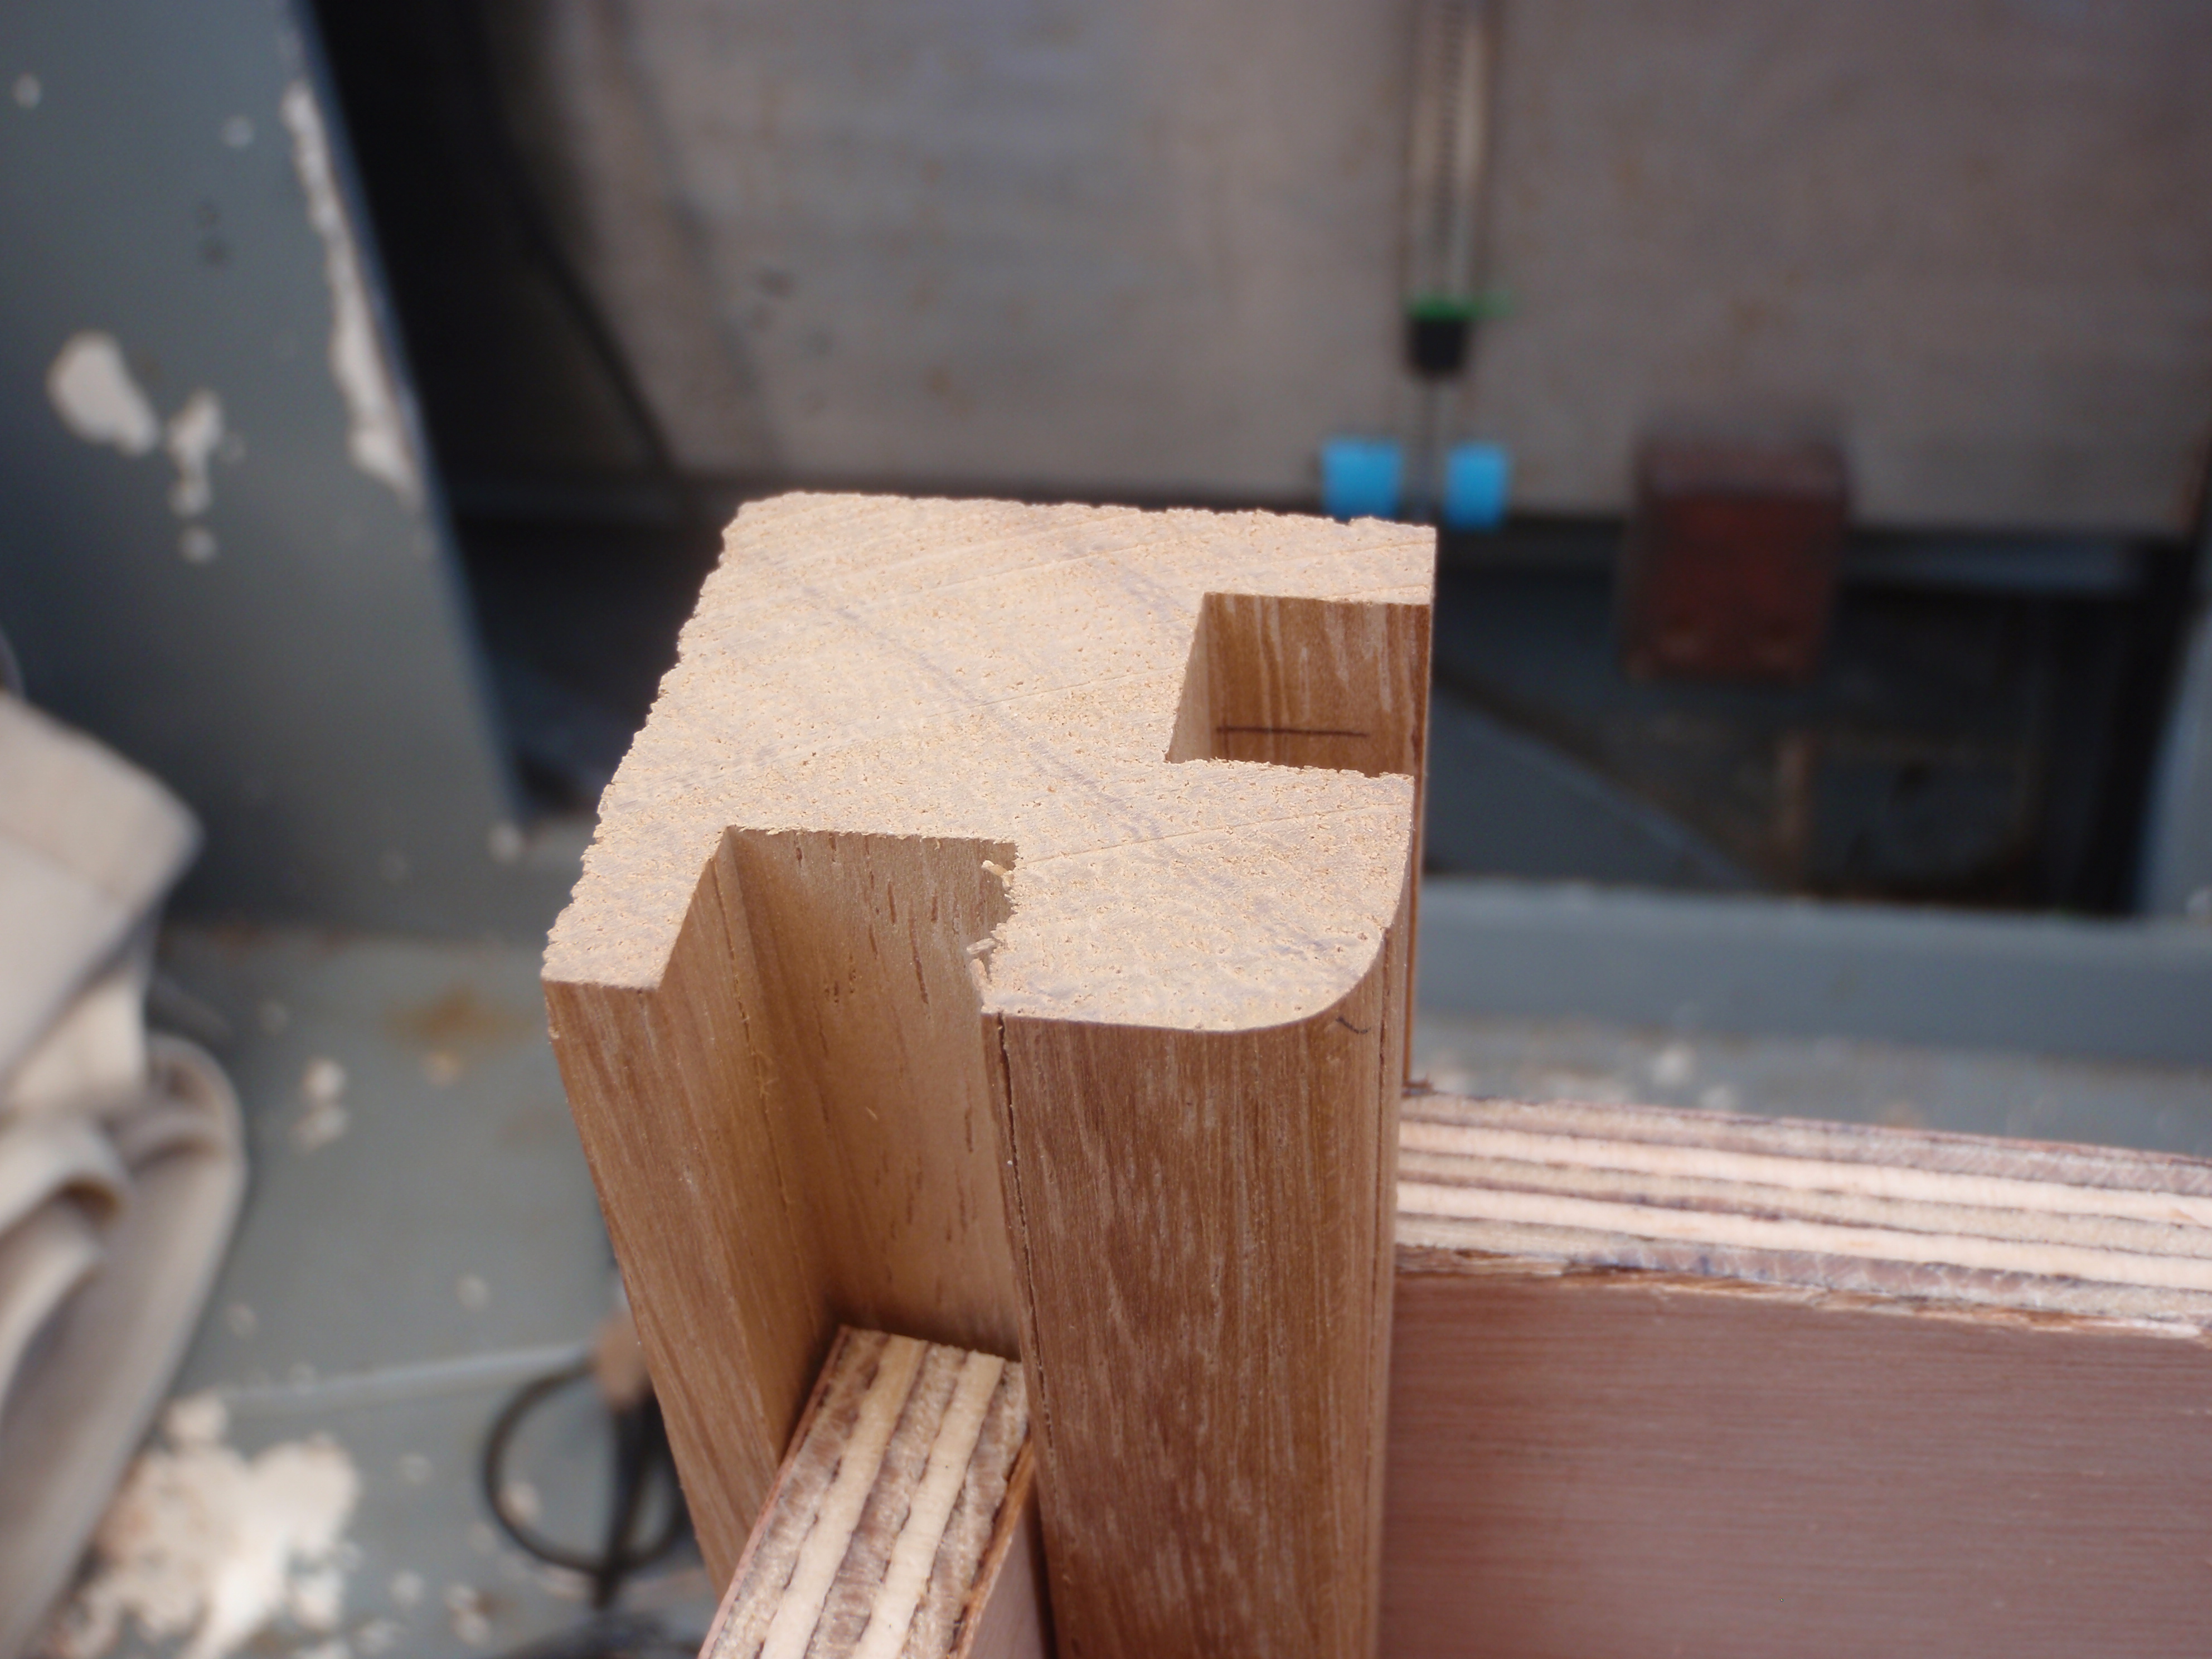
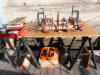
Sizing up the starboard and aft sides, back beam, corner and cross
pieces.
g2
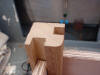
h1

The joints are cut and ends trimmed.
k2

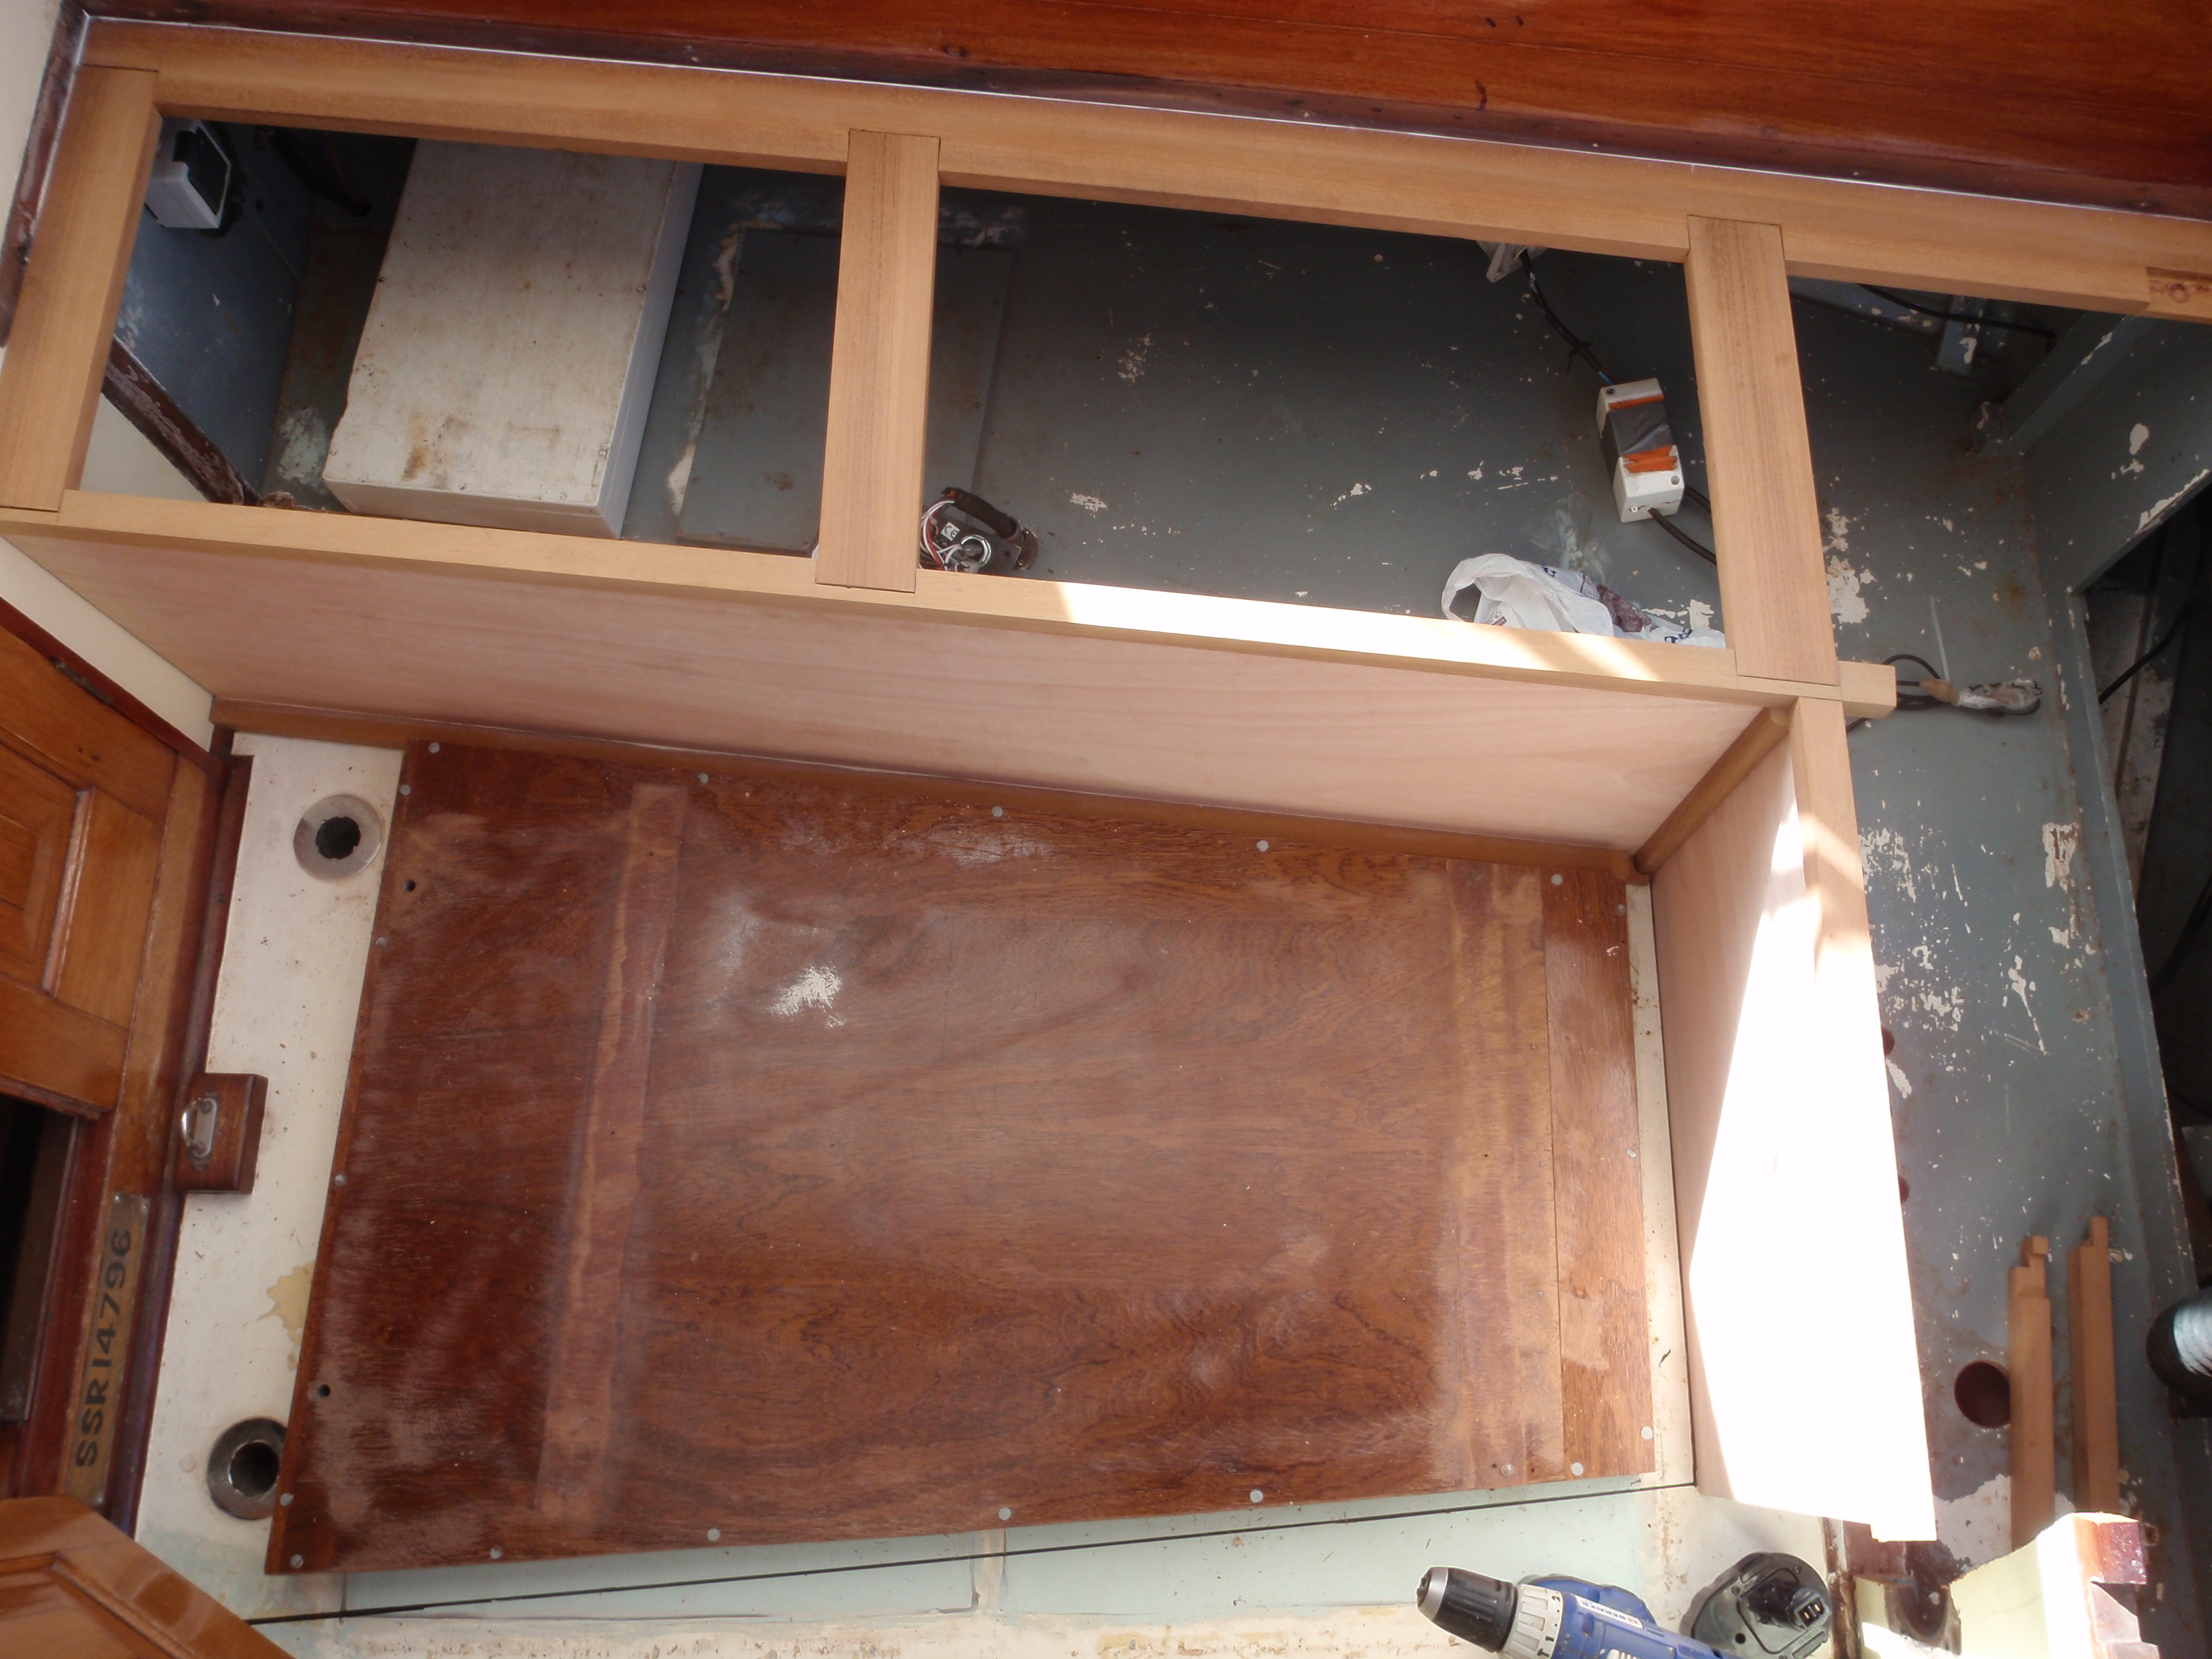
The Starboard side is coated with Coelan and screwed and epoxied in
place.
i1
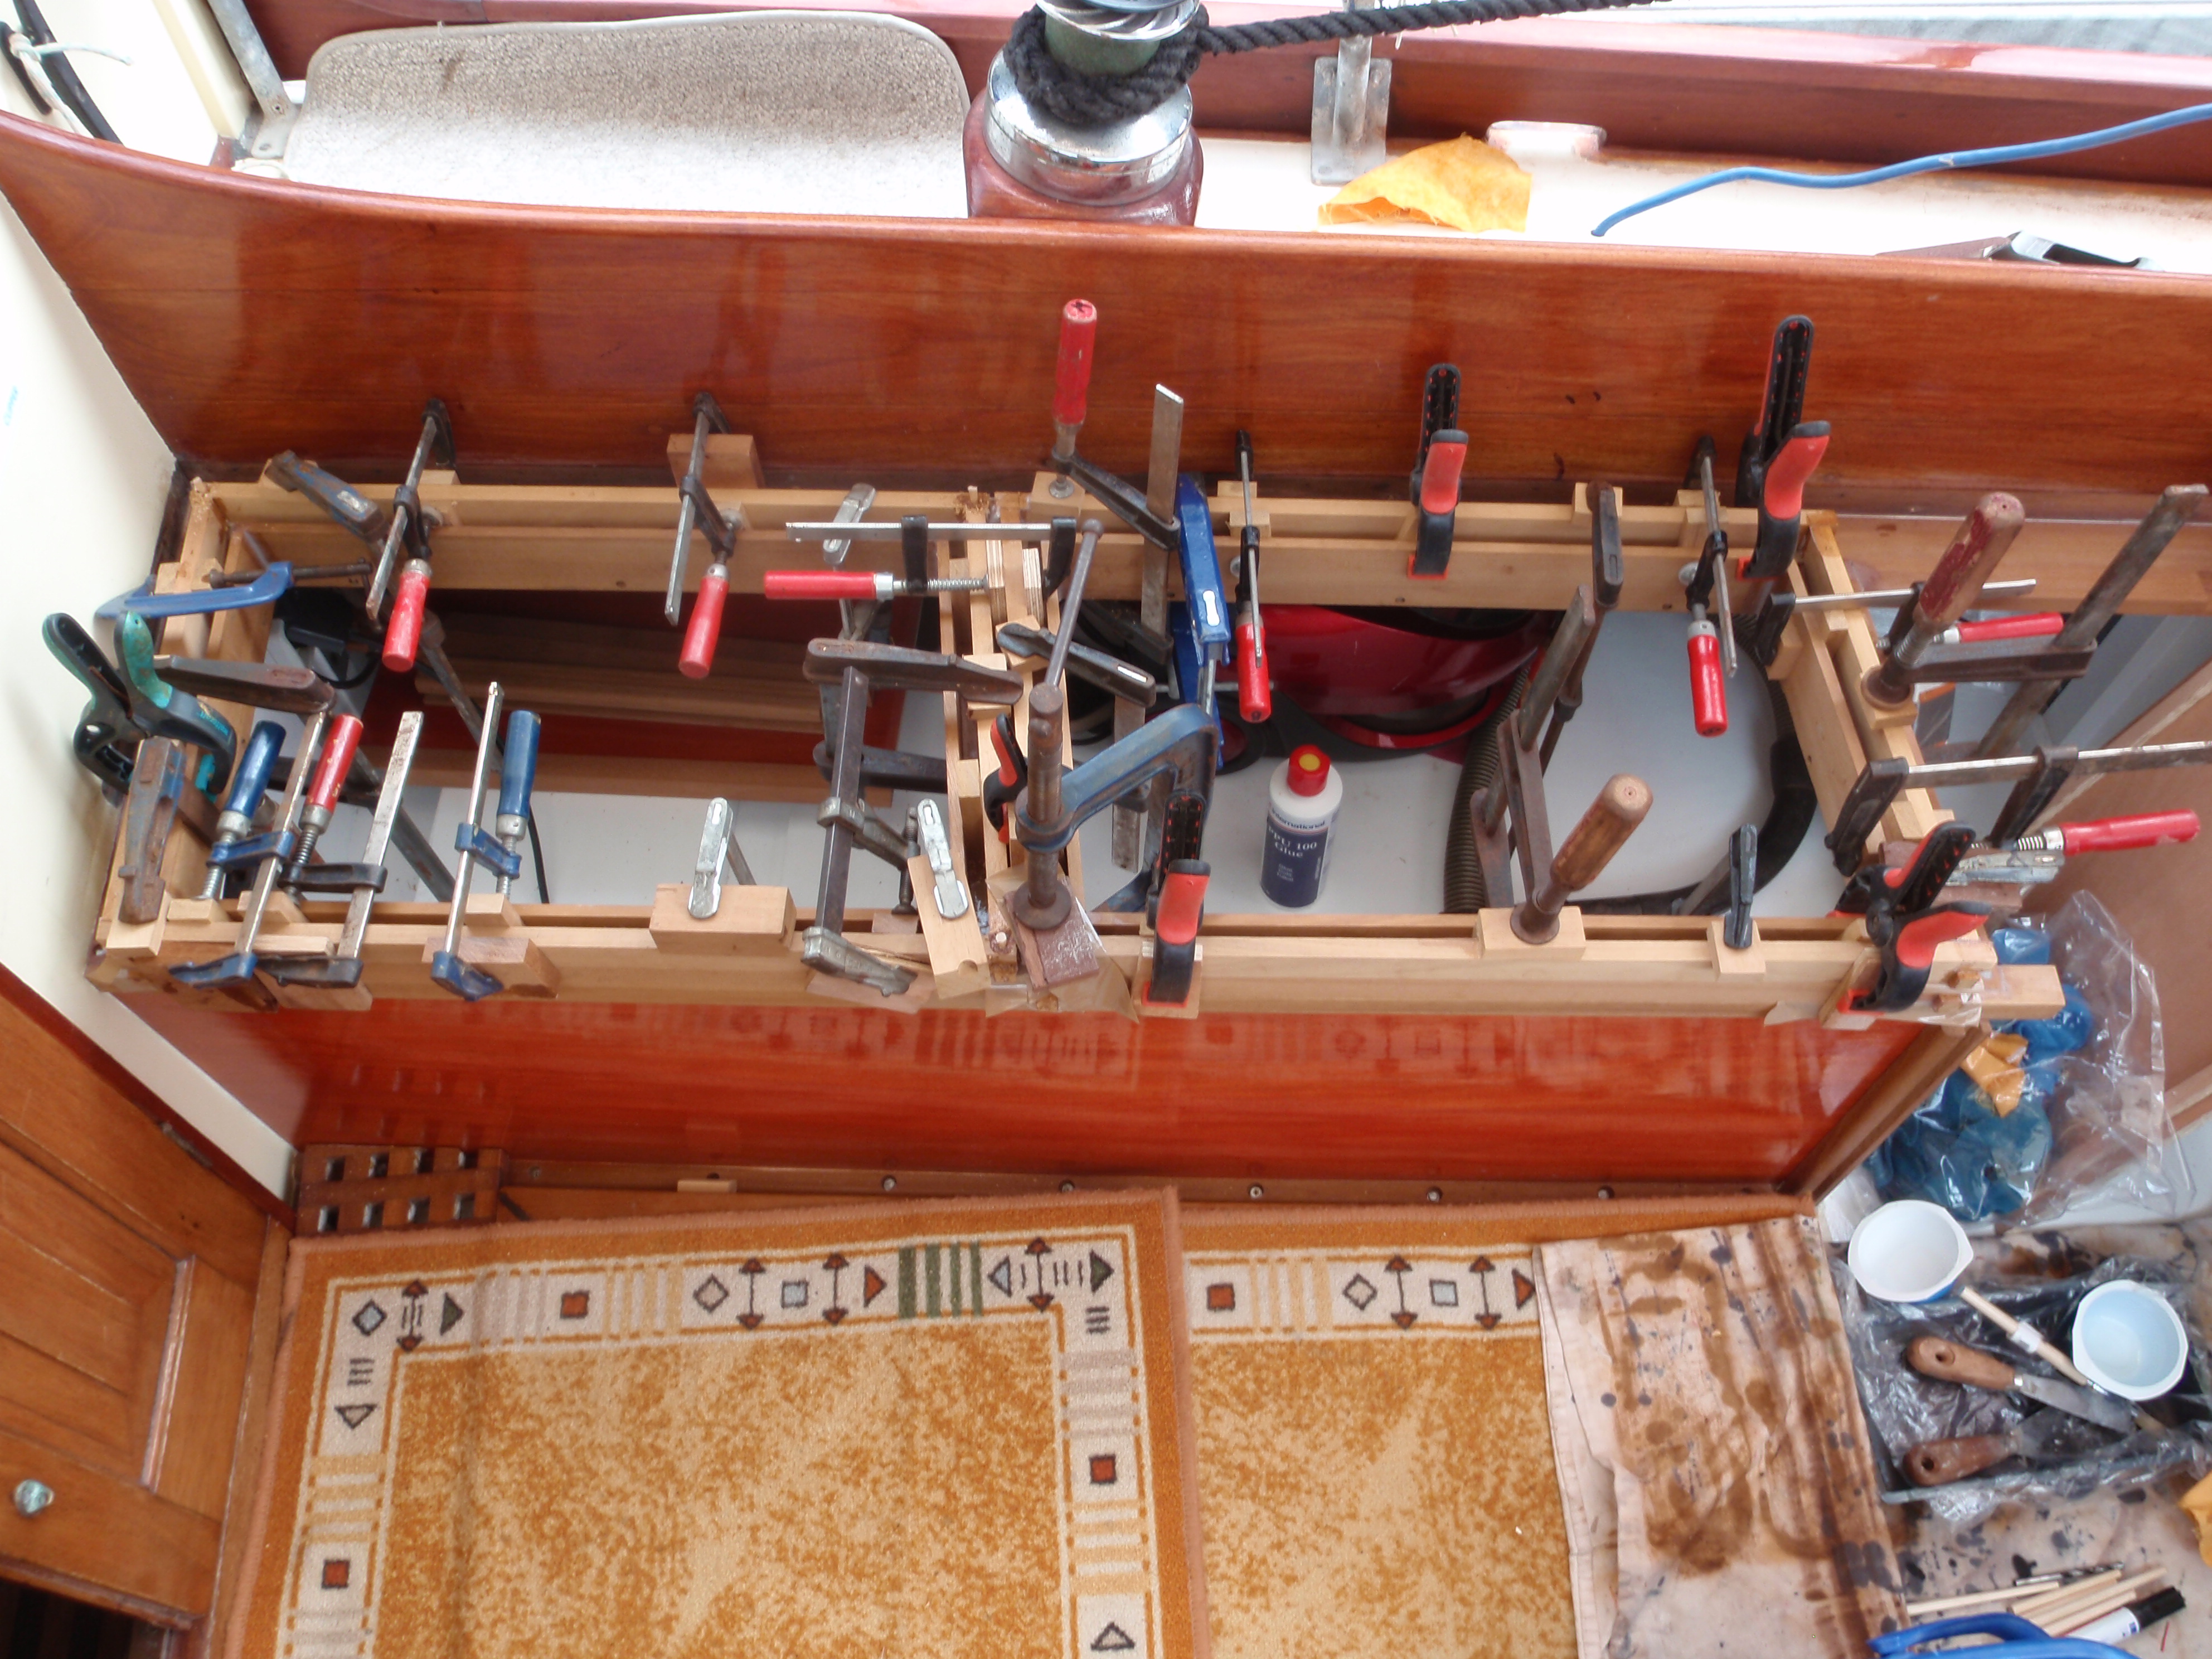
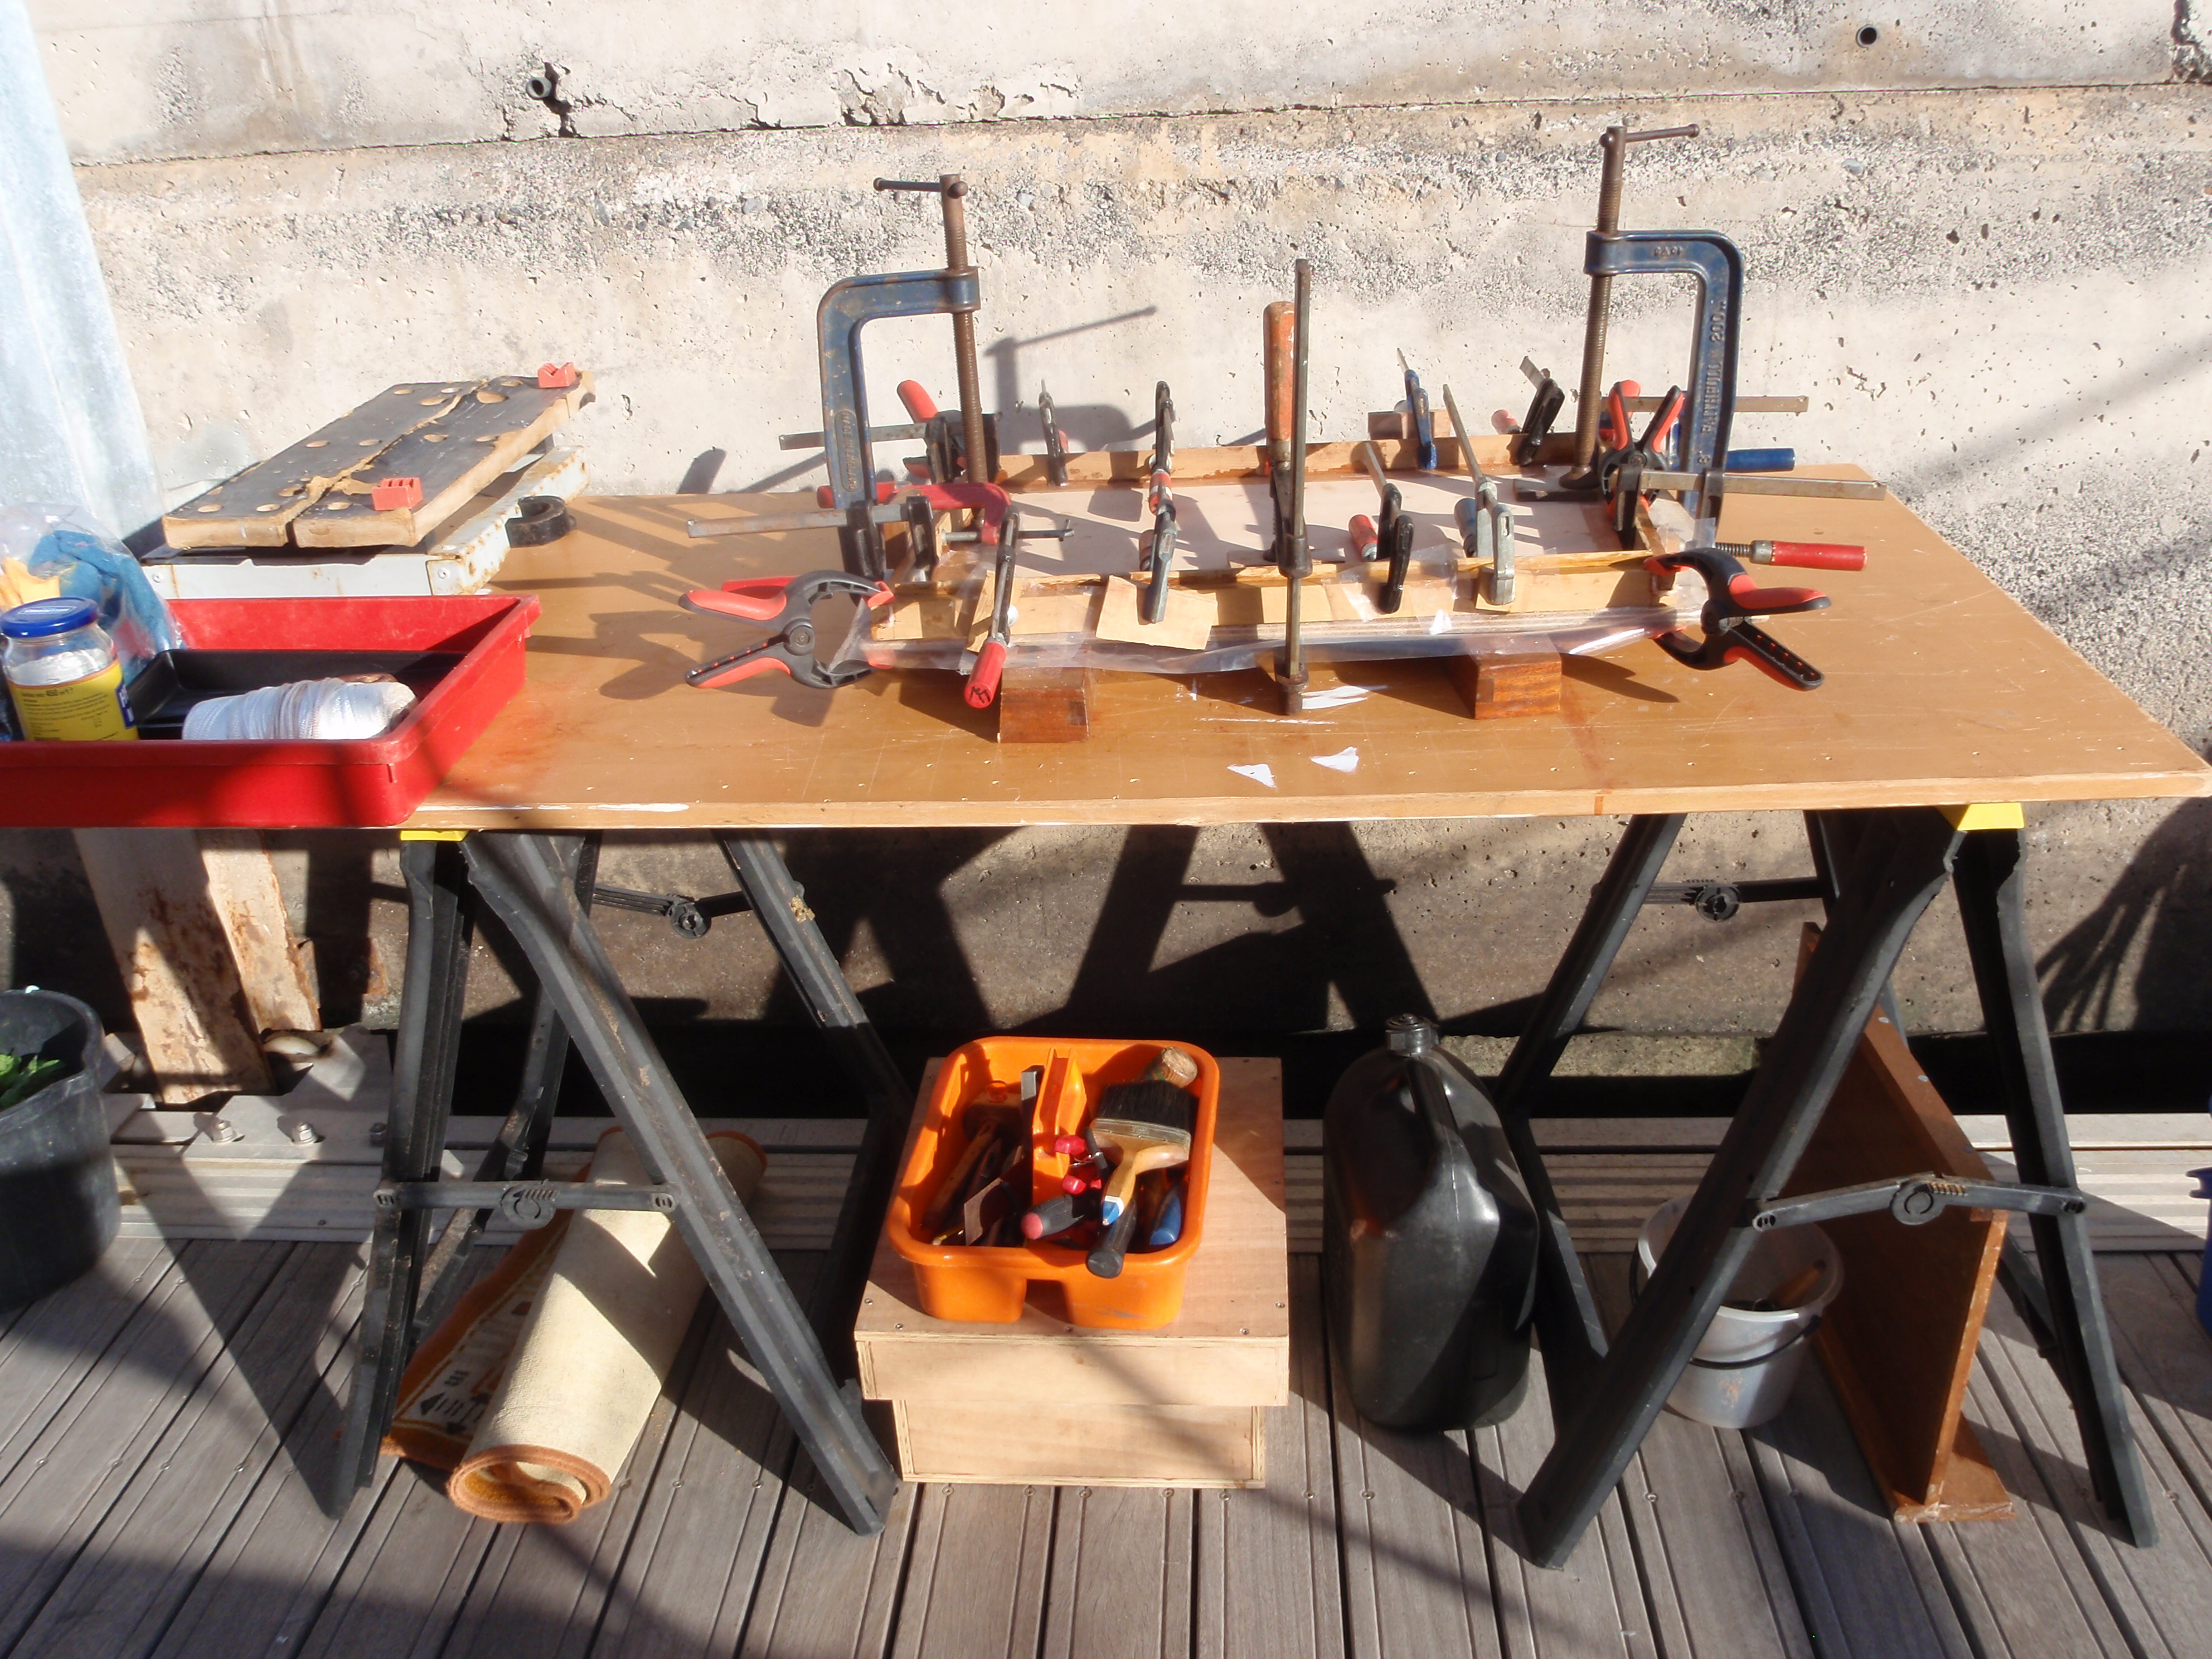
The cross pieces and inner coaming are clamped together. You can’t
have enough clamps!
l1
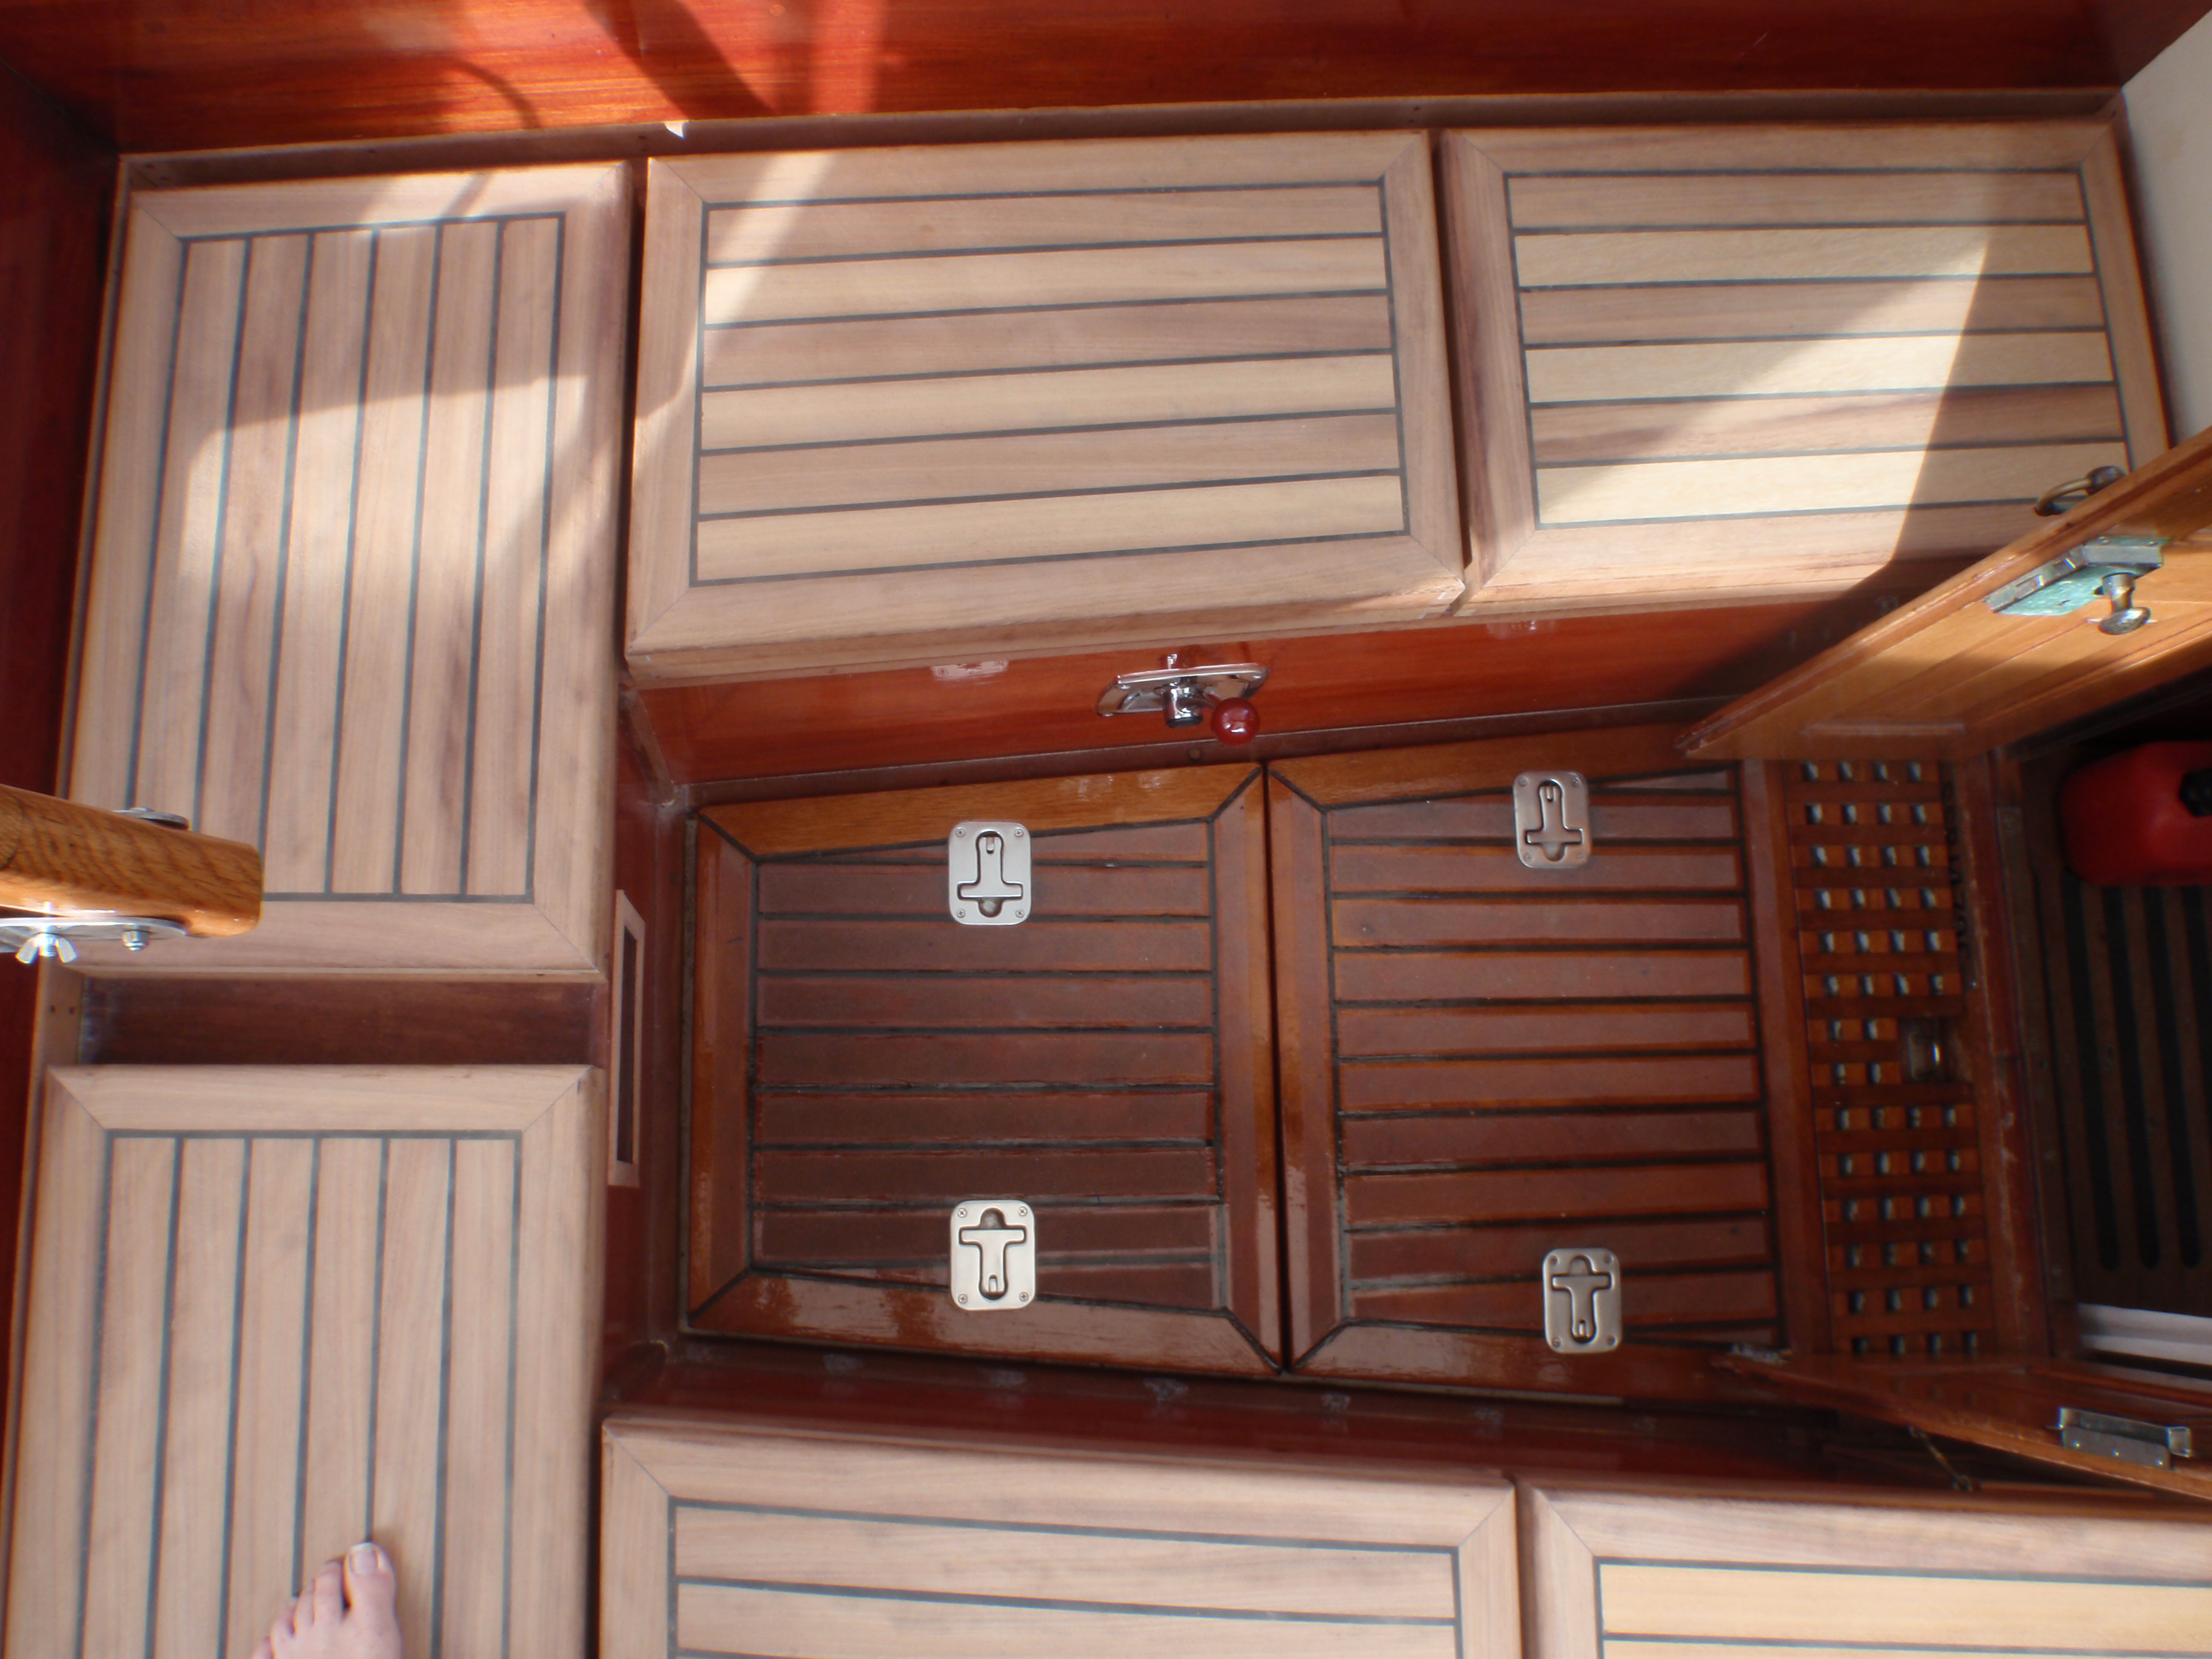
All the work was either done on the boat or the pontoon.
Now the
outer coaming and the lids, all clean and tidy.
n1
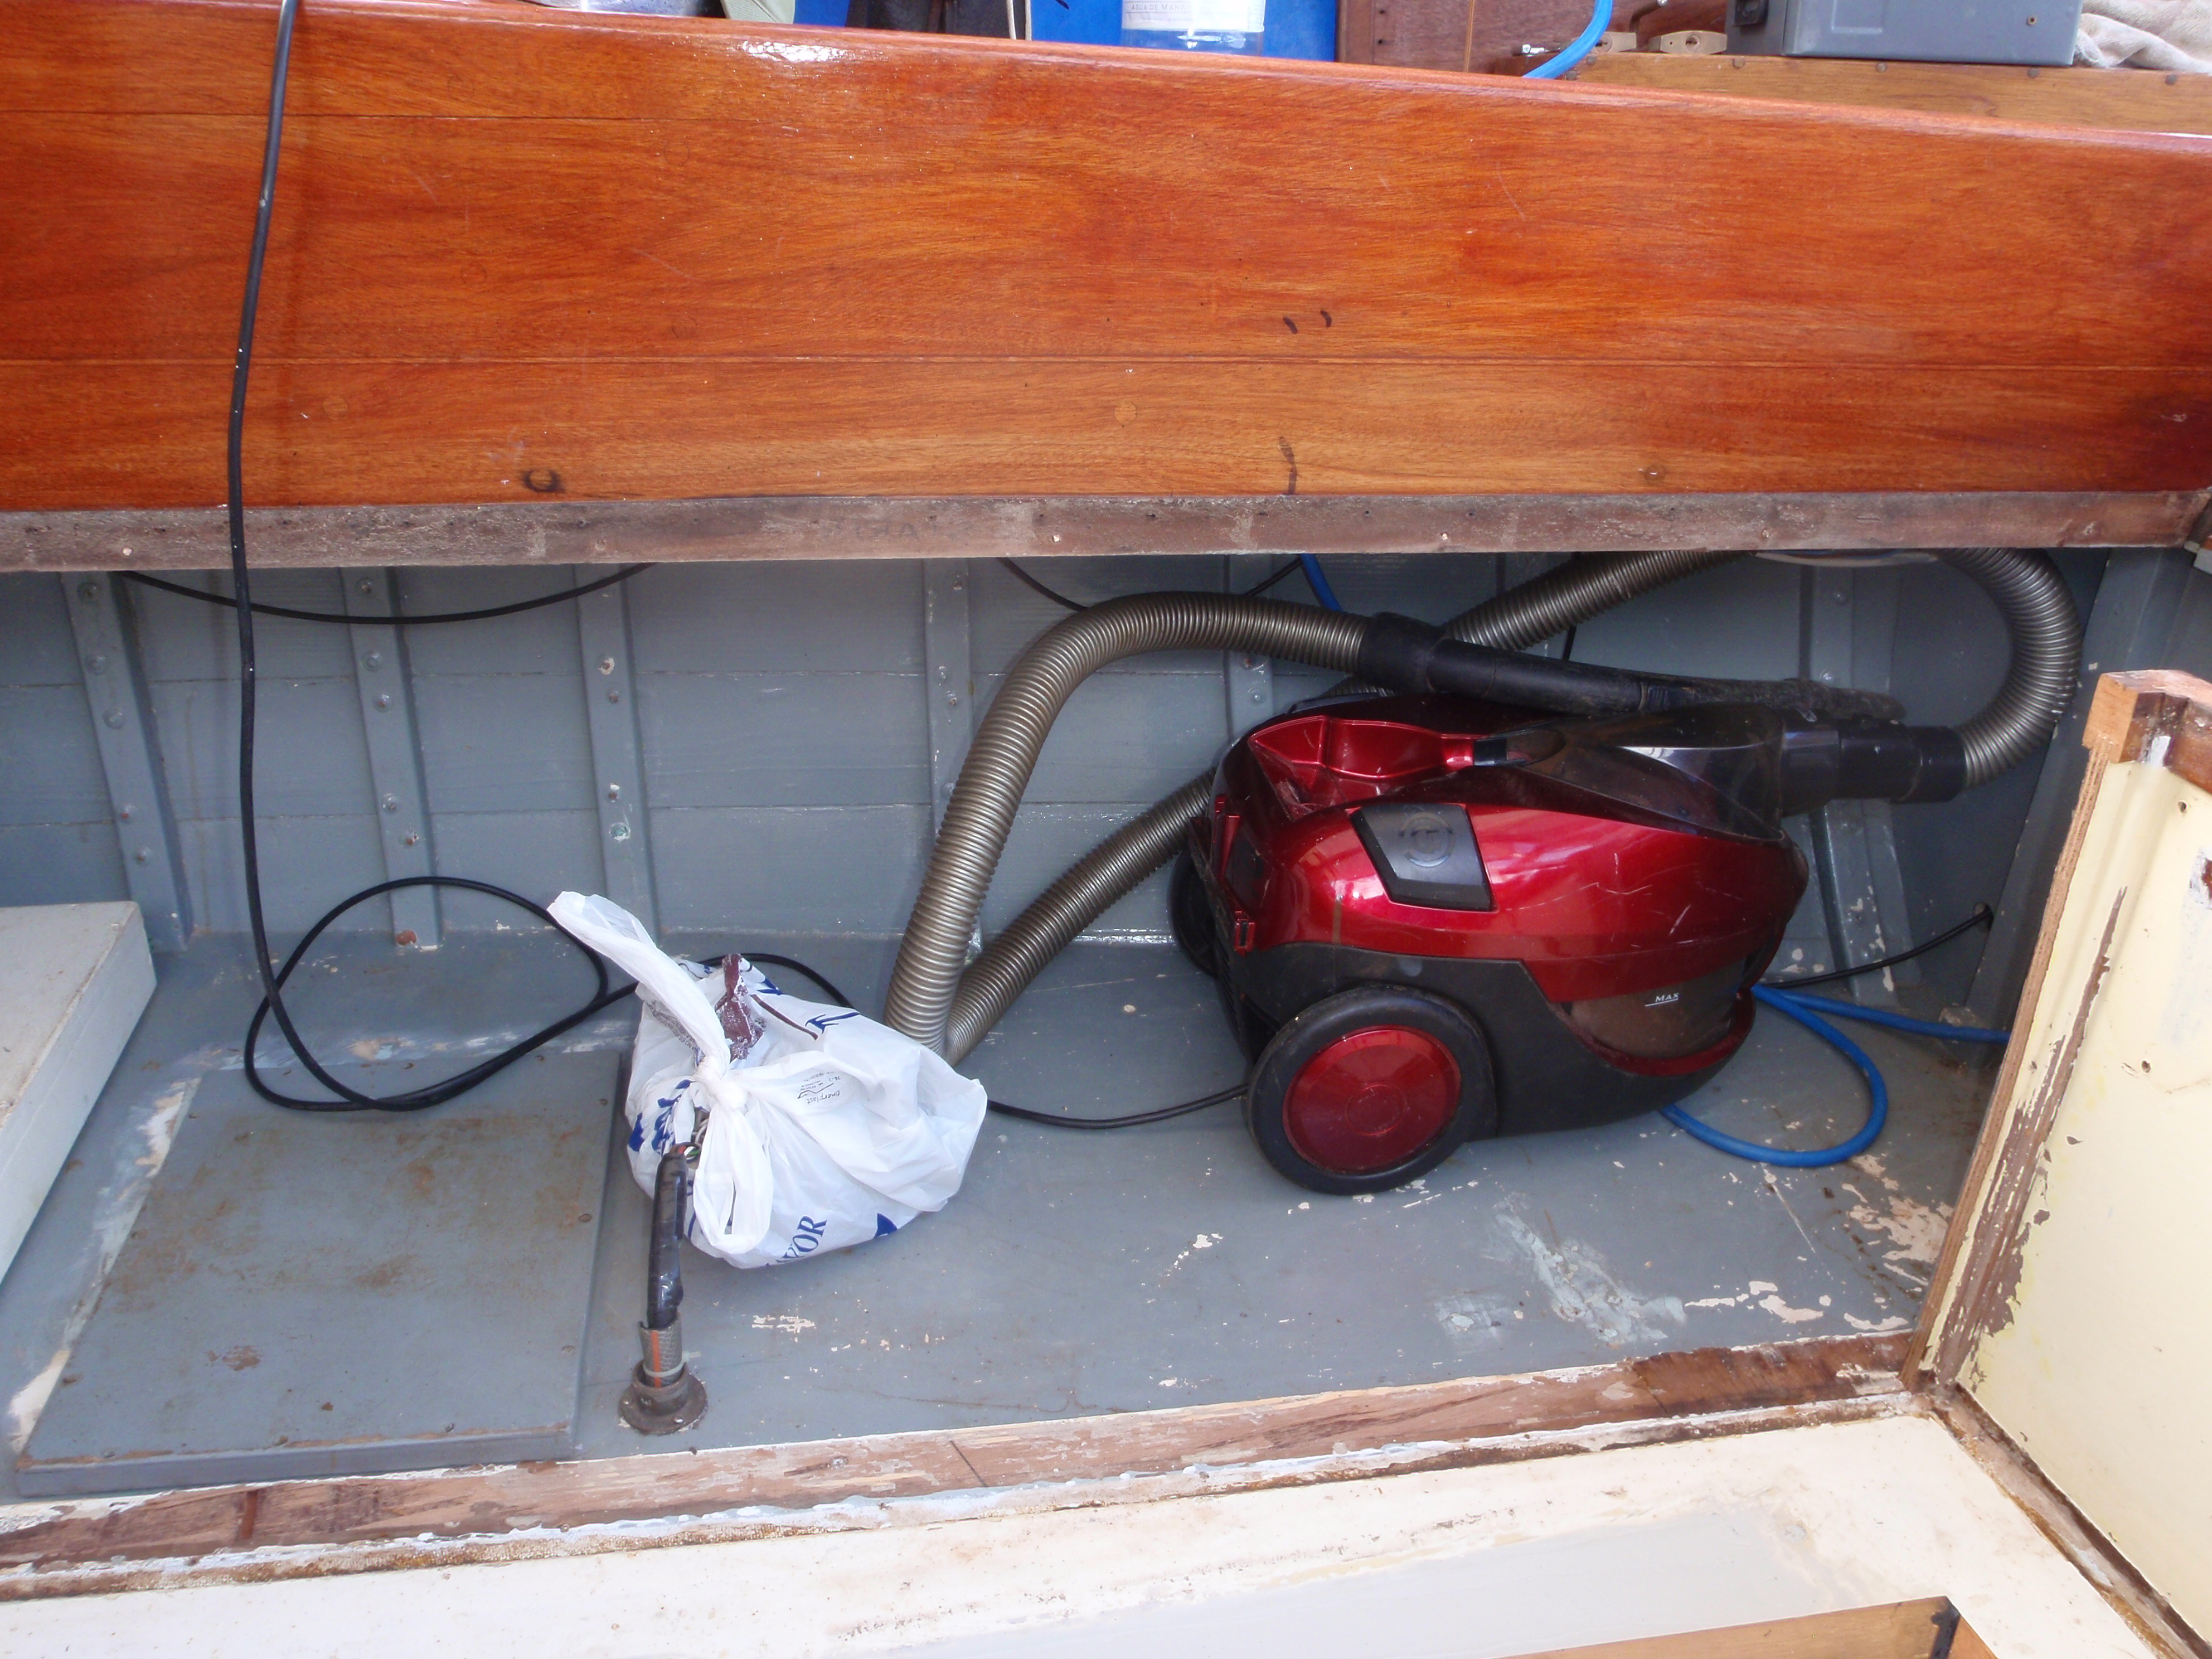
Now we can start on the other side, remove the lids, bilge pump, engine
controls and taylors paraffin tank, cross pieces and port cockpit side.
All clear for painting..
o3

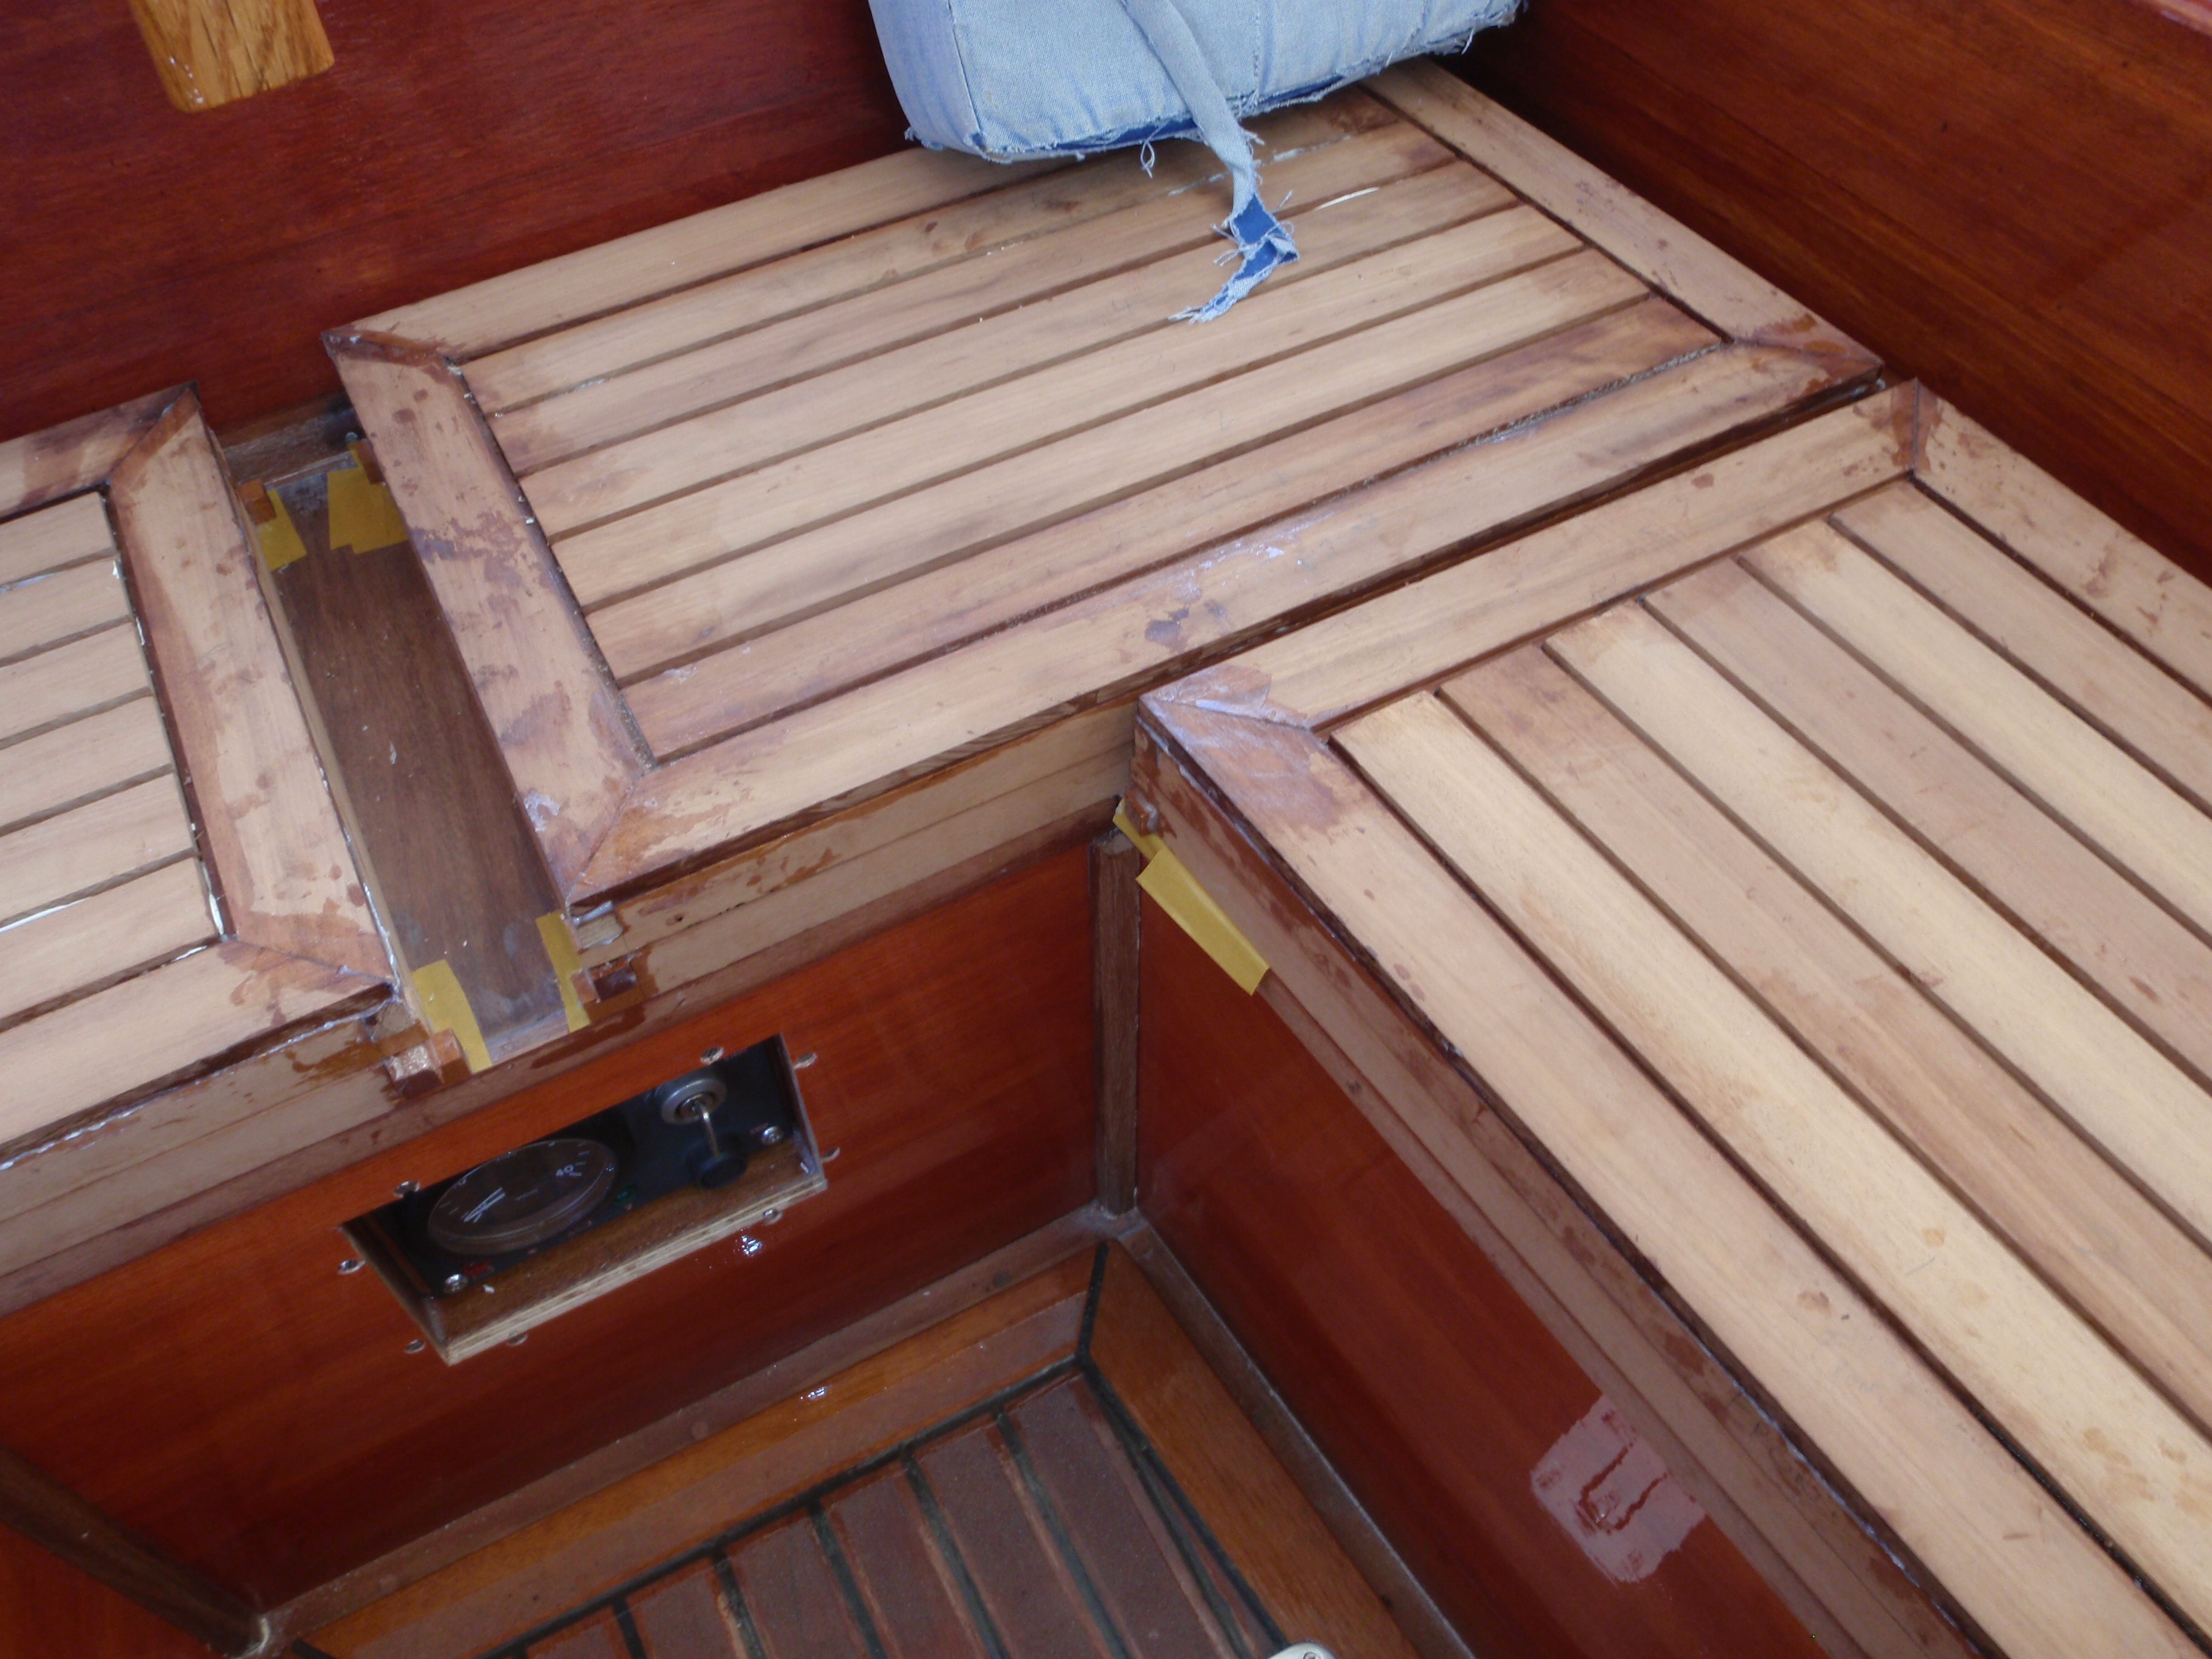
Setting up the already prepared port side and install the paraffin tank.
Looking very clean now.
p3
Epoxy everything in place, put in the cross pieces, and clamp up the
coamings
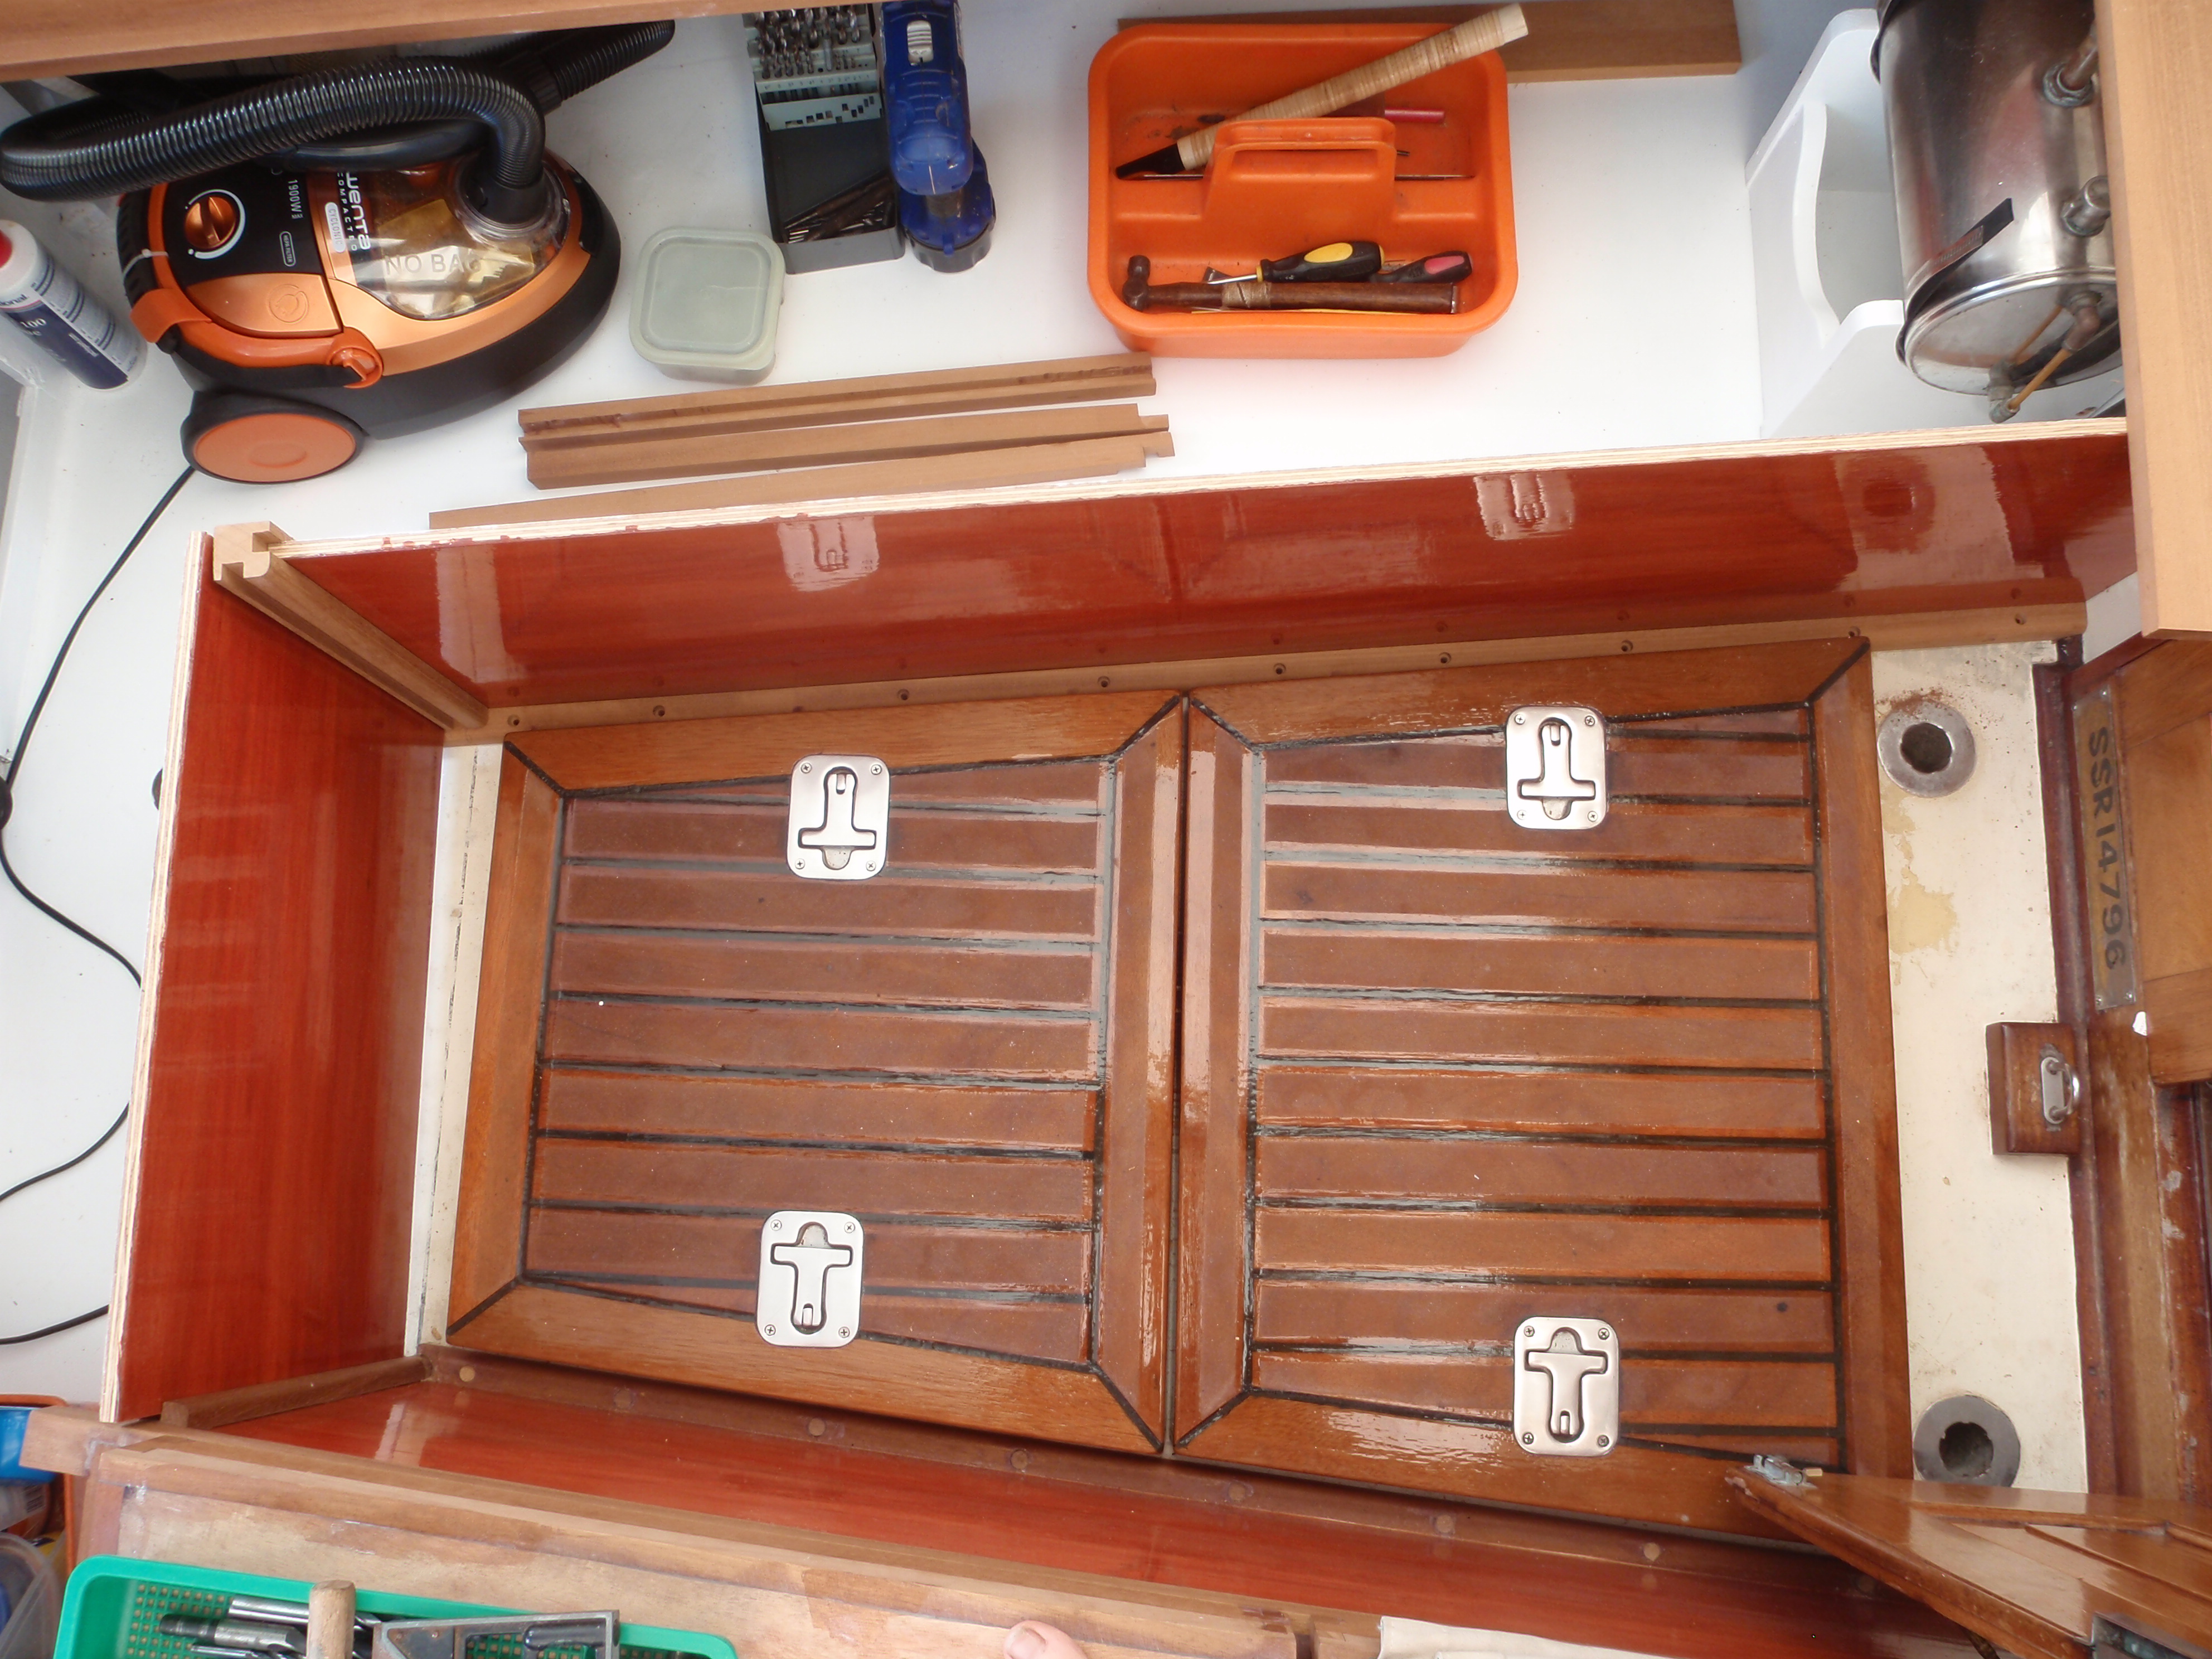
q3
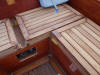
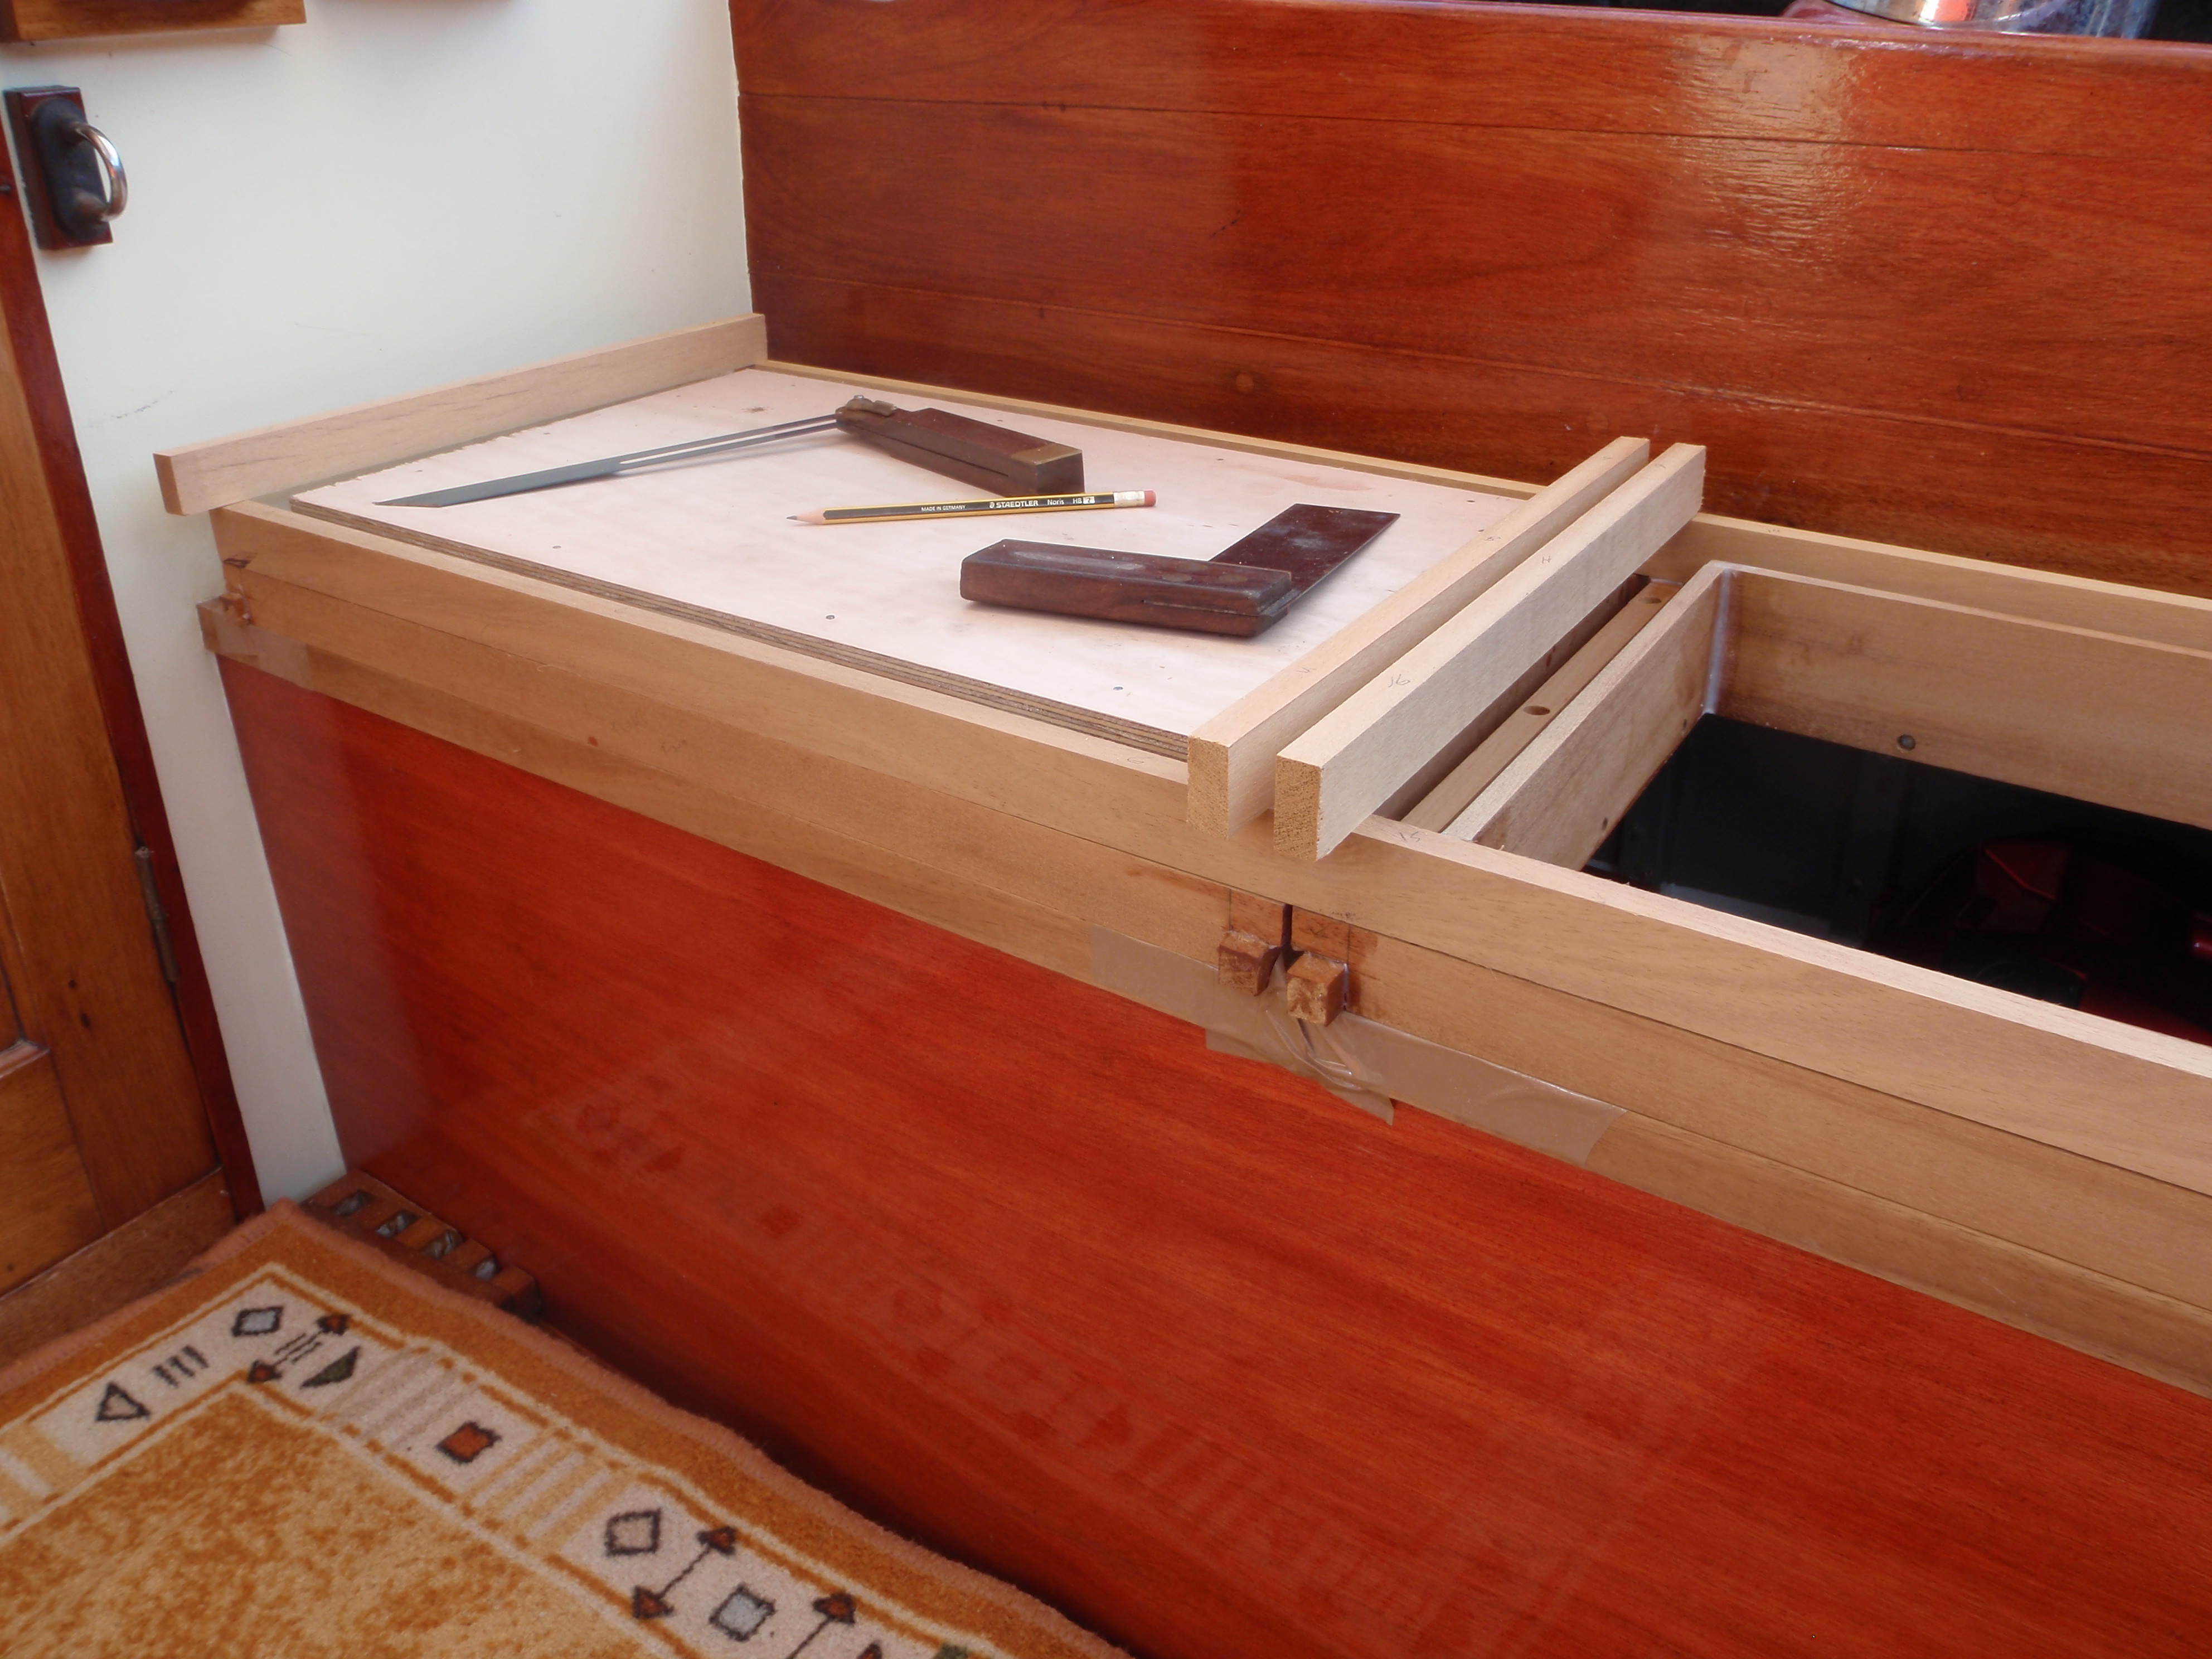
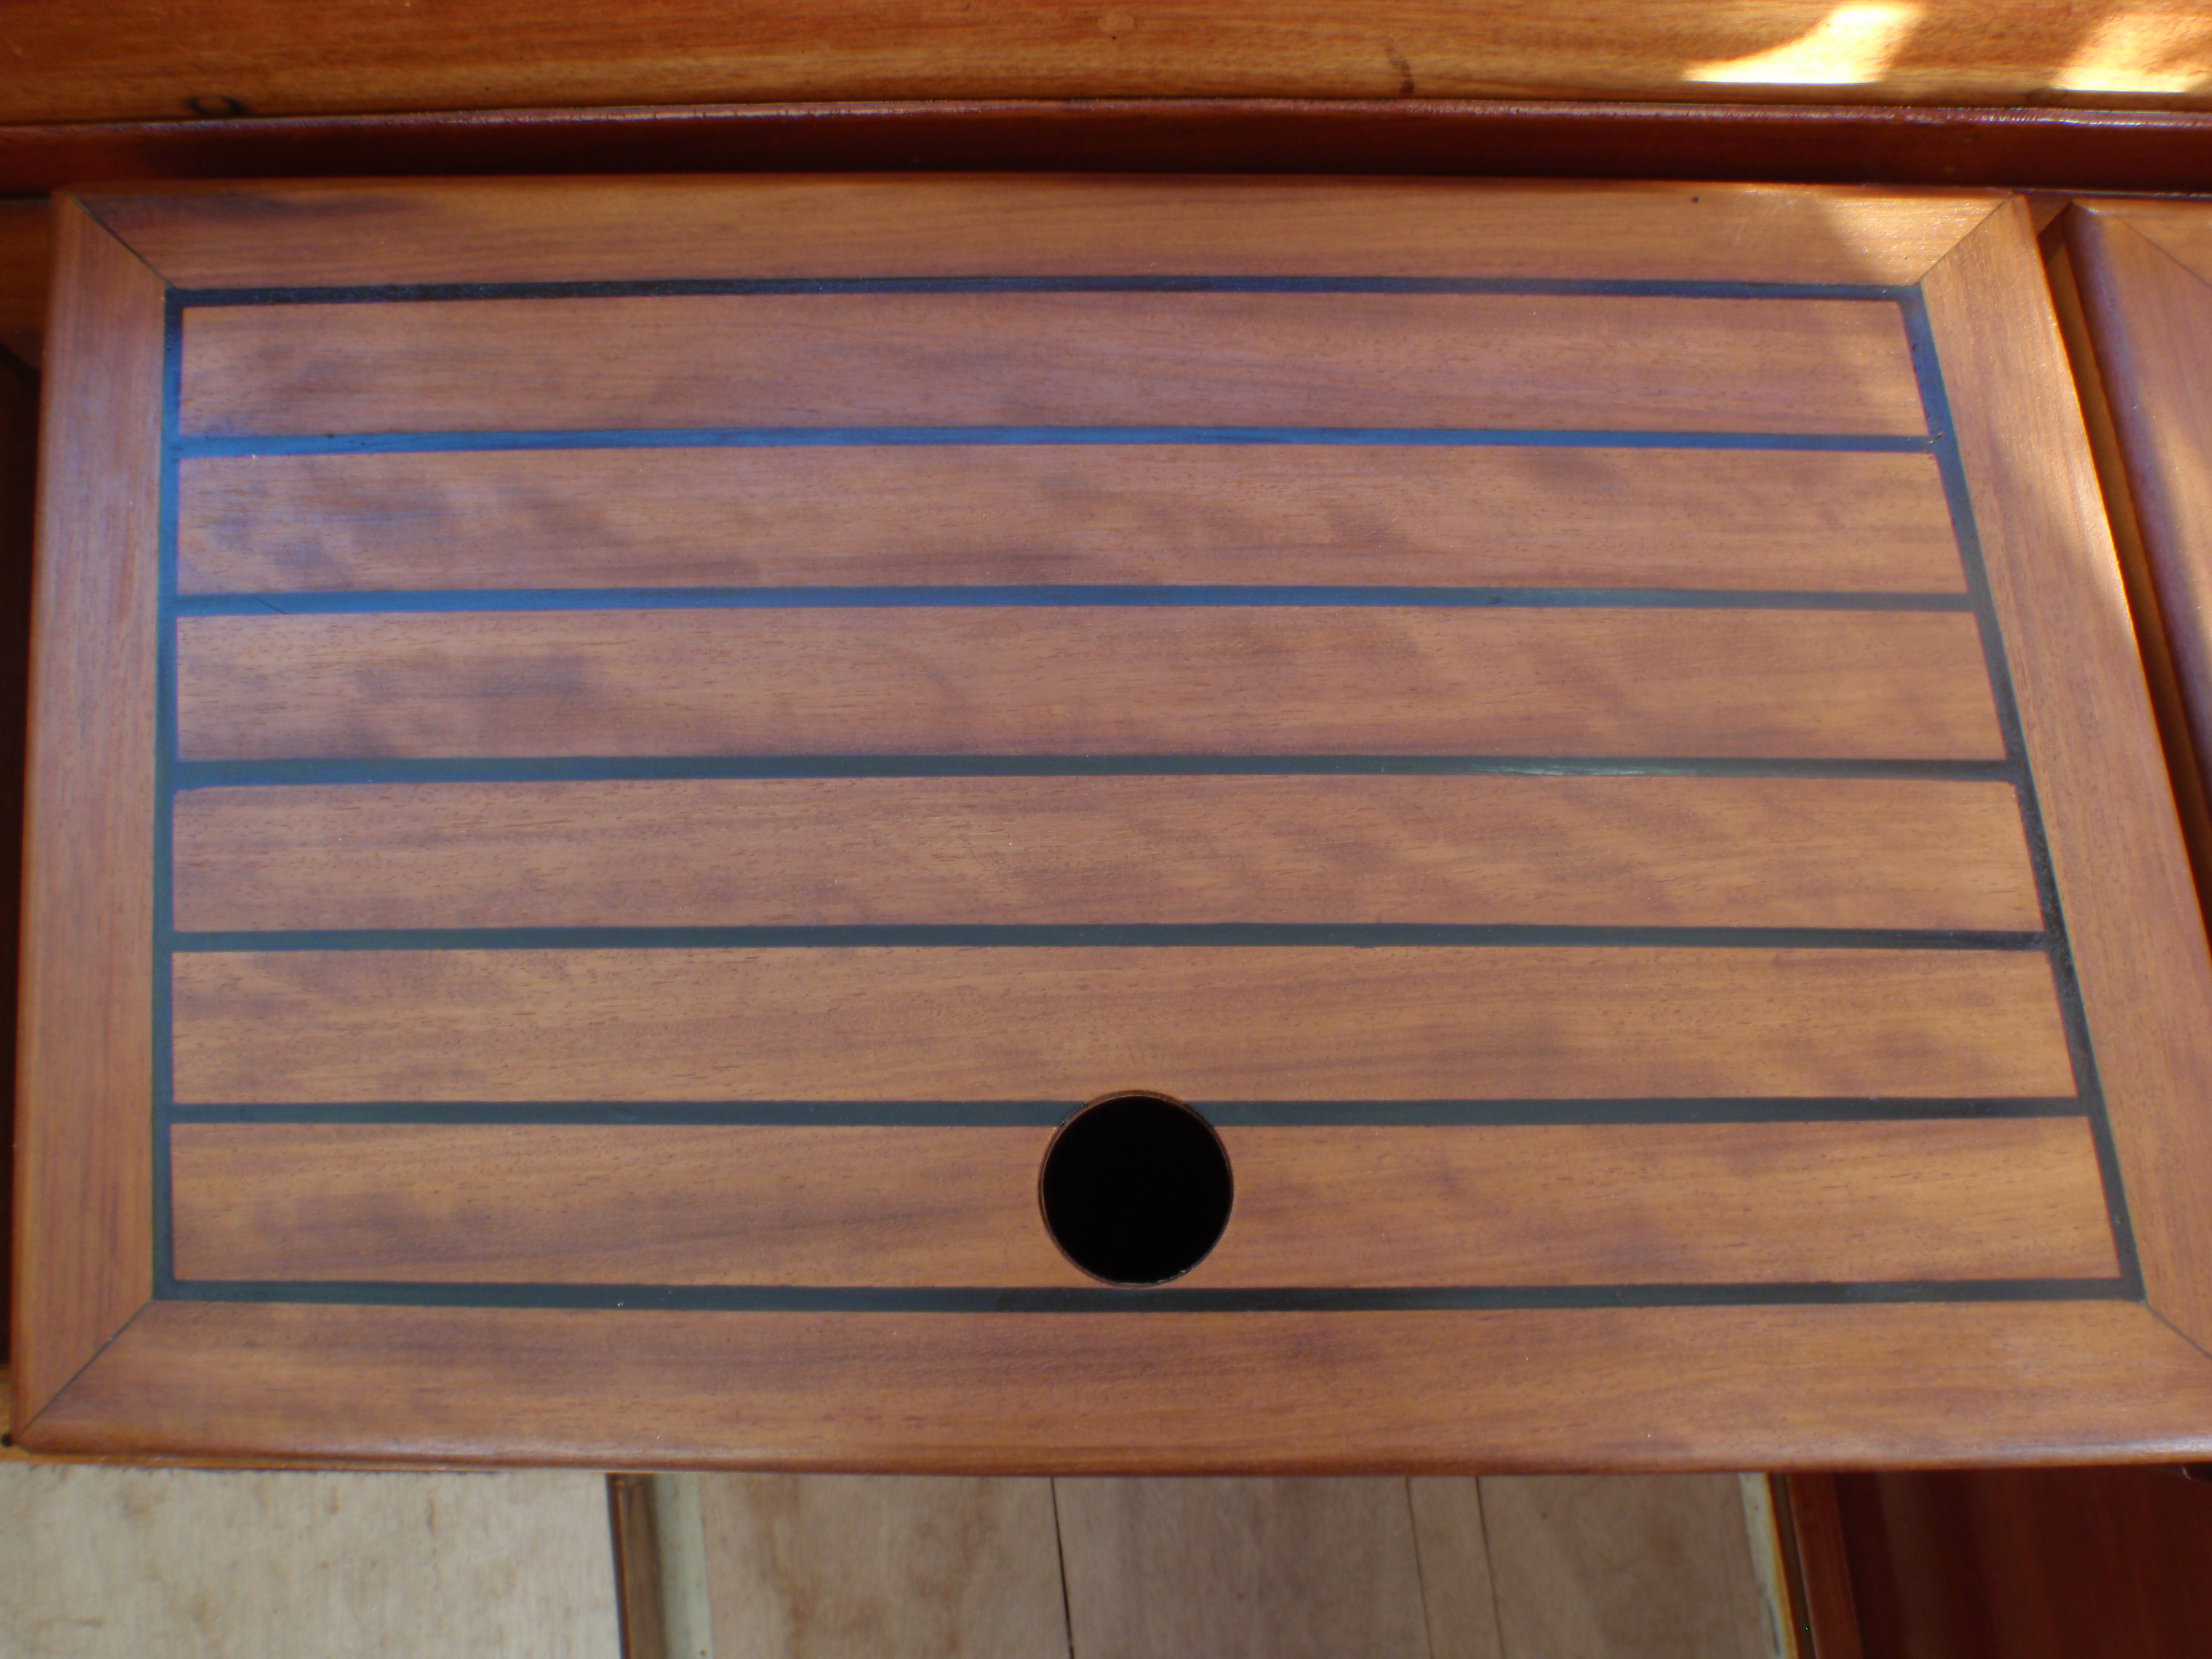
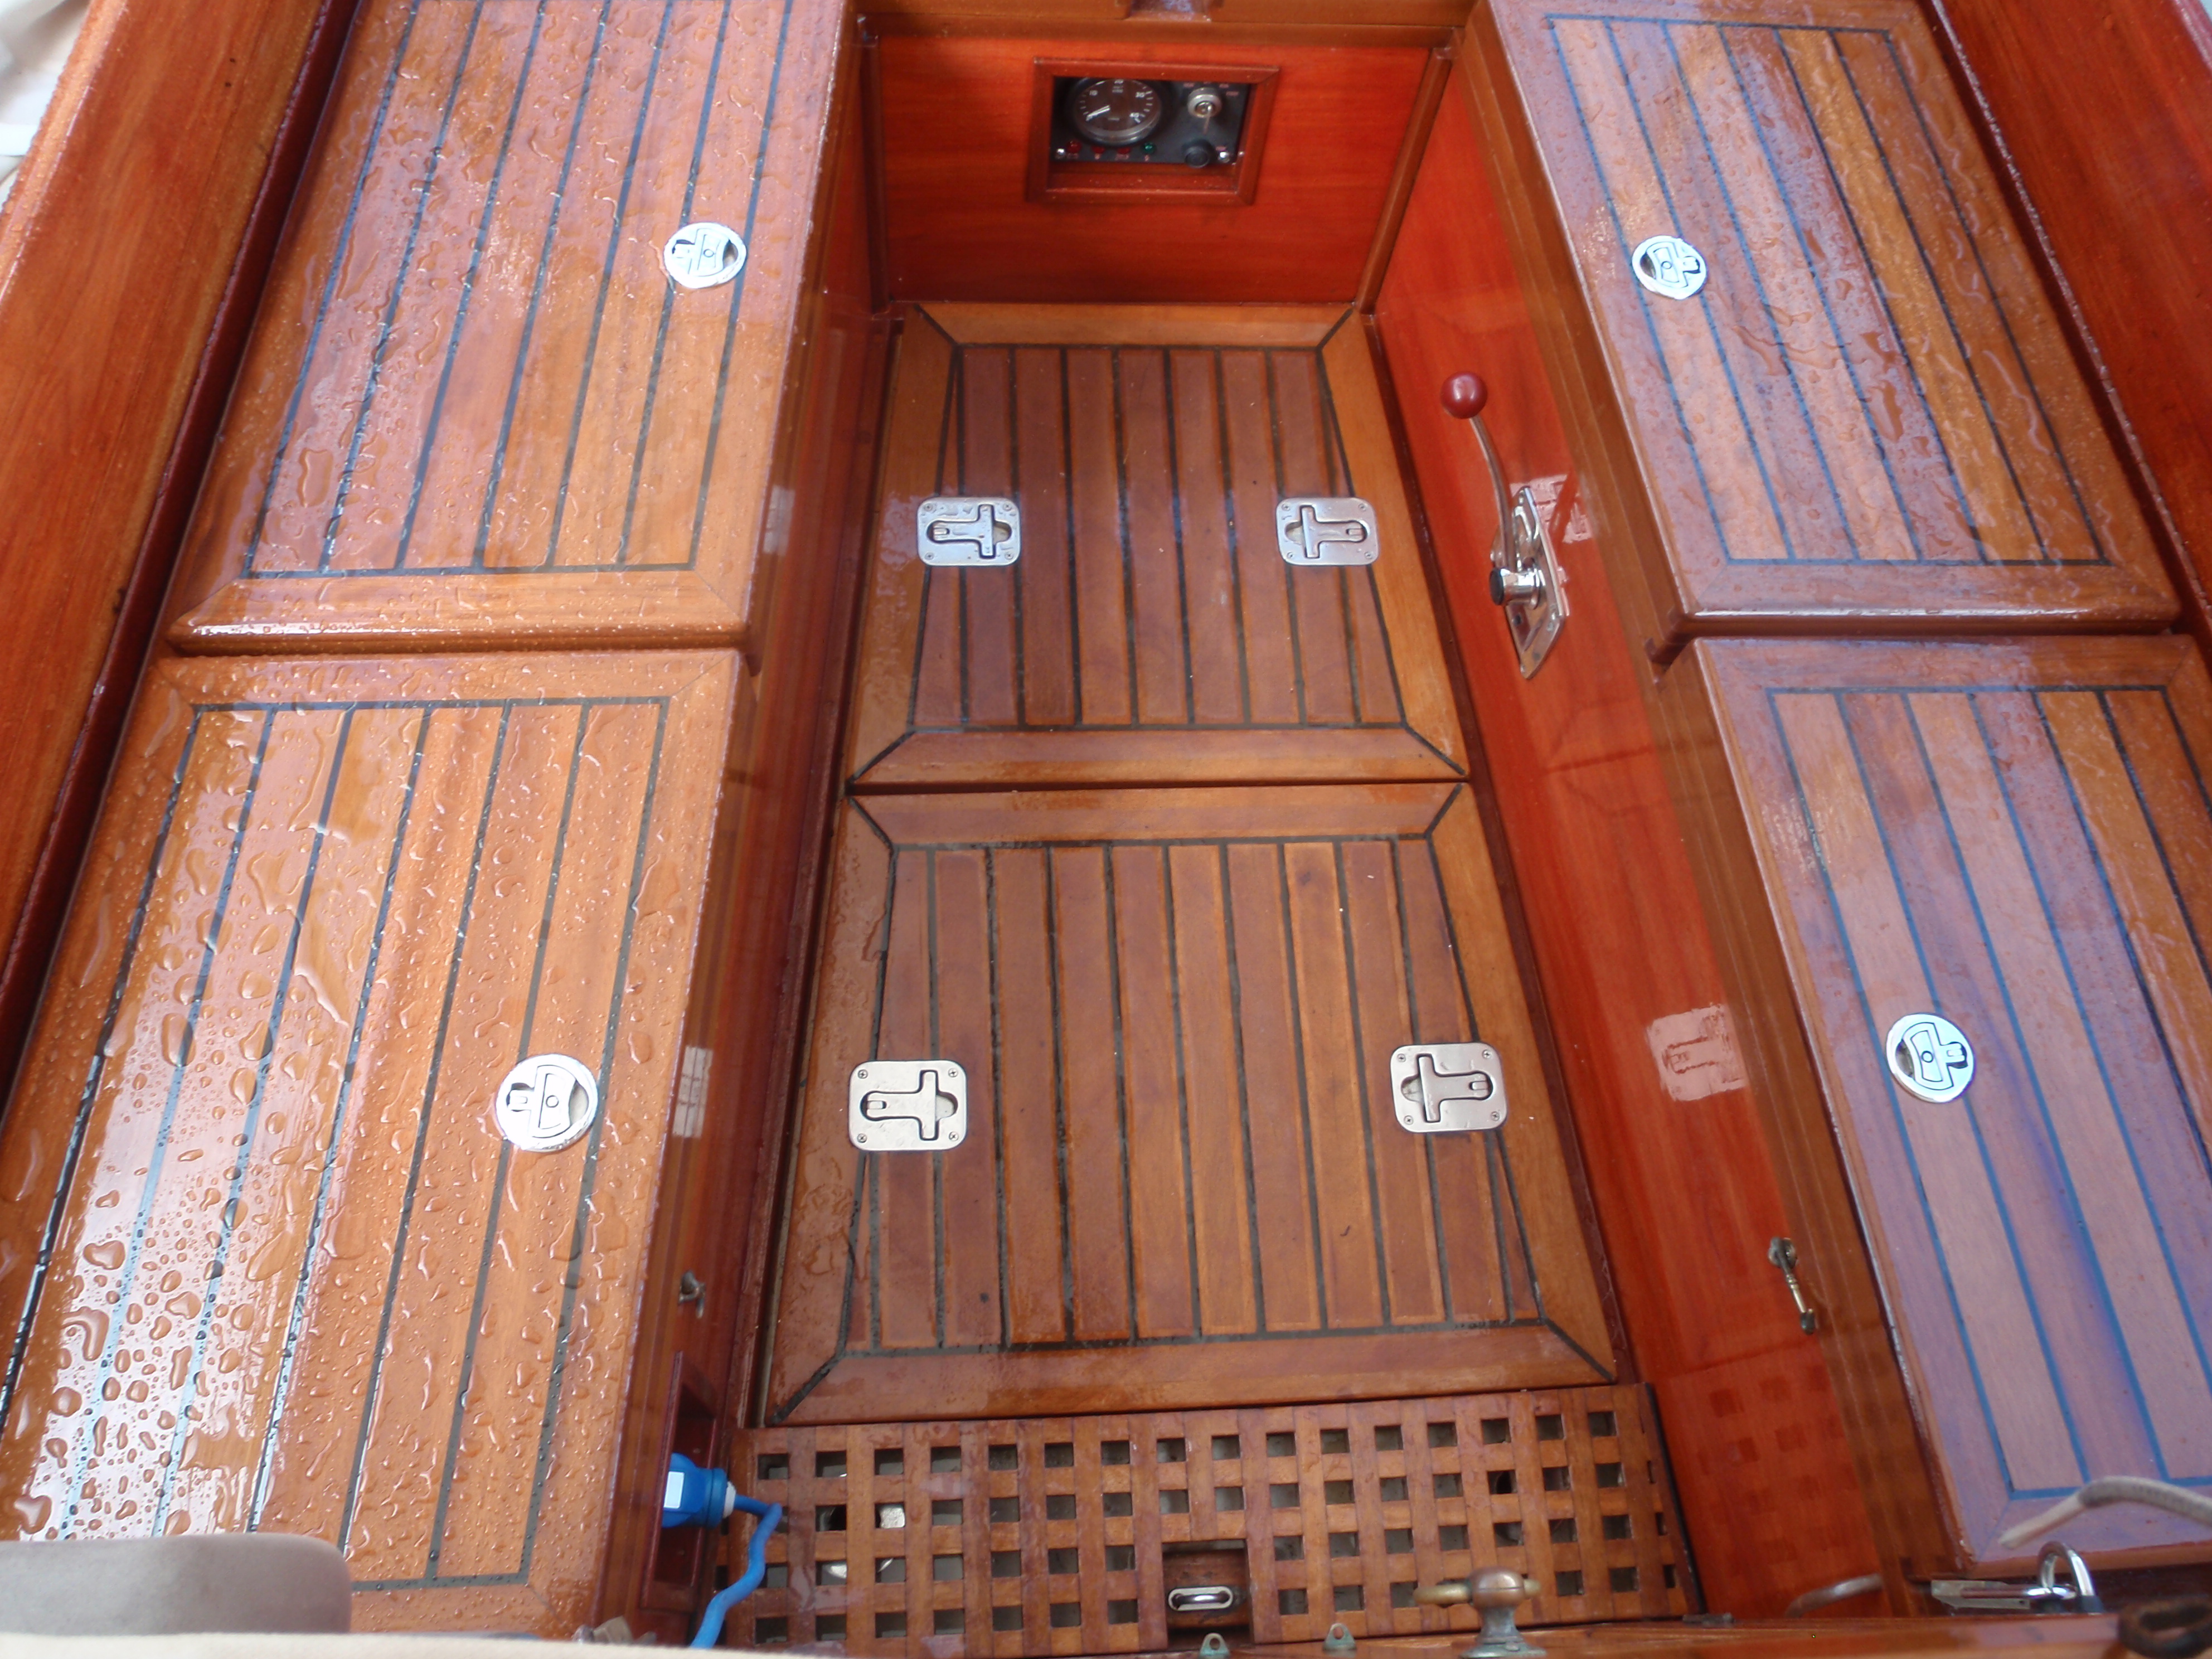
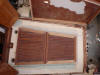
The lids were made of 10mm marine ply, covered with 10mm Iroko mini
planks. I routered a 5mm rabbit on one side to give the spacing, it was all
bedded down with black polyurethane adhesive sealent and clamped up tight.
r1
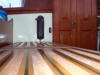
Then the edges were routered round, and all sanded off smooth.
r3
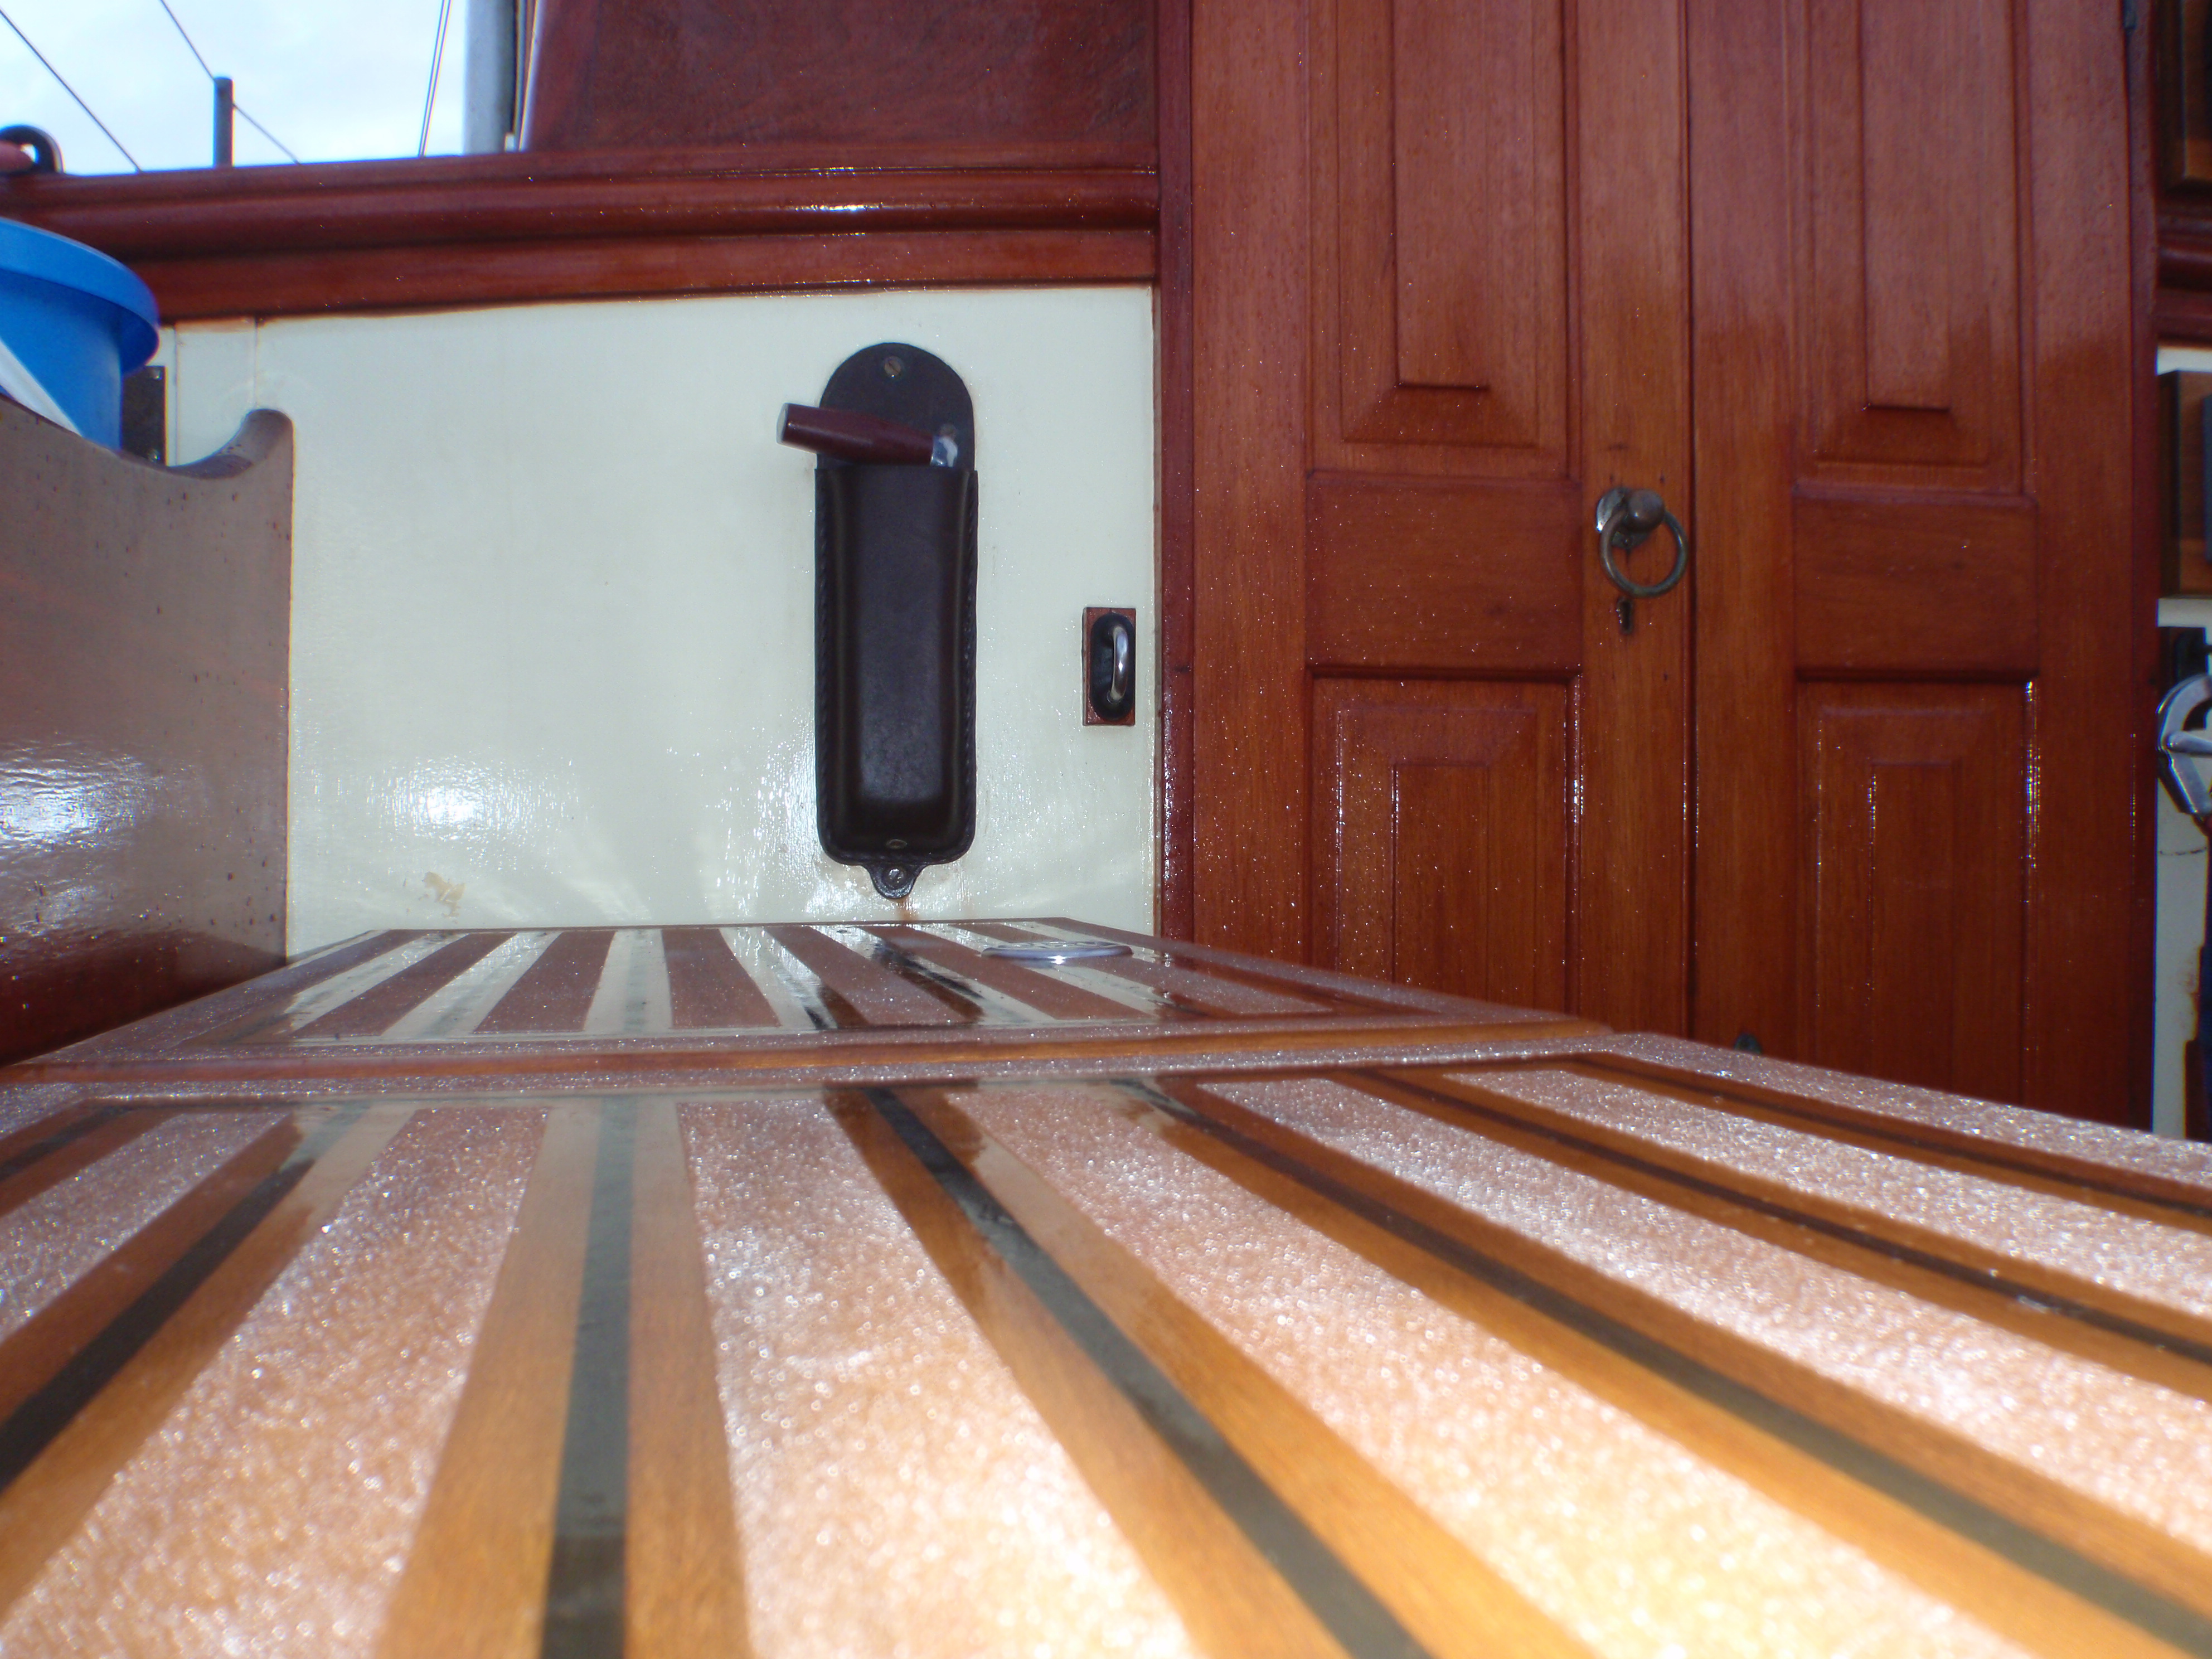
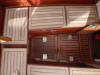
The shore power, out side socket and engine panel were inset into the
cockpit sides.
t2

Holes were cut for the catches and the Coelan primers are applied.
u1
Then the 10 coats of Coelan, meld everything together.
v2

v3

Now it can rain all it likes.
Notes:
Always work from a plan, make the mistakes on paper, it’s much cheaper.
If you come across a major problem, sleep on it.
Invest in good tools to do the job.
w1
Anti slip granules added to Coelan for good grip.
Completed in 2010 La Gomera, Canary islands.
Christopher Painting.
|