![]()
Building of Wild Duck El Barco
October 2014... now named
'Tuna'
|
During the late summer of 2012 I got a visit
at home here in Essex, from Steve Barnard and his good lady from
Spain. They came to see the remains of a WildDuck I had here.
Steve had already got the CD of drawings from us. There was little of
any use to him on the wreck here , not even the keel, as it was 3/4
ton of iron and not the easiest thing to transport. The rest of
the boat was in a very poor way with rot, corrosion and damaged frames, but
he had a look and decided he had made the right decision and was going to
press ahead with the building of one. However he planned it to be very
different, more an open day sailer with a canvas sunshade! I heard
nothing more till just after Christmas, and then the first instalment
arrived, that I have published here! I am impressed! John |
|
|
|
|
|
|
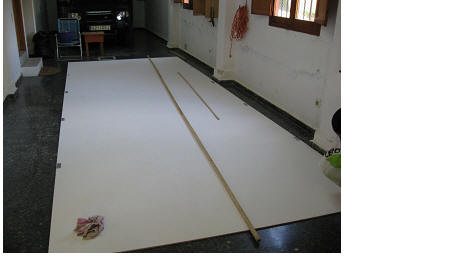
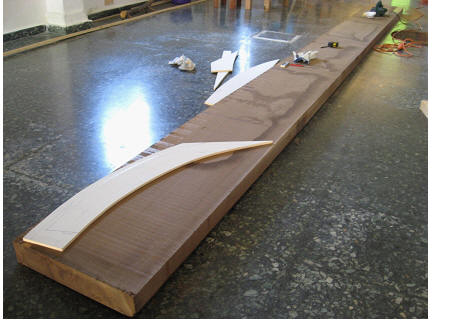
El Barco (The building of WildDuck from plans) The first step after acquiring the plans was to go down to the local printers and get the sheets printed out to full scale, eight in all. So with the Line drawing sheet, which has a scale of 10:1, the next step is to get this drawn out to full scale. This process is known as "lofting" and there are books written on how to do this, I purchased one and read it through before starting. It is not difficult once you understand all the Nautical Boat Building Jargon. The book I bought was aimed at the first time builder and explained it all quite well.
Six sheets of 12mm ply painted White and screwed together as show below
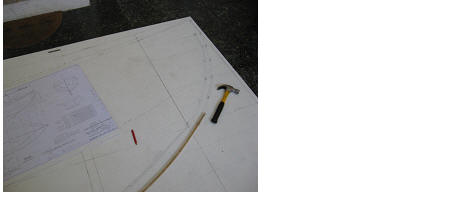
The Lofting did not take as long as expected; a chine hull has much less difficult curves to contend with than the classic wine glass or S shape hull. To draw curves you need a flexible baton so it can be bent around the nails, you then draw the line following the baton. Picture below shows some of the Lofting in progress.
Nails hammered in at heights taken from the" Offset Tables" and the "Line Drawing".
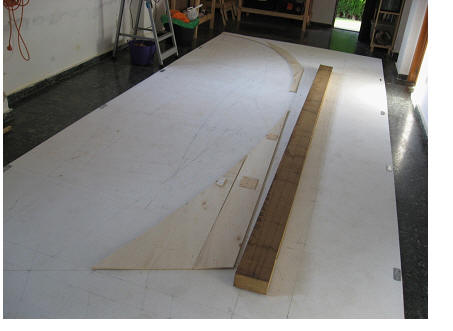
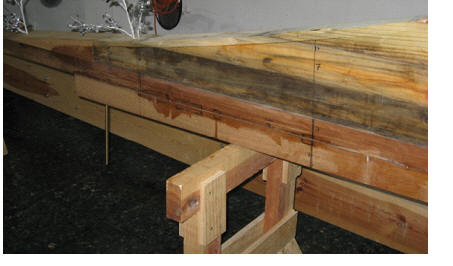
After the lofting is complete the next step is to make Templates of the various wood sections. These were "lifted " from the lofting floor by hammering small nails with the heads cut off along the lines and pressing plywood sheets to get the profile. Join the dots and cut out the plywood. The picture shows templates for the Dead wood, Stem and Bow. The first cut of the Keel was laid alongside to mark Station Lines and widths. 6 ½ x ½ meter single piece of Iroko showed up outside my house on an Artic truck. The driver, myself and a Friend helped drag it into the garage.
The Bow template offered up for size.
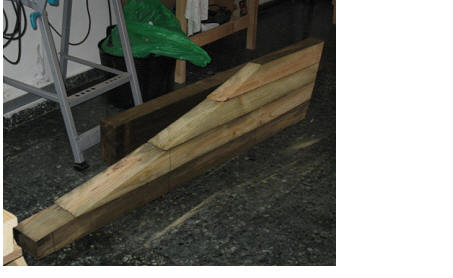
The construction of the dead-wood has begun in this photo The first real start to building was cutting the wood keel to shape, with this done it was time to start cutting out the dead wood. I had decided to use treated pine wood from the garden centre which came in 5 ft lengths of 4 x 8 inch stock, roughly the same size as old railway sleepers. It was readily available and easy to cut, offering up the templates to two or three stacked on top of each other and drawing out the shape with a felt marker pen. On the Wild Duck the keel tapers towards the stern, so putting one of these on top of the keel and outlining the shape from underneath was the way to do it. You can see from the photo above that they are stacked up on each other to be epoxy glued later. There are wood dowels to keep them centred when trimming the shape with a wood plane.
The very top piece is Iroko. In this picture they have still not been epoxy glued.
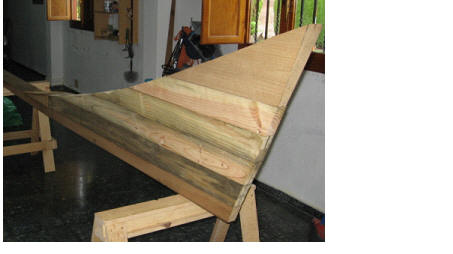
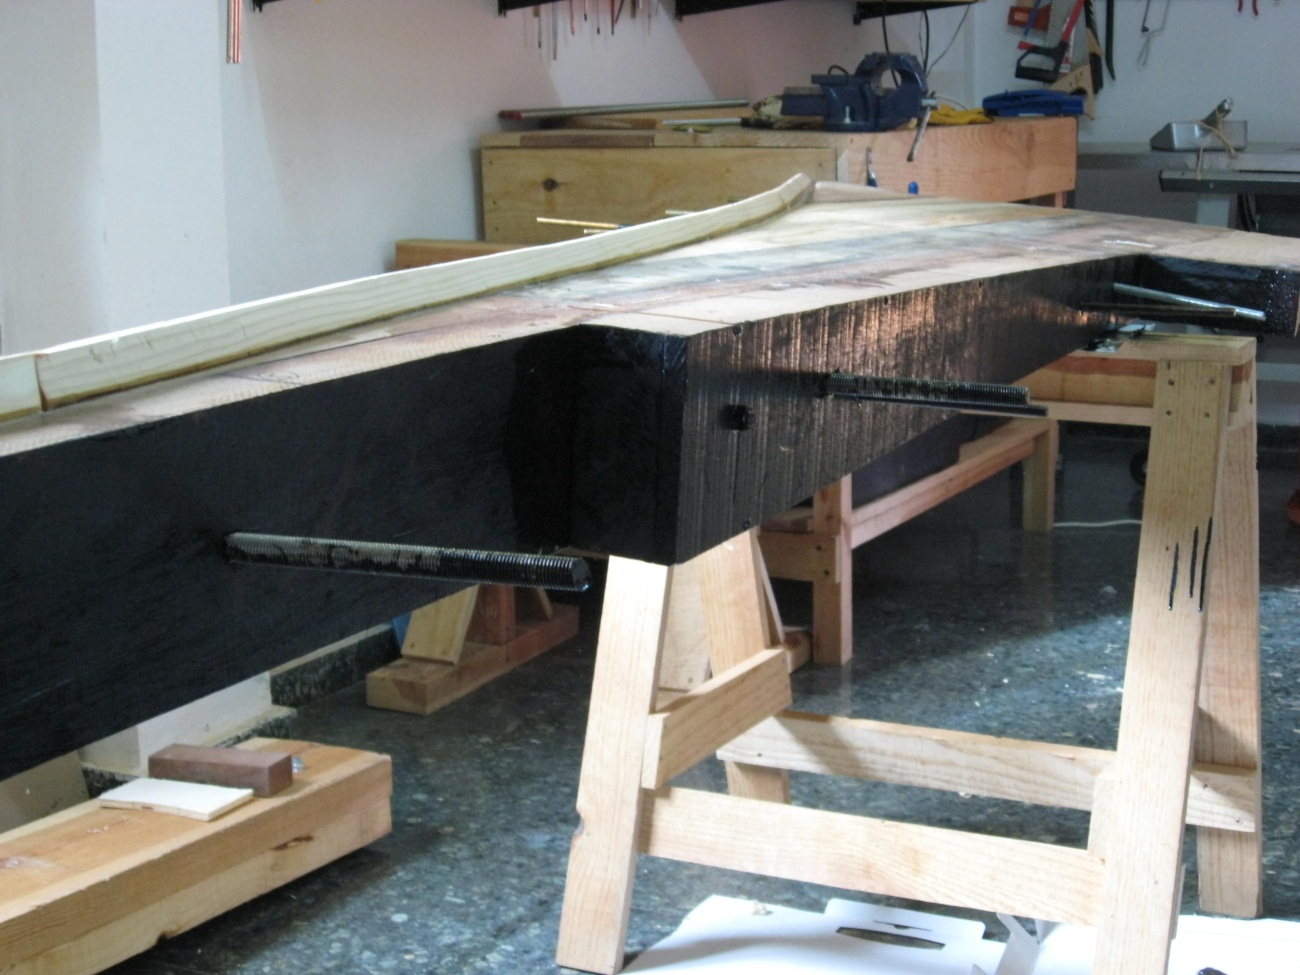
Above you can see the deadwood epoxy glued to the keel. The bolt holes were drilled before gluing and marked out with felt pen on the side. Later brass rods will be bolted through the dead wood section. You might guess it is Christmas time.
The view above shows some of the dead wood epoxied under the keel as well.
Part of the stem and mast step has also been glued and bolted to the keel in this photo
Here we are at Christmas with the Backbone just about complete. The bow piece of the stem will be glued after cutting the rabbit and shaping the cut-water of the stem. This will allow the whole thing to be put on its side for easy working position. It’s still not too heavy to move about at this stage.
|
| 8th February 2013 next update!
|
|
|
El Barco (The building of wild duck from plans) page 2
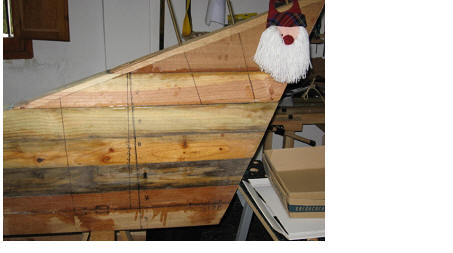
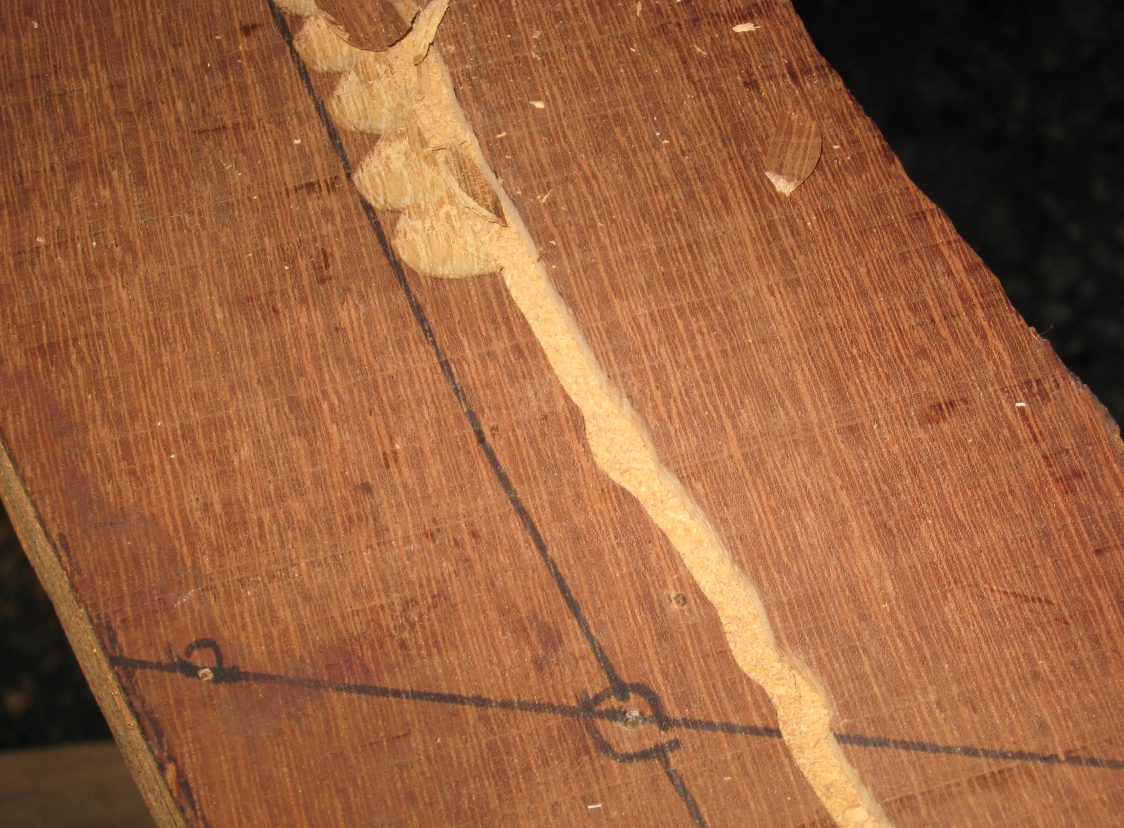
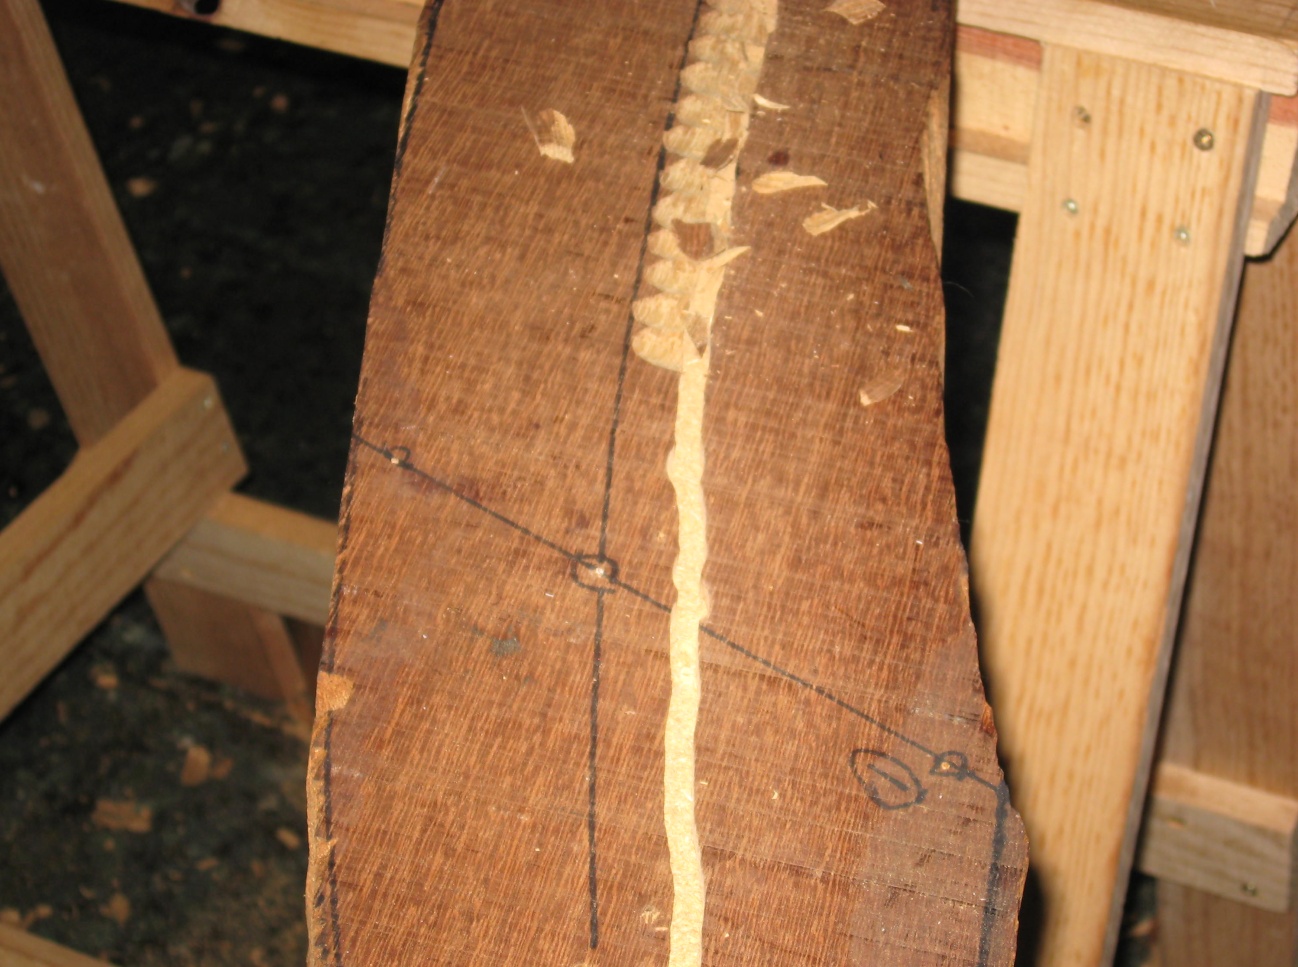
Starting to chisel out the Rabbit line on the Stem.
Fast forward to job done. It took a few hours but I'm not in a hurry. Note that the cutwater has also been done. Of course this is only half of the work because the Stem head has to be clued and bolted on and then the Rabbit extended. I decided to do this after the Ballast keel is installed so that I still have room to move the backbone around in my garage. Next job was to install the Hog, see pictures below.
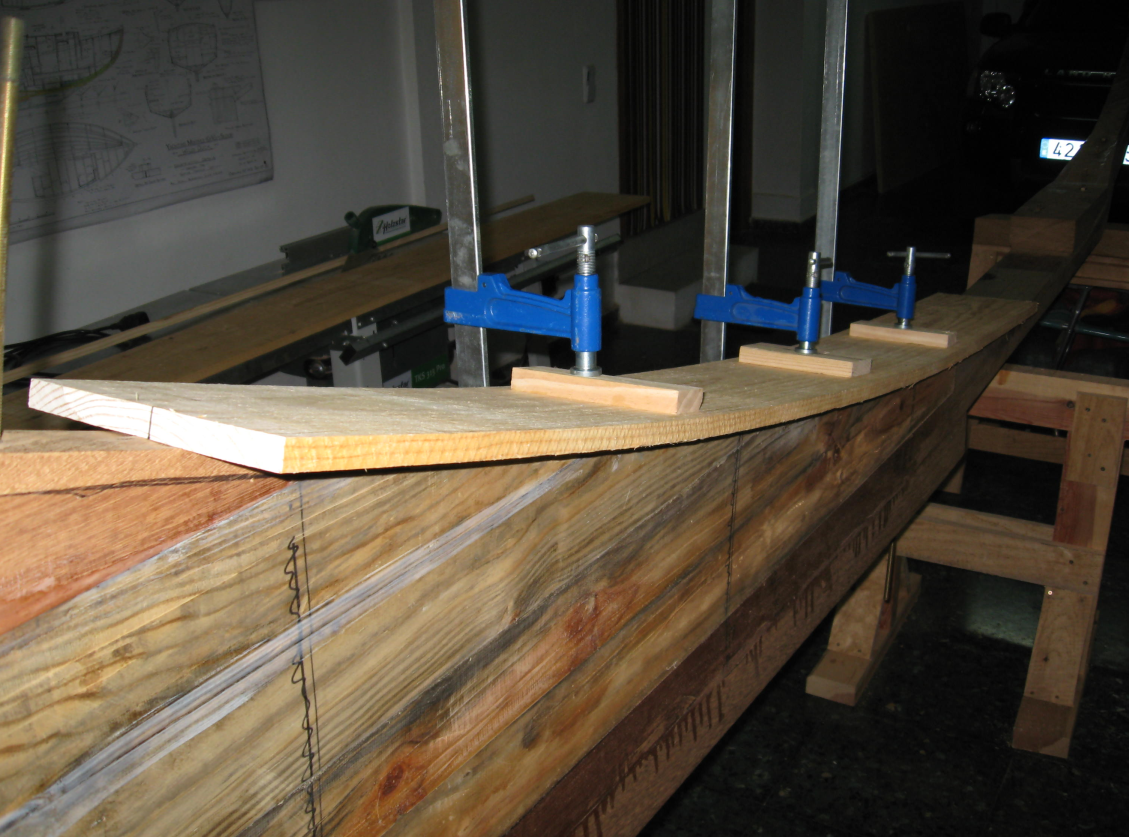
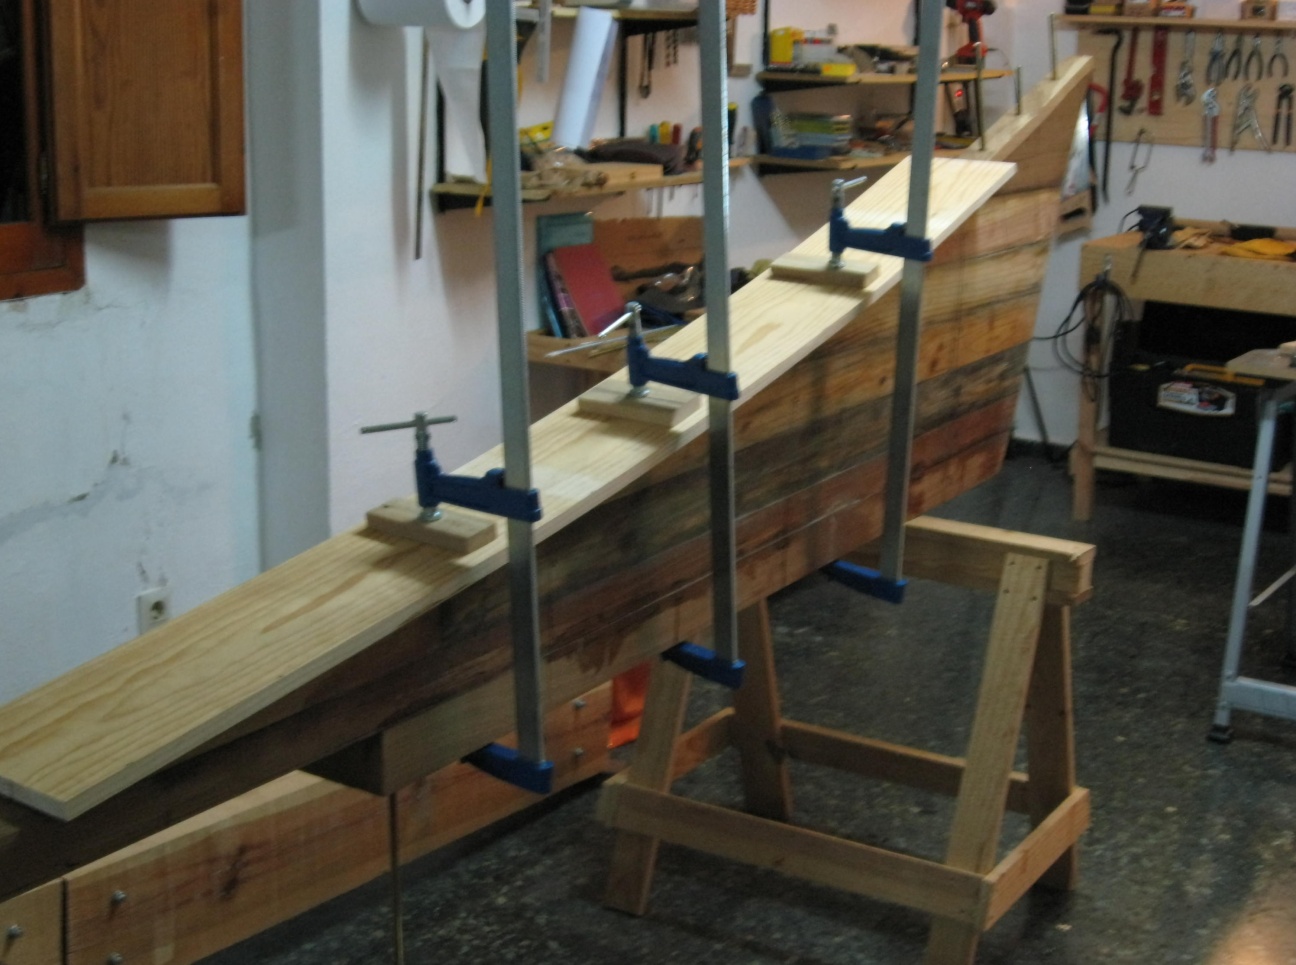
I had to do this in three pieces, one long piece for most of the curve and two shorter cuts where it levels out at the Mast step and at the stern. This was because I couldn’t get one long piece to bend without leaving too much of a gap where it levels out.
I used an 8" x 7/8" clear Pine clamped as shown then drew a line from underneath to follow the taper of the keel and dead wood assembly. With this done it was taken off and a second line drawn parallel 1" wider, this was then cut to shape with a circular saw. The same process for the two smaller pieces at the stern and stem.
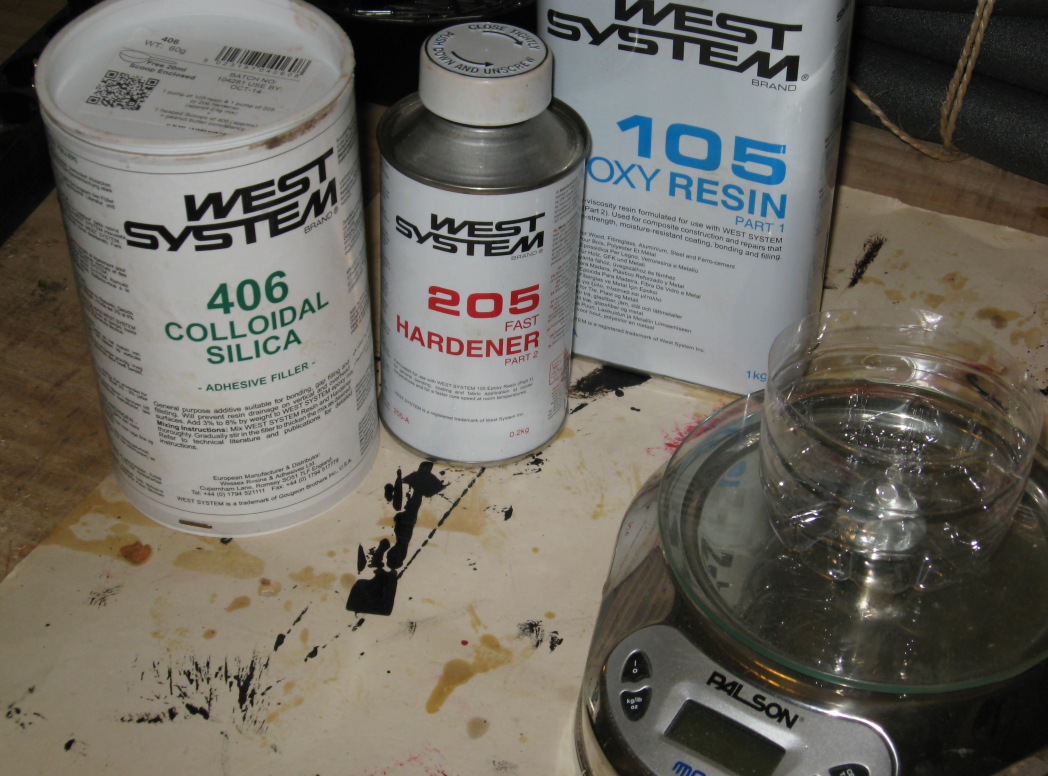
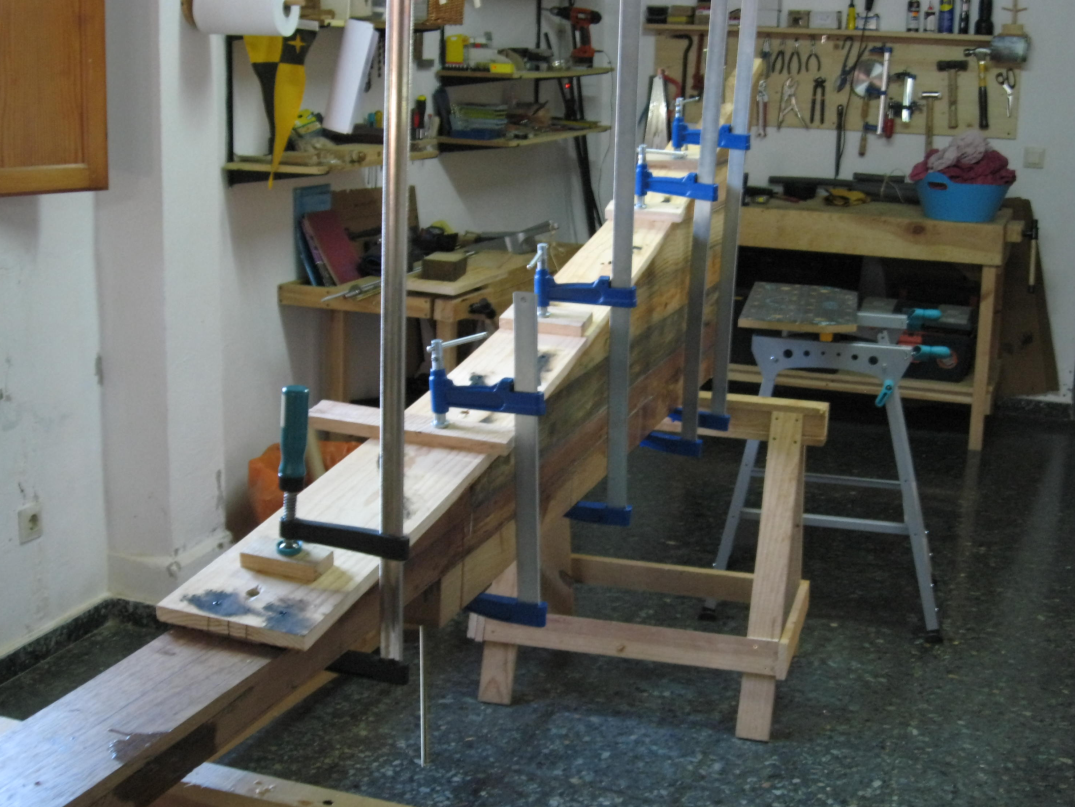
Next job was to glue the Hog to the Backbone. The picture above shows my set up for using Epoxy. A plastic bottle with the bottom end cut off is put on kitchen scales. An amount of Resin is poured in and the weight in grams divided by 5 is how much hardener to add. This is then stirred up with a piece of wood and the two surfaces to be glued are primed with the clear Epoxy mix. Filler is then added to give a peanut butter consistency which is then spread on. Everything is then clamped up and all excess wiped off with a cloth. Wait 24 hours before removing the clamps.
The Hog is glued and screwed with 5 x 50 mm stainless steel wood screws. The screws were dipped in Bitumen paint.
|
|
|
August 2013 the latest news. El Barco (The building of wild duck from plans) page 3
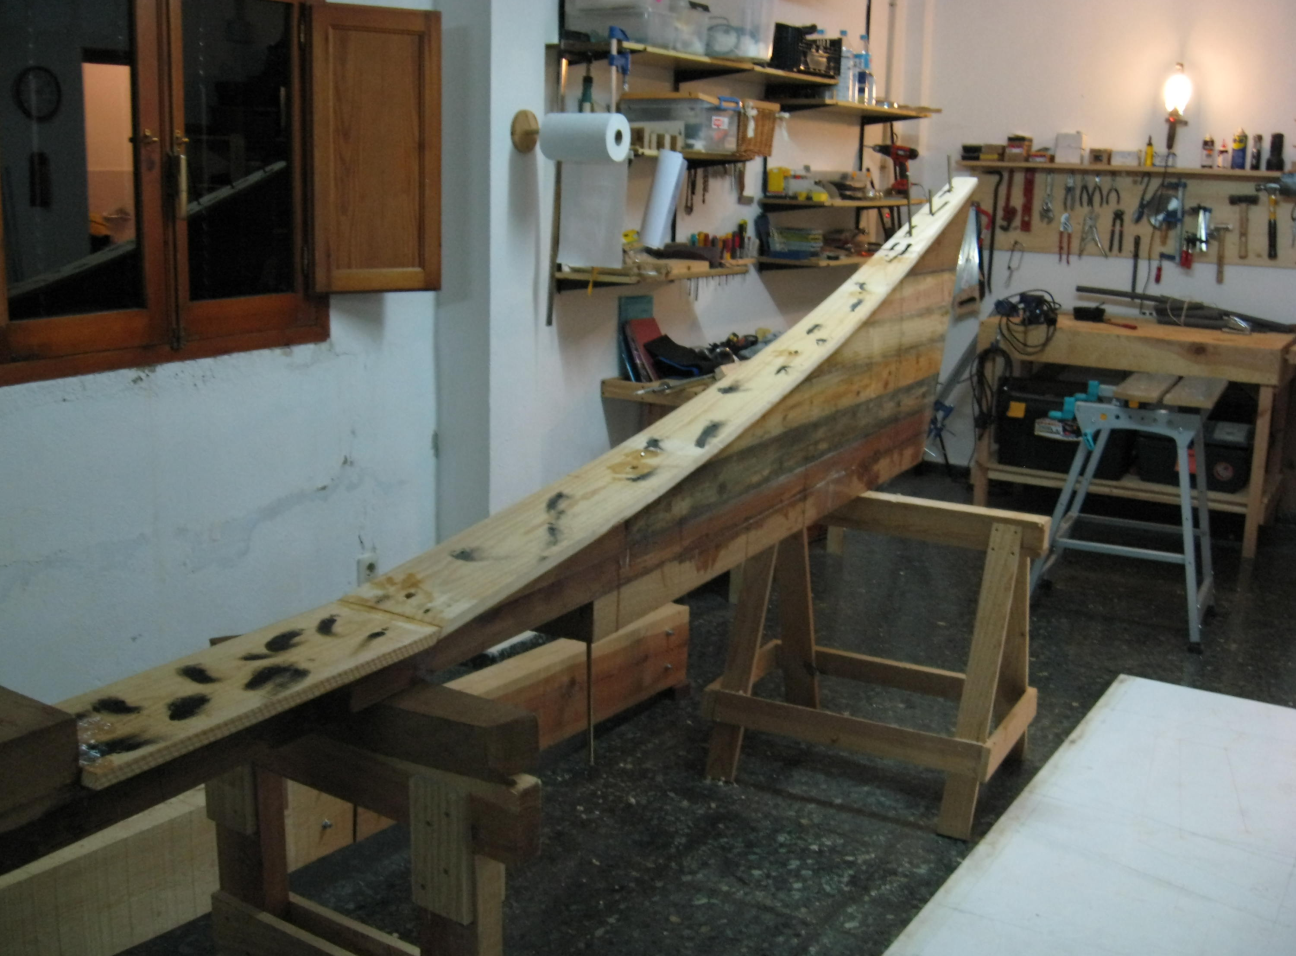
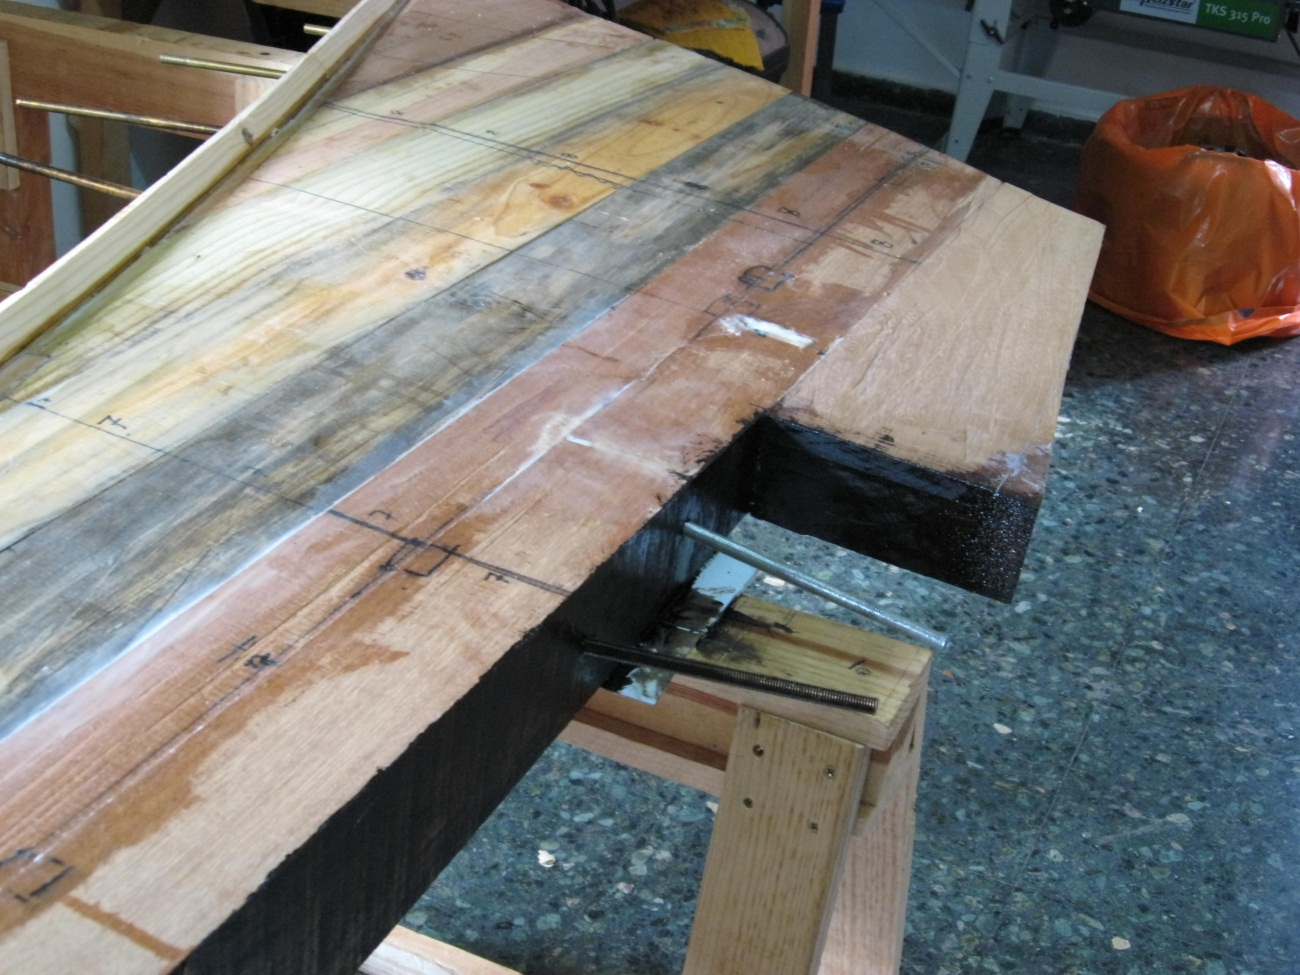
Planning the Hog to get an angle roughly correct to receive the planking later.
The underside of the keel coated with tar paint prior to making the Ballast Keel.
In this photo you can see that the Ballast keel will not go all the length of the boat, but stops short. This is to give enough width to the concrete as the taper of the keel ends up quite thin.
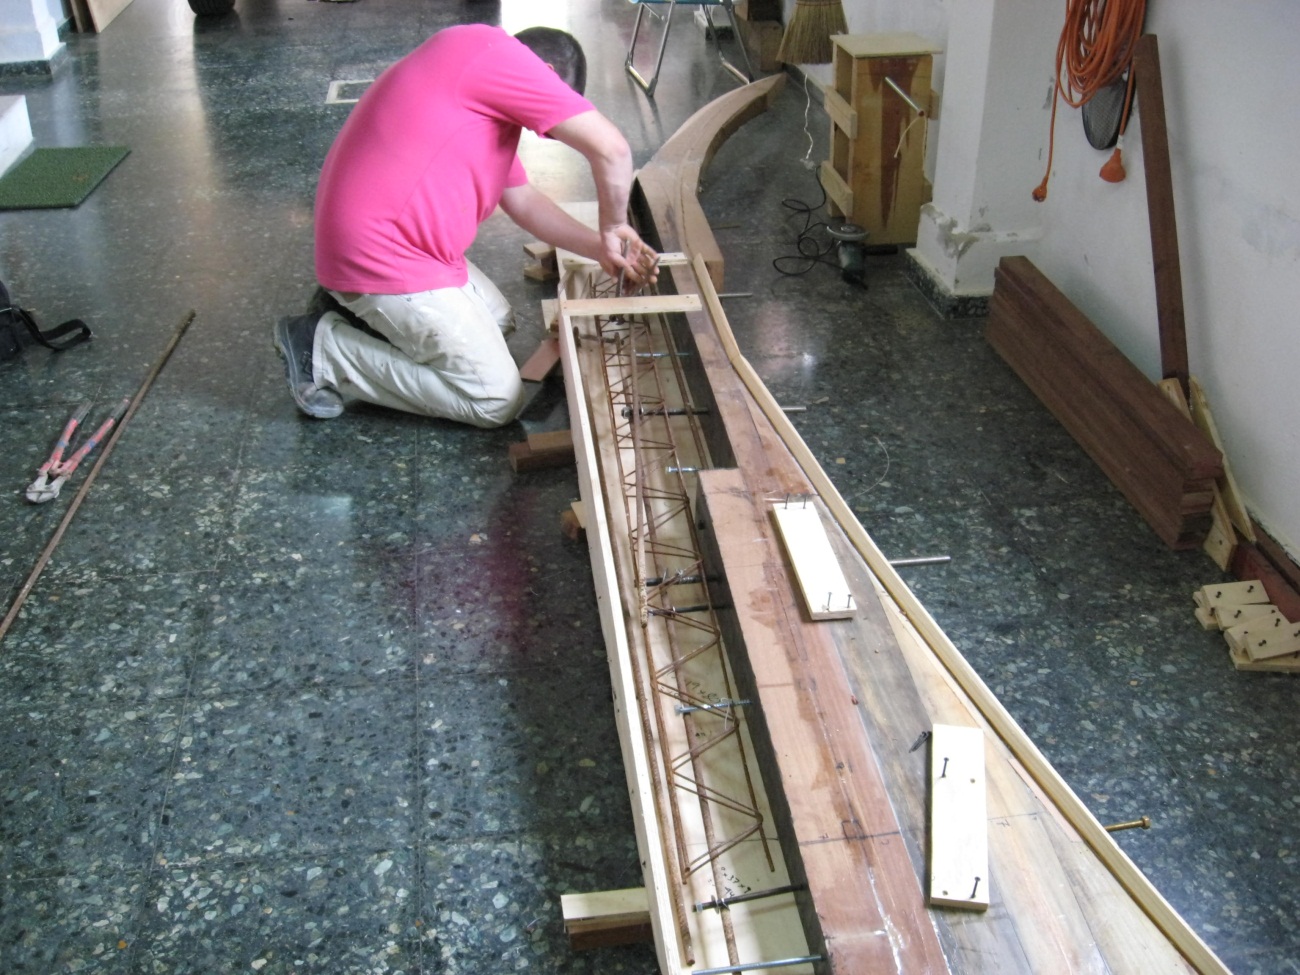
The keel outline has been made with ½" ply and boxed to follow the taper of the keel. You can see here the cementer tying in the re-bar to the keel bolts prior to pouring the concrete.
A close up of the mid keel section at station 5.
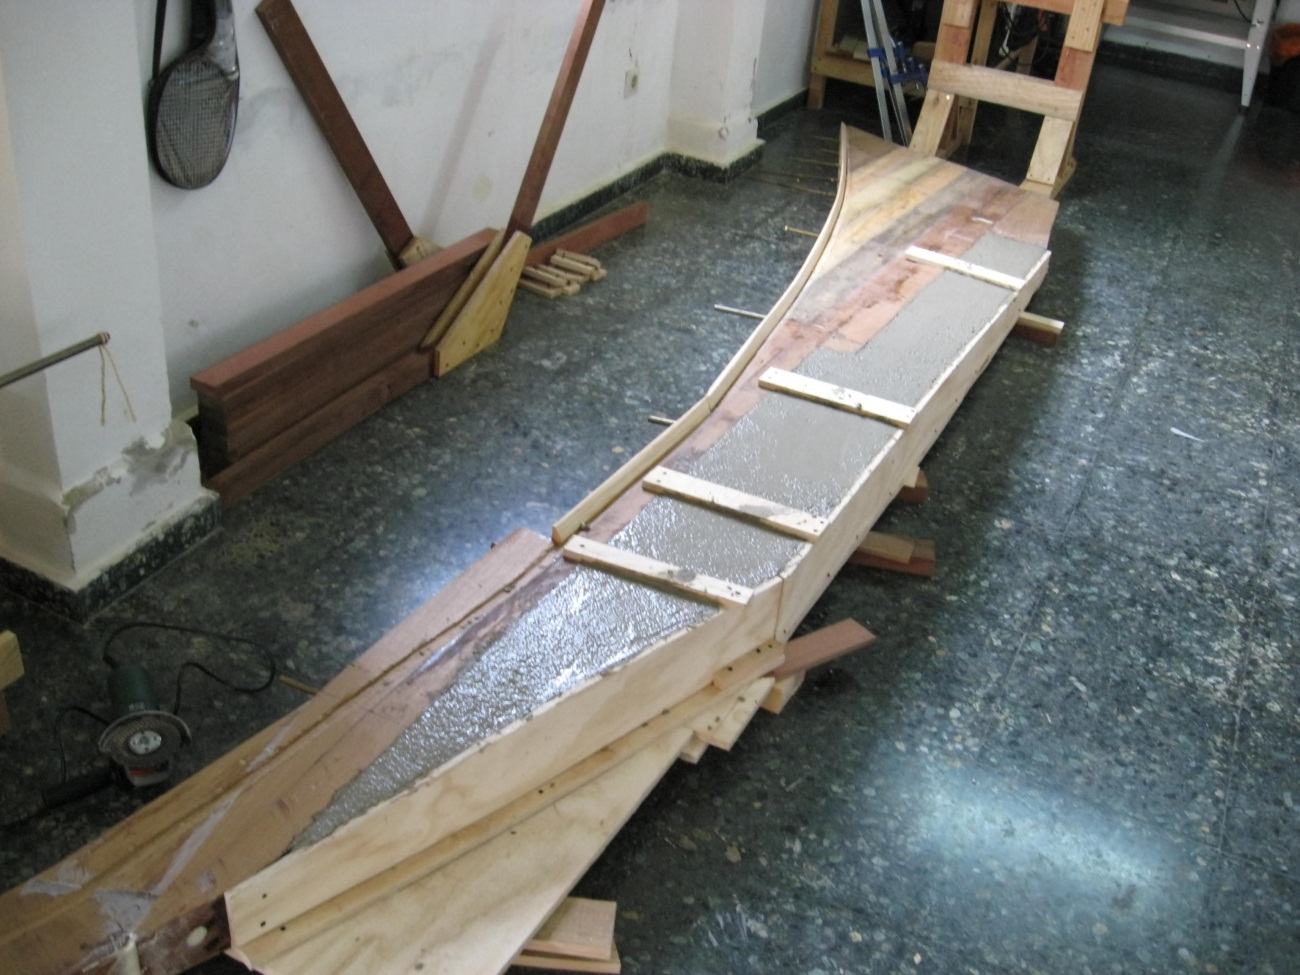
Job finished. The concrete has a waterproof additive. You can see in the background that I have started to make frames. The idea of making a concrete keel came from reading George Buehler‘s back-yard boat building book. It will be shy on weight but I plan to make up some weight with inside ballast, perhaps in the form of lead weights in the bilge. The shape of the concrete keel does not taper down to 3 inches as per the drawings; it is left 6 inches wide which will give more volume of concrete compared to the original cast iron plans.
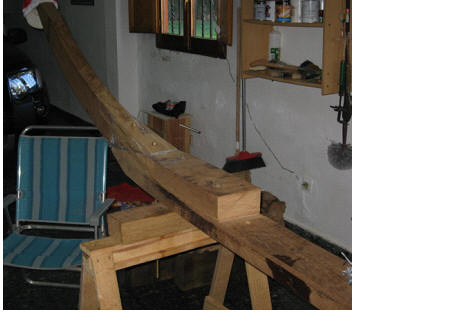
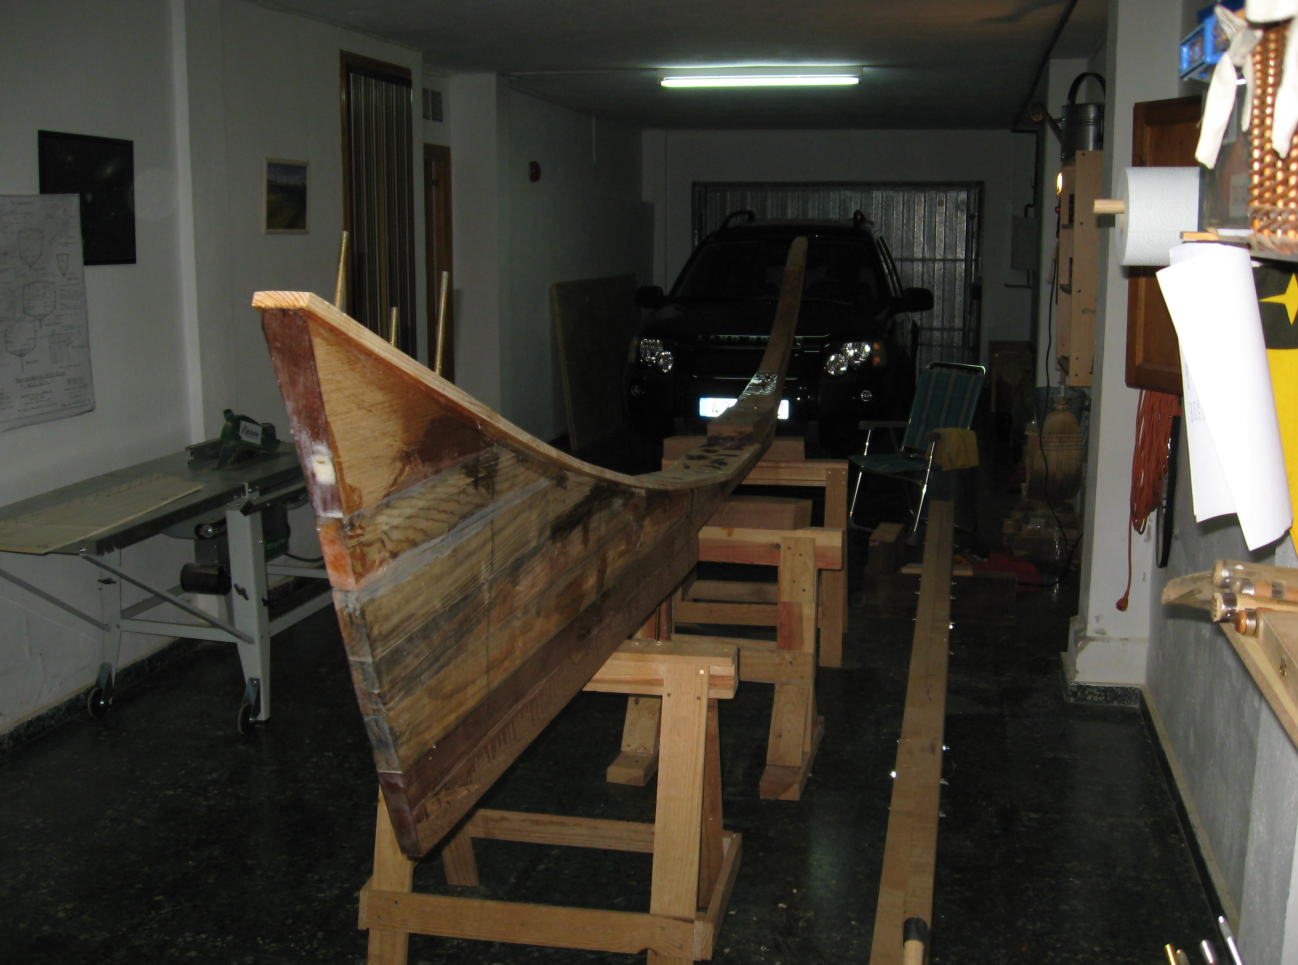
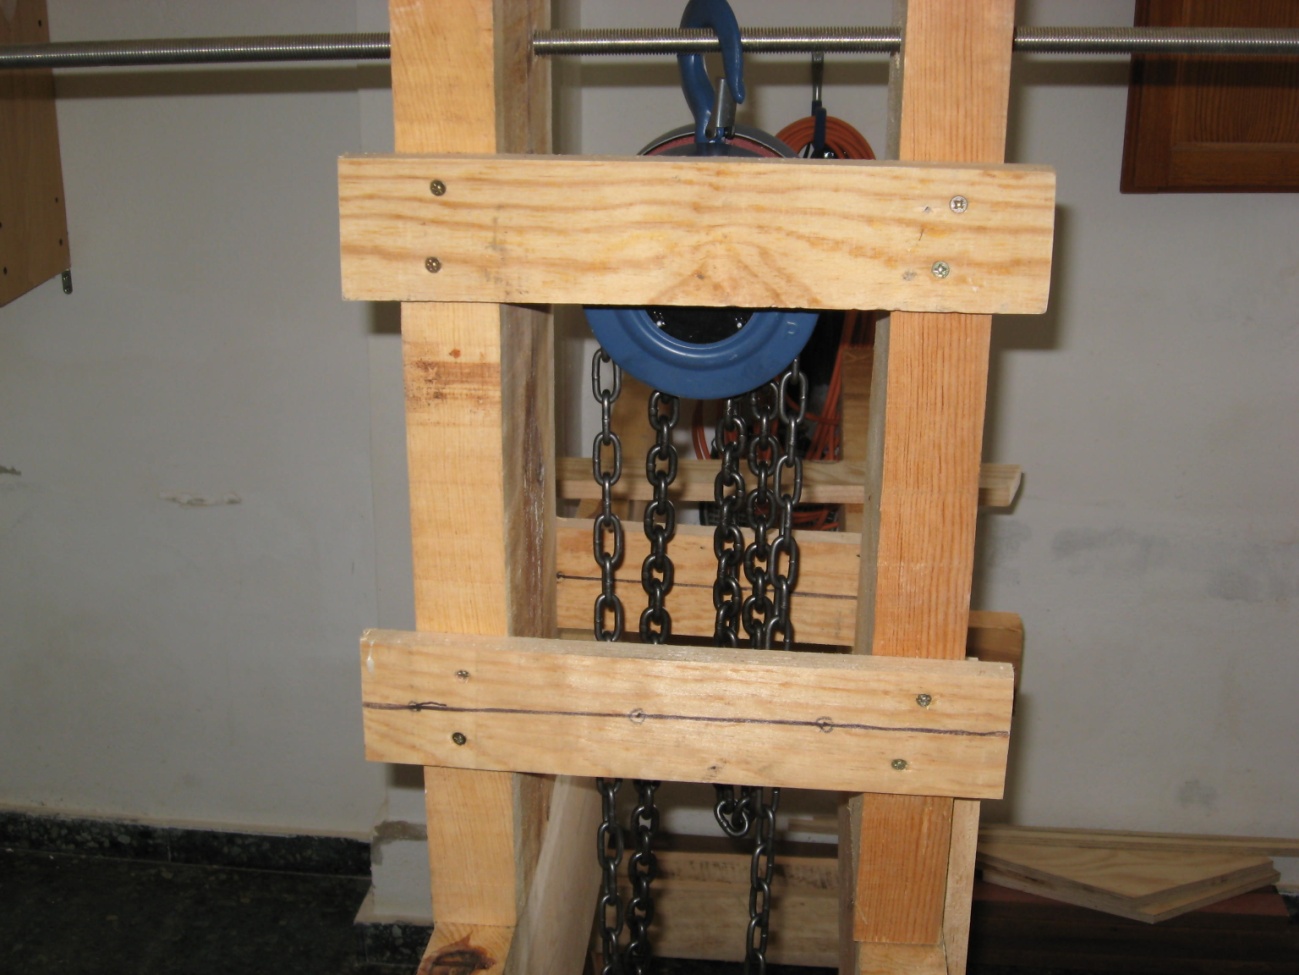
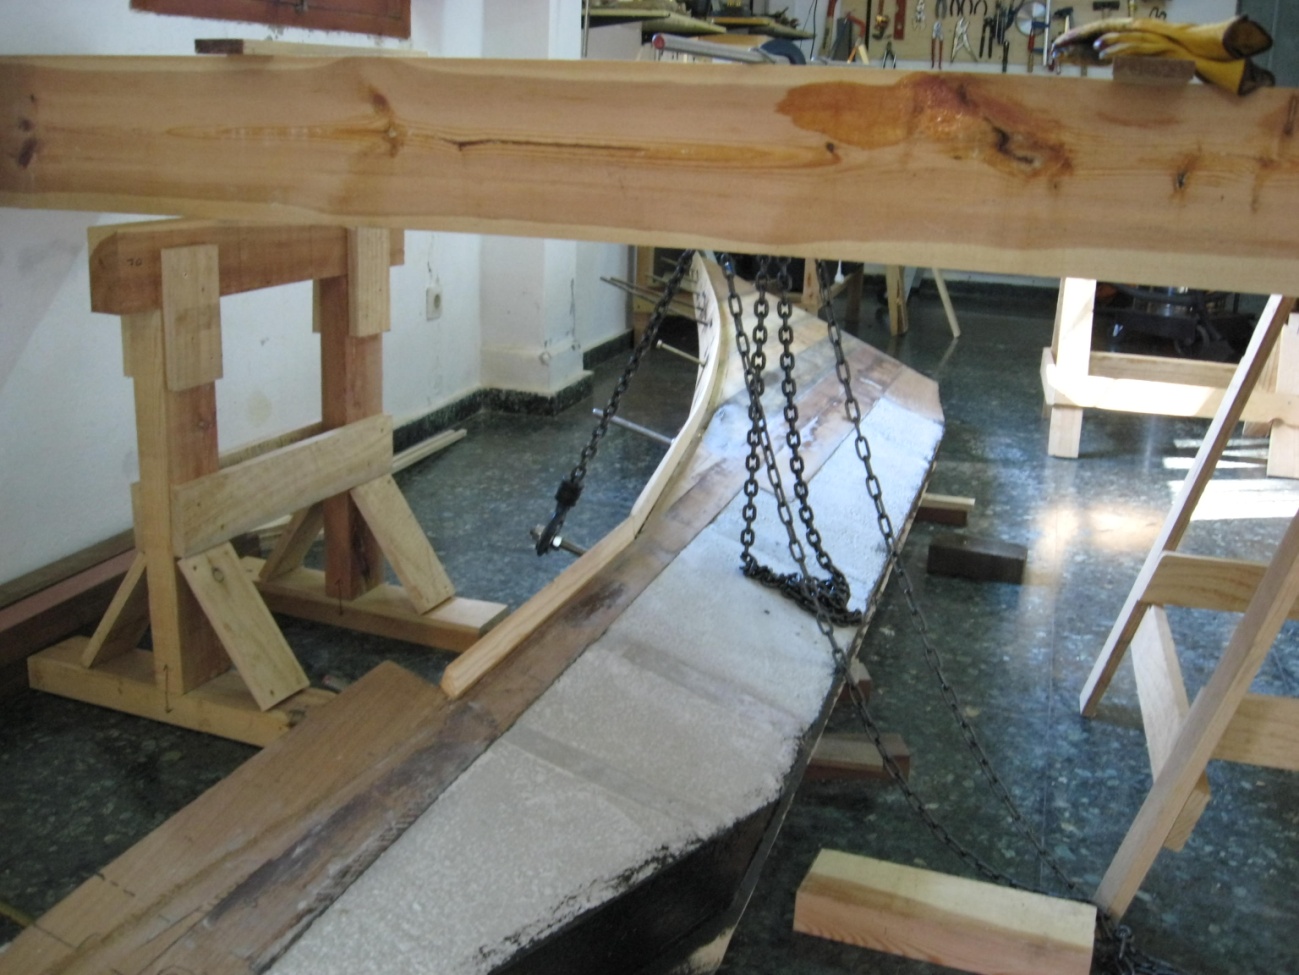
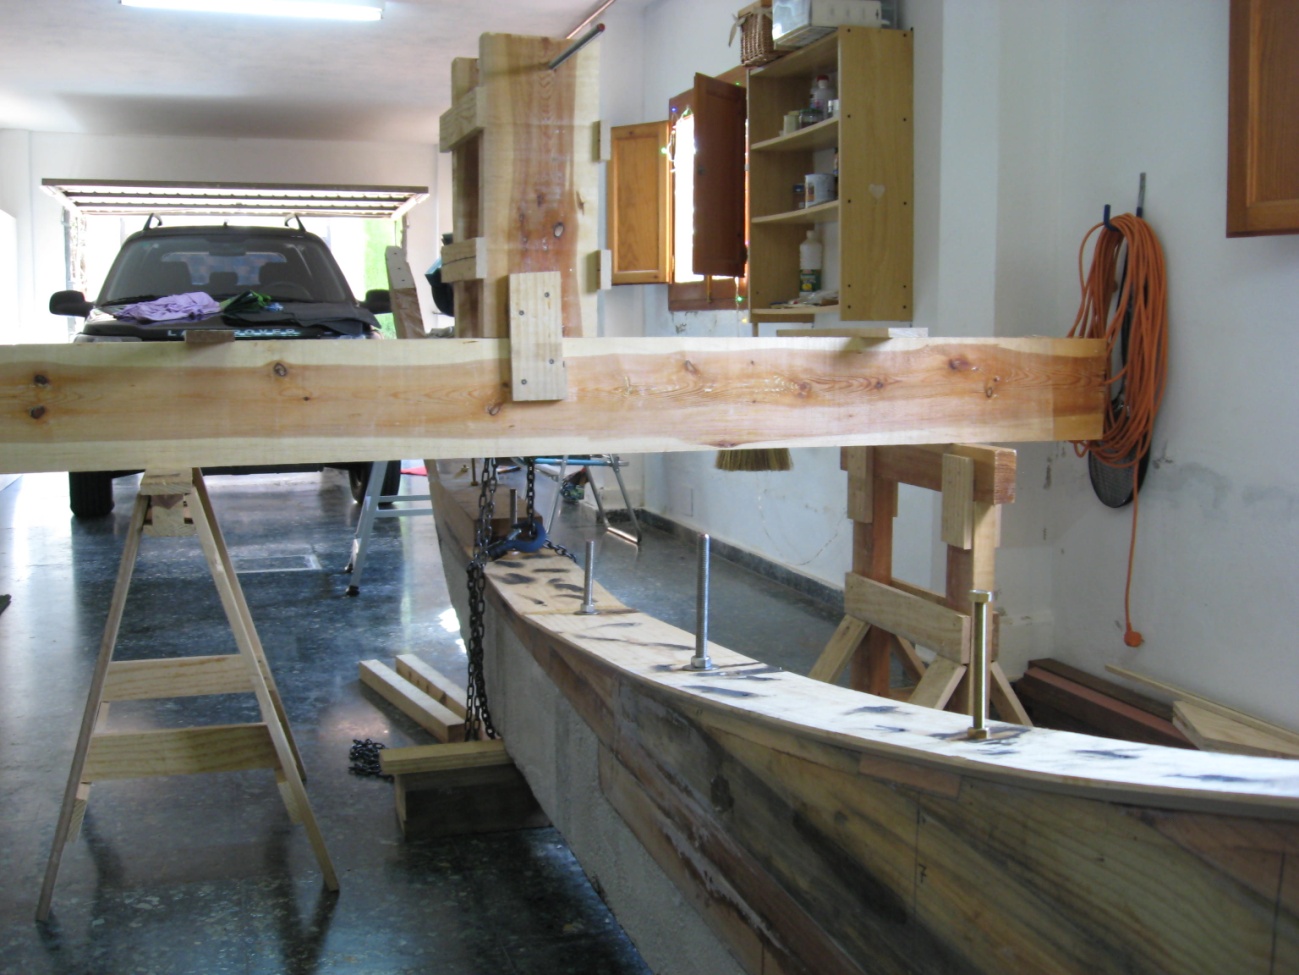
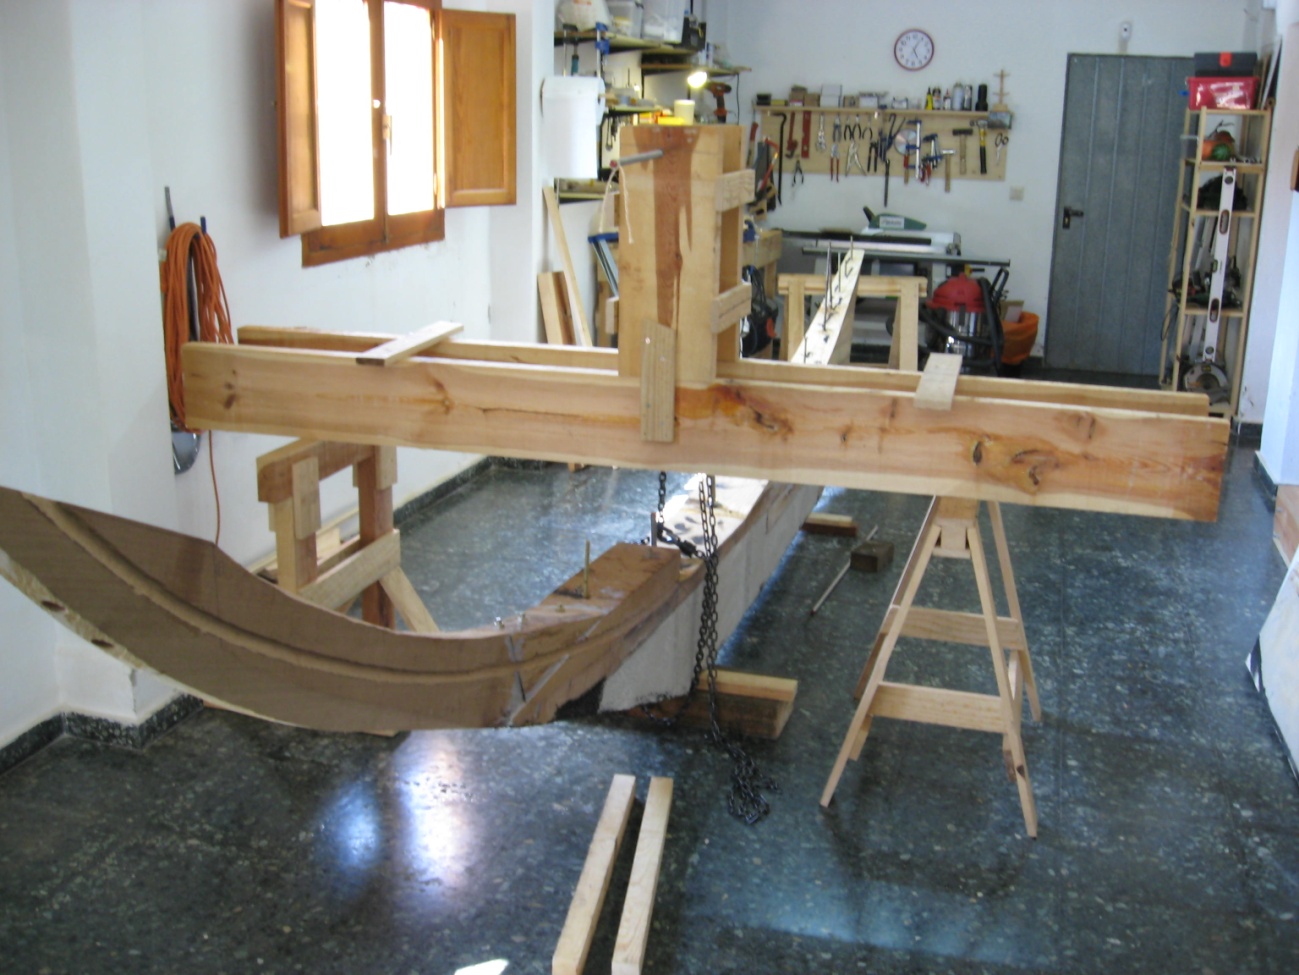
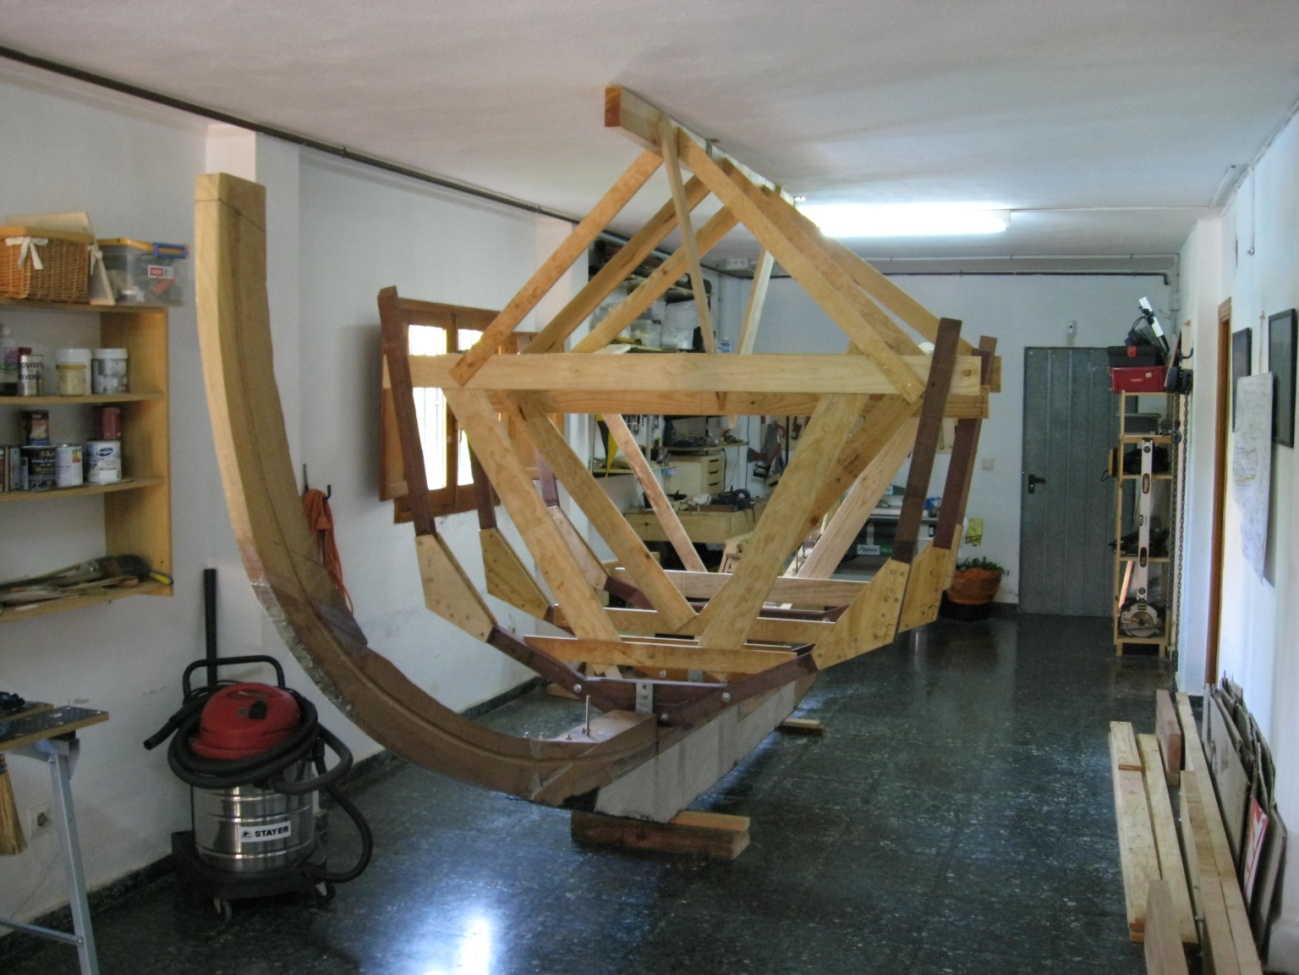
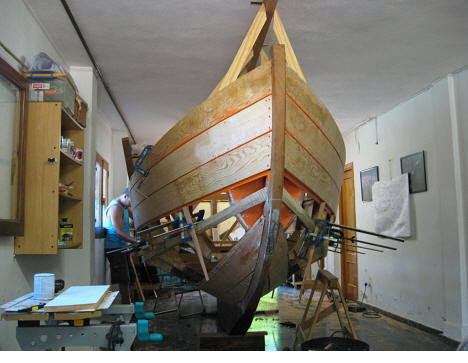
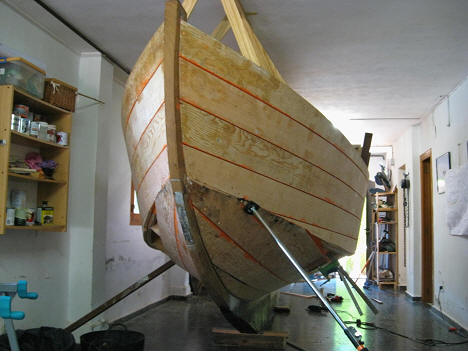
I had to build a crane to lift the keel upright. Some pictures of the crane and the lift to the vertical below.
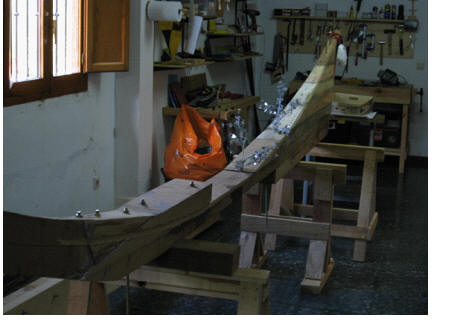
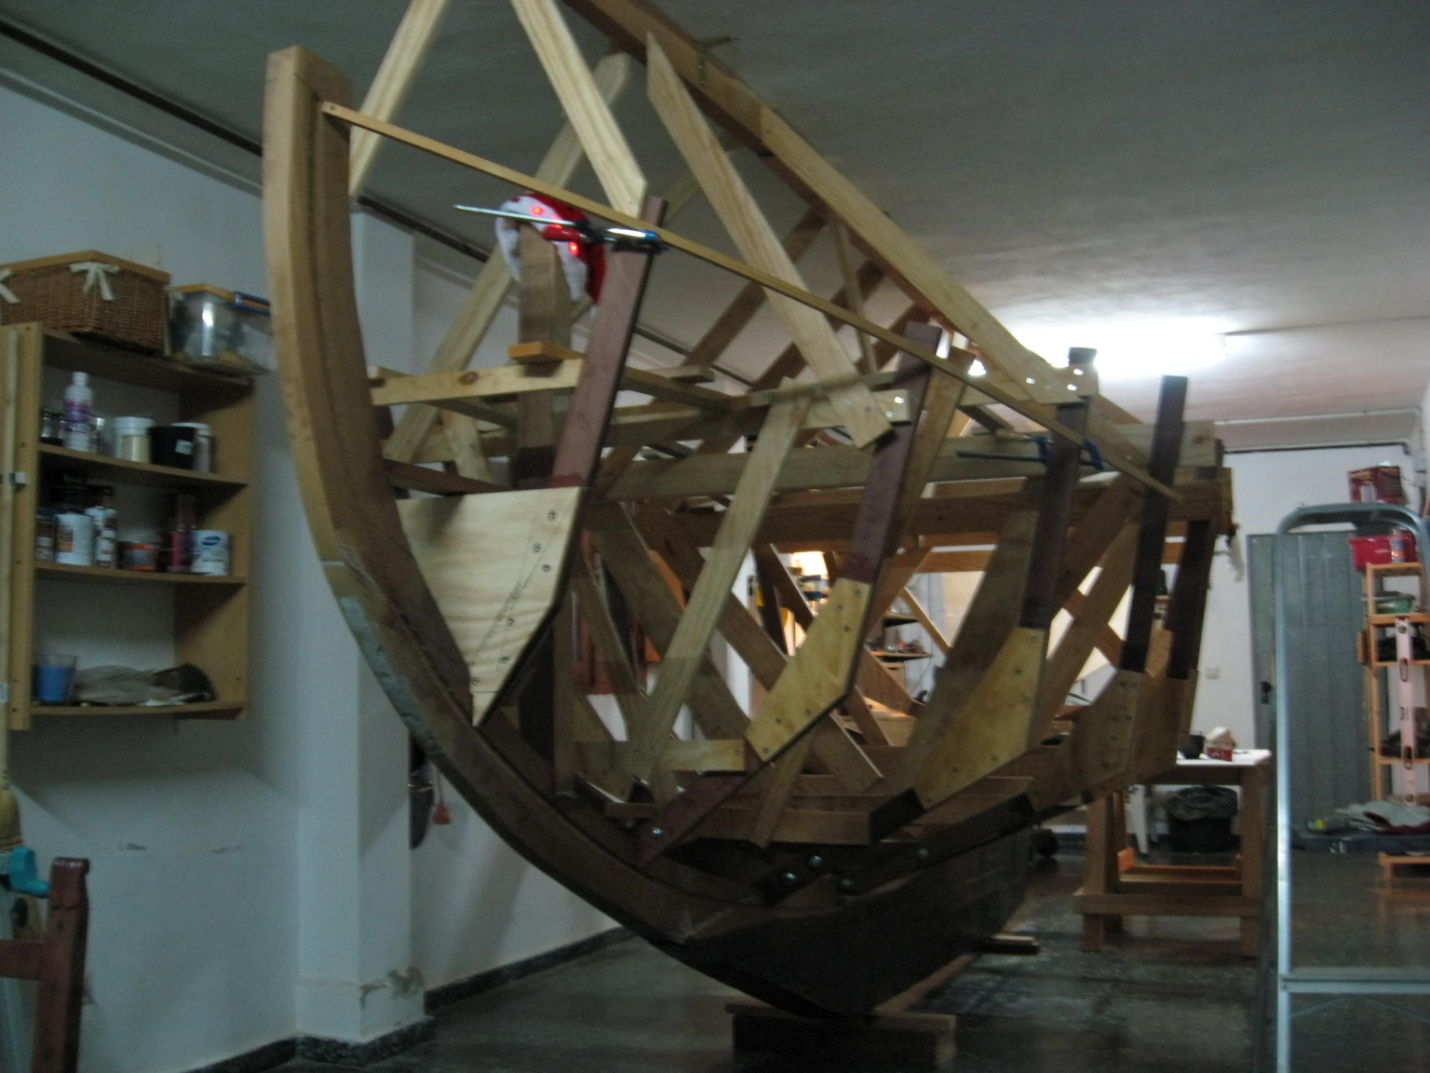
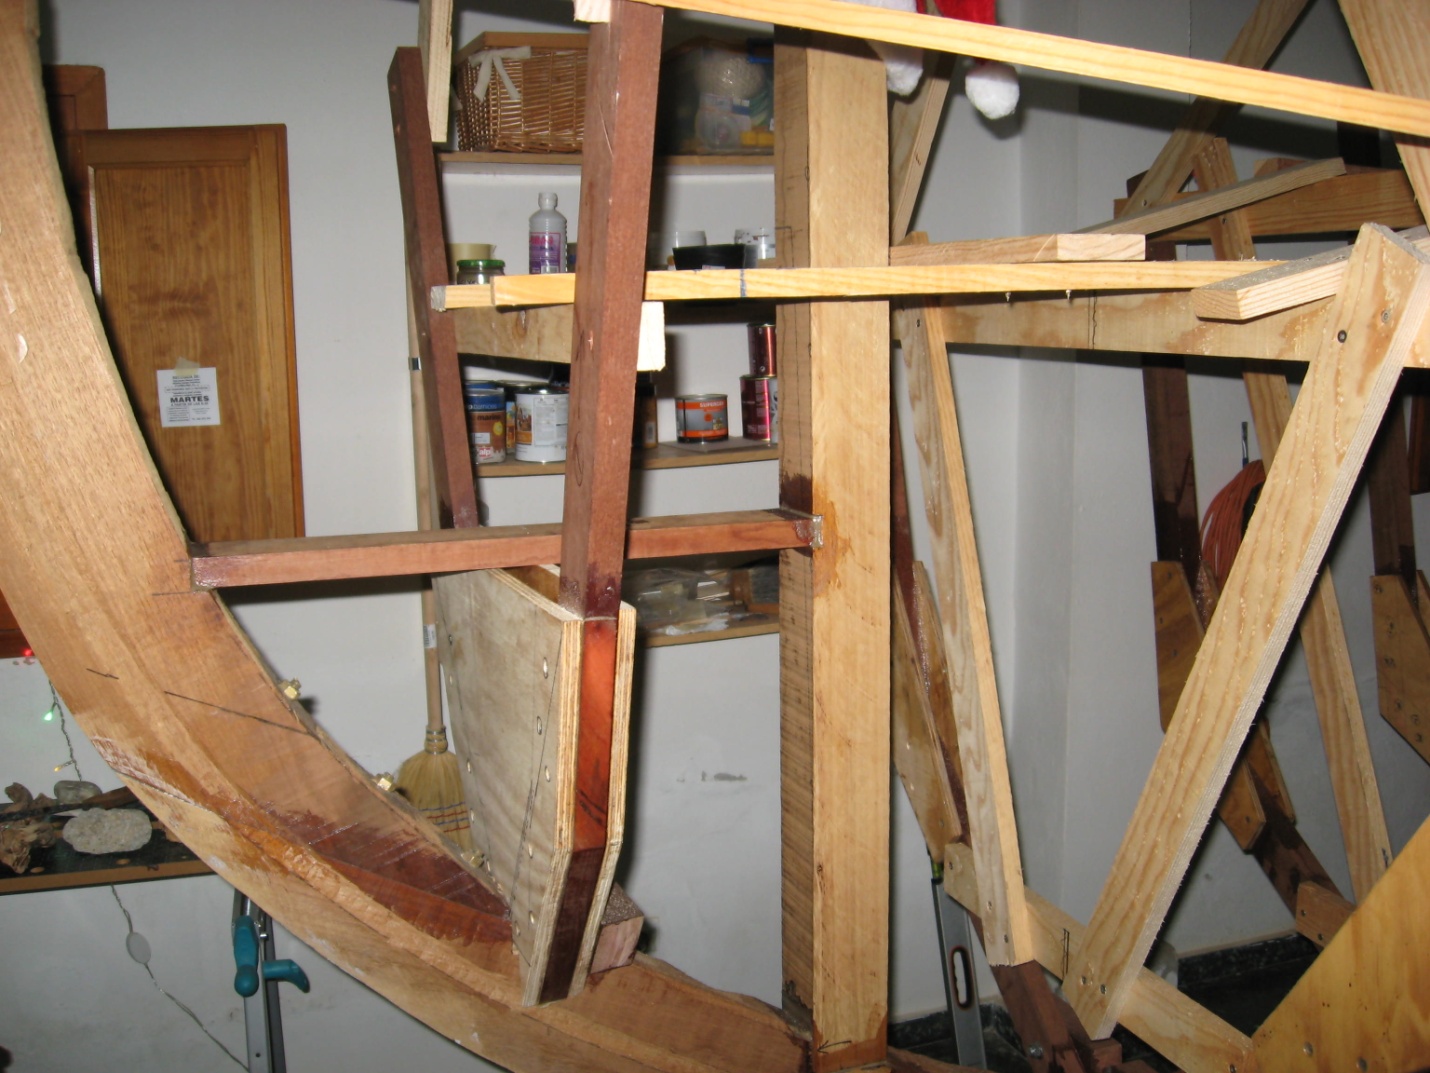
With some frames up it’s starting to look like a boat.
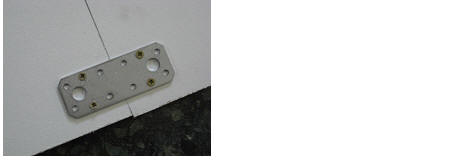
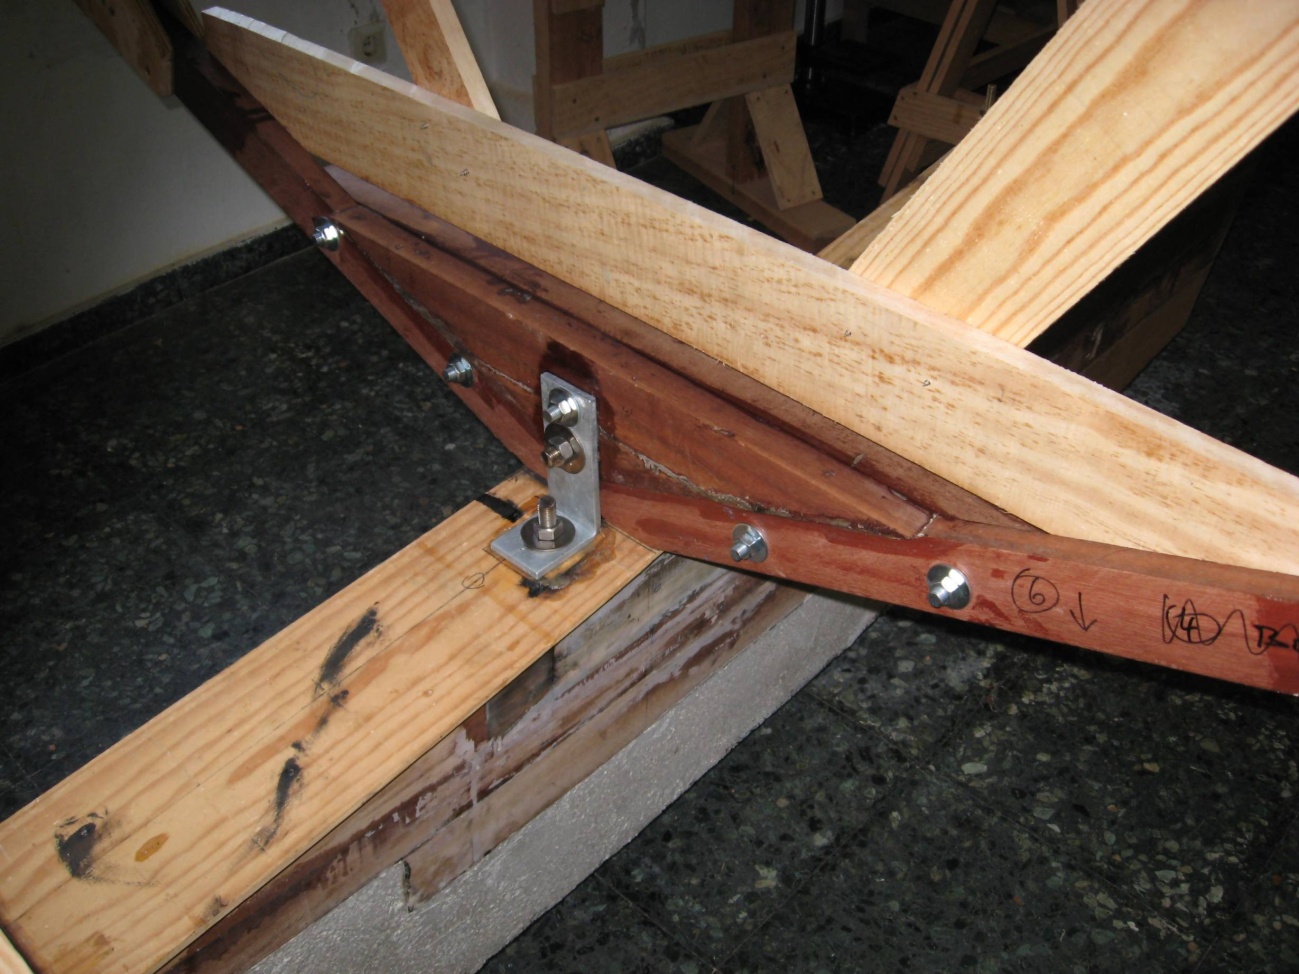
Frames are bolted to the Keel with galvanized steel brackets and 16mm stainless steel threaded bars embedded into the cement Ballast keel. Have to say this is the smartest, cleanest boat building shed I have ever seen! Mine was a tip and most are knee deep in shavings! a credit to you! John January 2014 update.
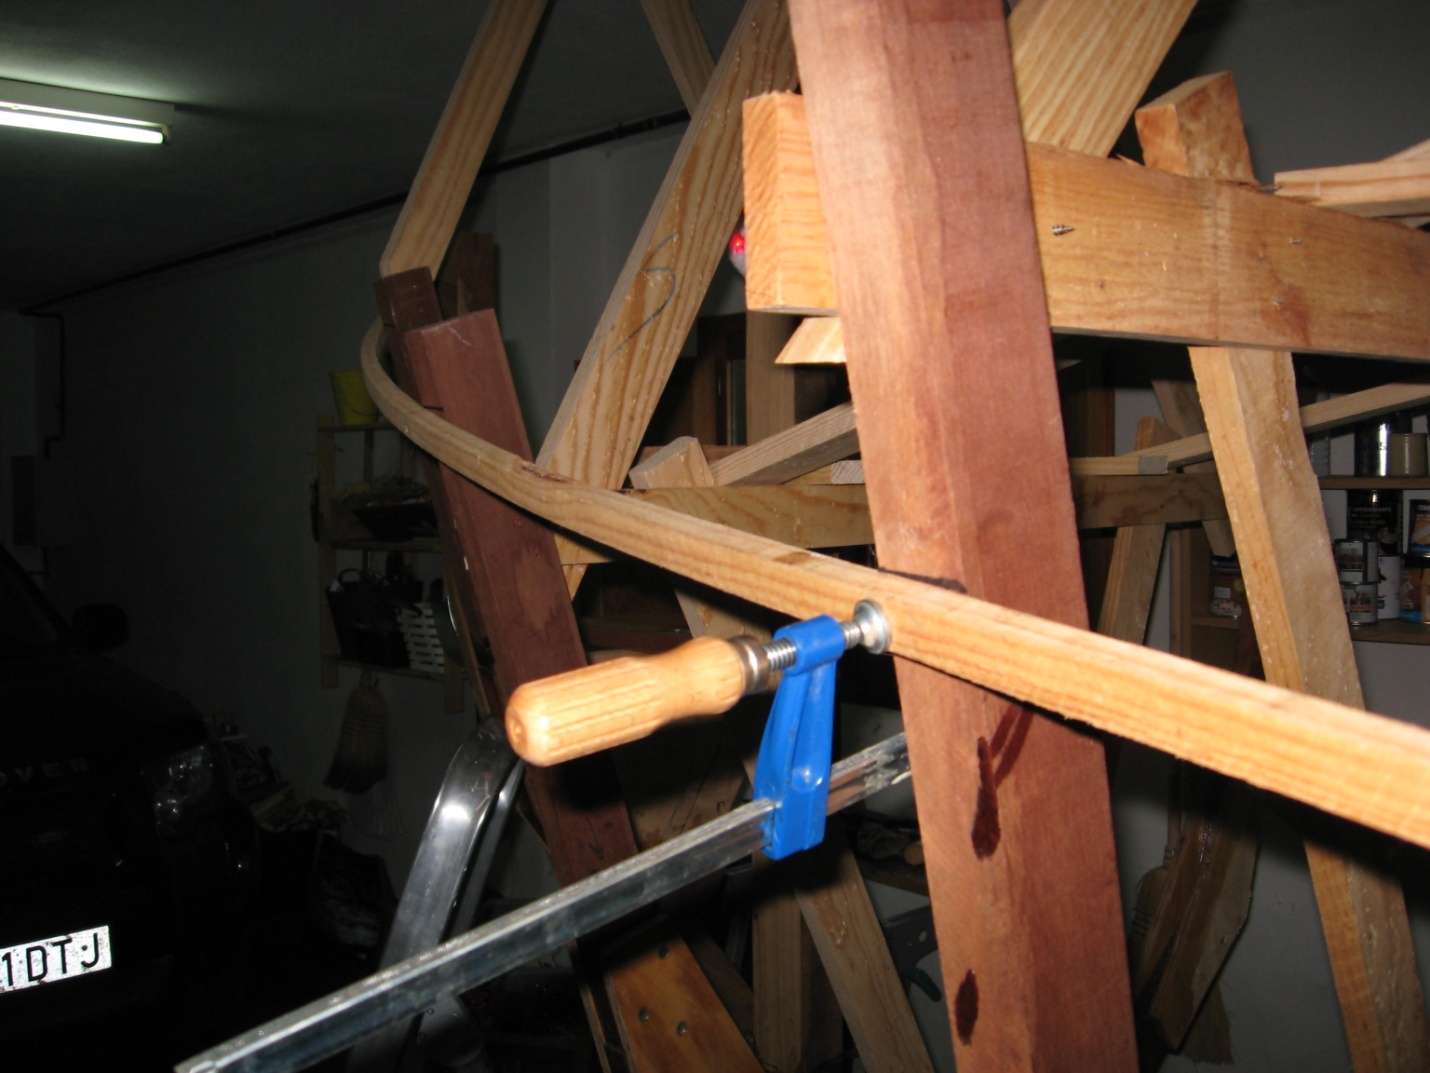
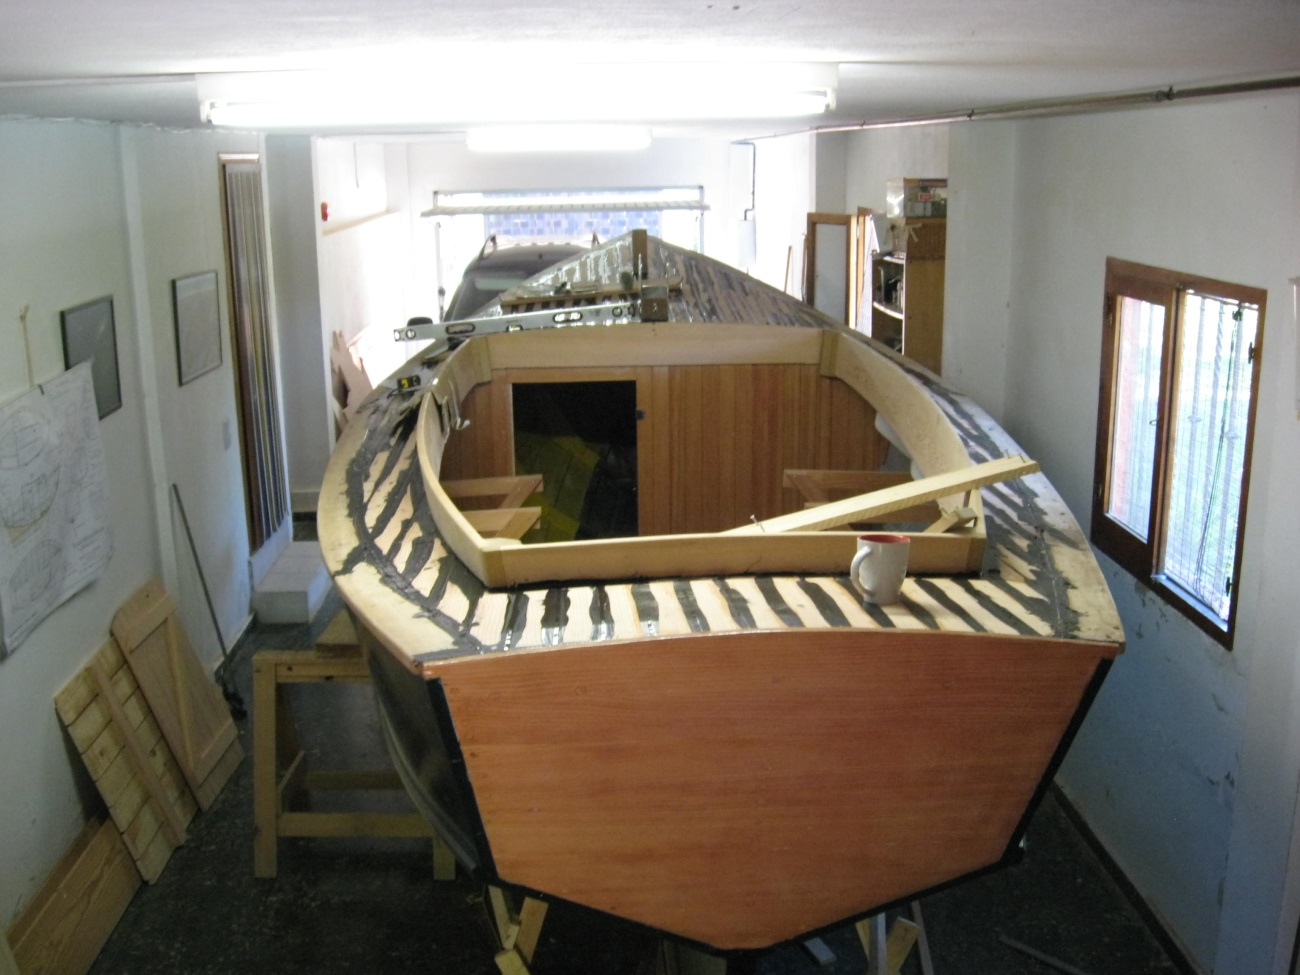
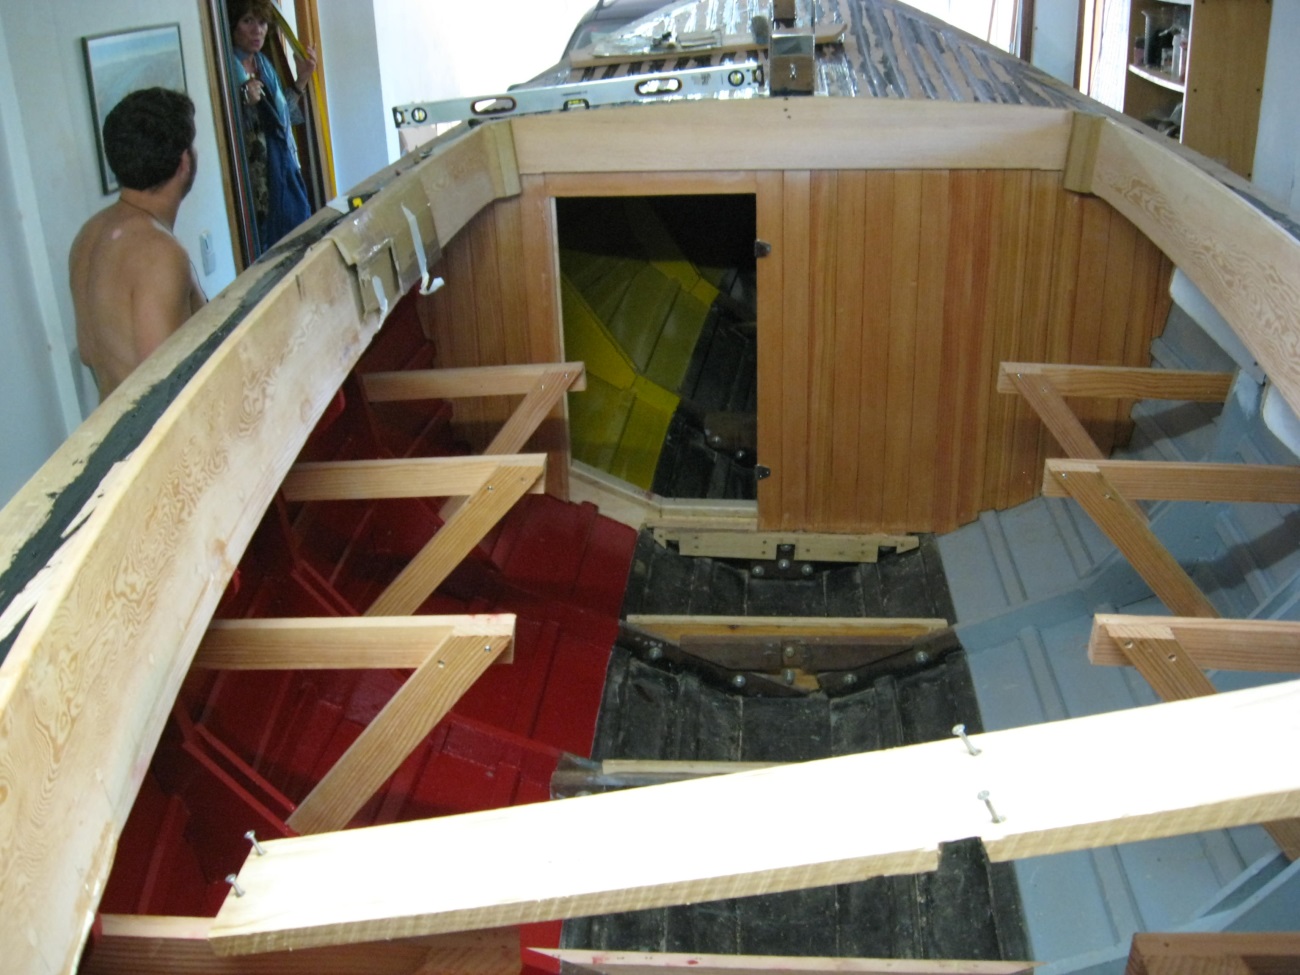
All frames have now been assembled. A small Batten has been screwed and clamped to follow the Shear line so as to mark off the Shear line on the frames on both sides.
This is a close up of the Batten
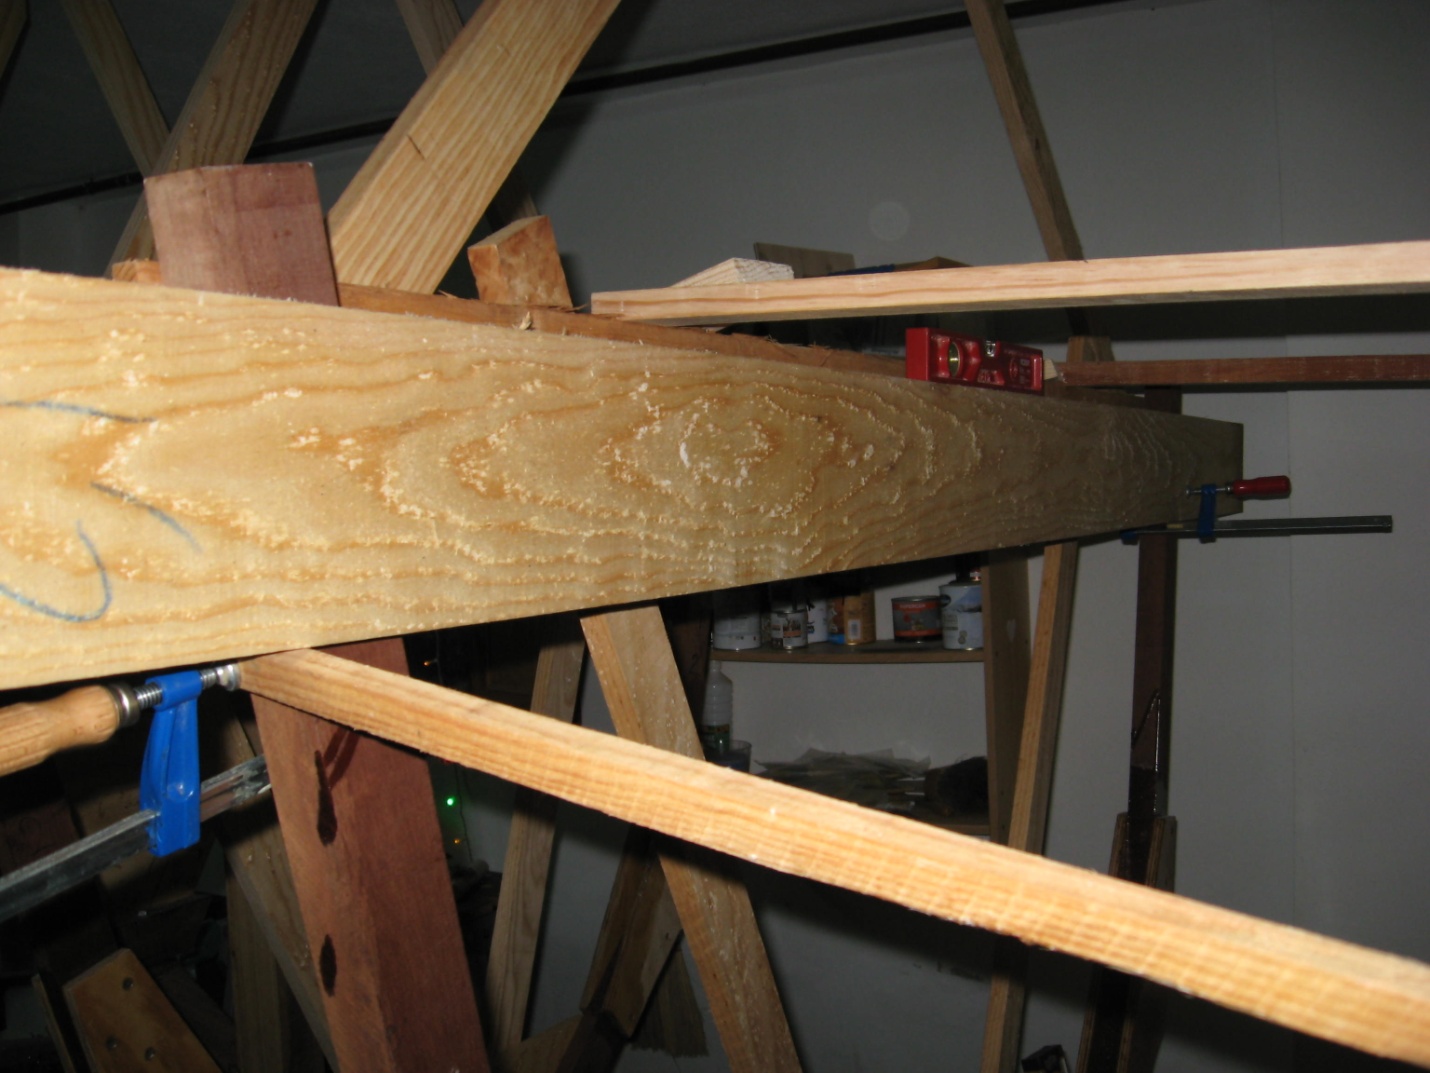
A straight plank with a spirit level on top was put on the Batten so as to mark the Shear line on the other side of the frame. I intend to continue with this method of marking the Shear on all the frames. It’s a good method of getting a "Fair" sheer line because you can adjust the Batten until it looks right.
The Samson Post has been set into the Keel with a Galvanized bolt and epoxy, like a Dowel. A piece of hard wood has also been set in with epoxy to brace it against the Stem. Note the Large Plywood Gusset on Frame 1. The plans have a big hole cut out in the middle. I haven’t done this yet, might be difficult now that the Samson post is in. Steve Barnard
Well done Steve, understand steaming the chine timbers etc is the next step, look forward to the pics and words. this is about the best pictorial description of building a WD that we have seen! john |
|
|
|
|
| August 2014 and the latest progress report in from Steve. He now has help and is ploughing ahead for a launch later this year! | |
|
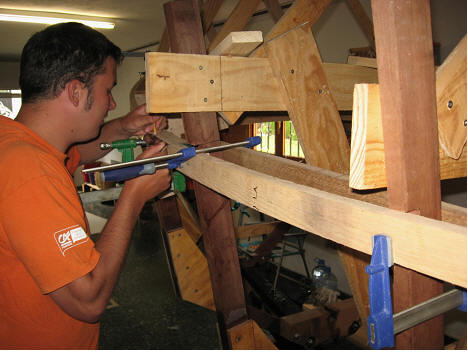
Dan Scully clamping in the Shear Clamp ("King Plank"). The wood is Oak that has been steamed and scarfed to a continuous length, inset into notches in the frames.
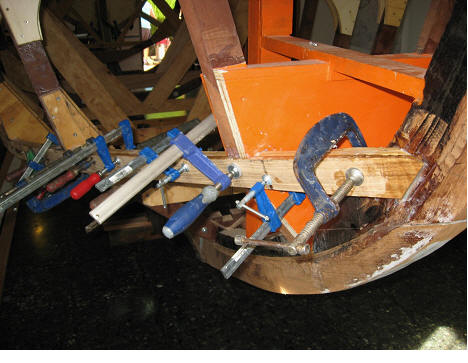
The Shear Clamp was not fair all of the length so extra strips were clued on and then planned to the correct angle so the planking will run correctly. The Chine was laminated out of two pieces so it was not necessary to steam them in place.
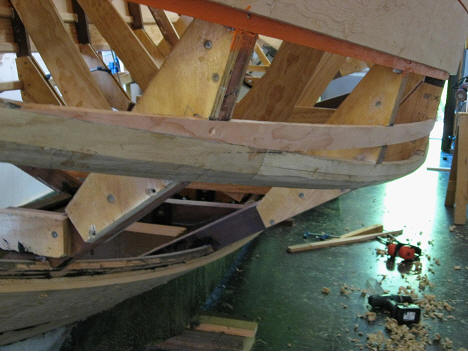
The planks are laid and screwed on seam batons that are notched into the frames. Here you can see the seam baton that runs out onto the Chine.
Planking in progress.
The plywood Transom has been covered with Oregon Pine. All the screw holes have been plugged and this will be finished with Varnish.
The Planking is almost complete. All the wood for the Planking is Douglas Fir but the bottom planks look darker in the Photo due to the reflection of the garage floor. |
|
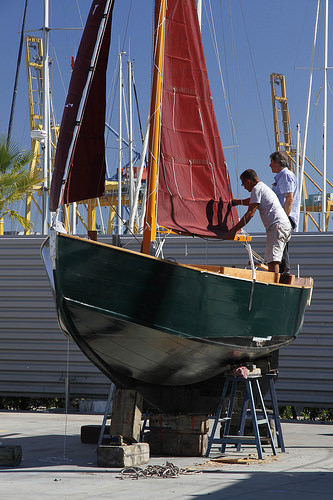
| Amazing progress Steve, look
forward to seeing the pictures of the launch about September, just a months
time!! Well done to you and the 'team'. The first Wild Duck to be built in many a year. October 2014. The finished boat!
|
|
|
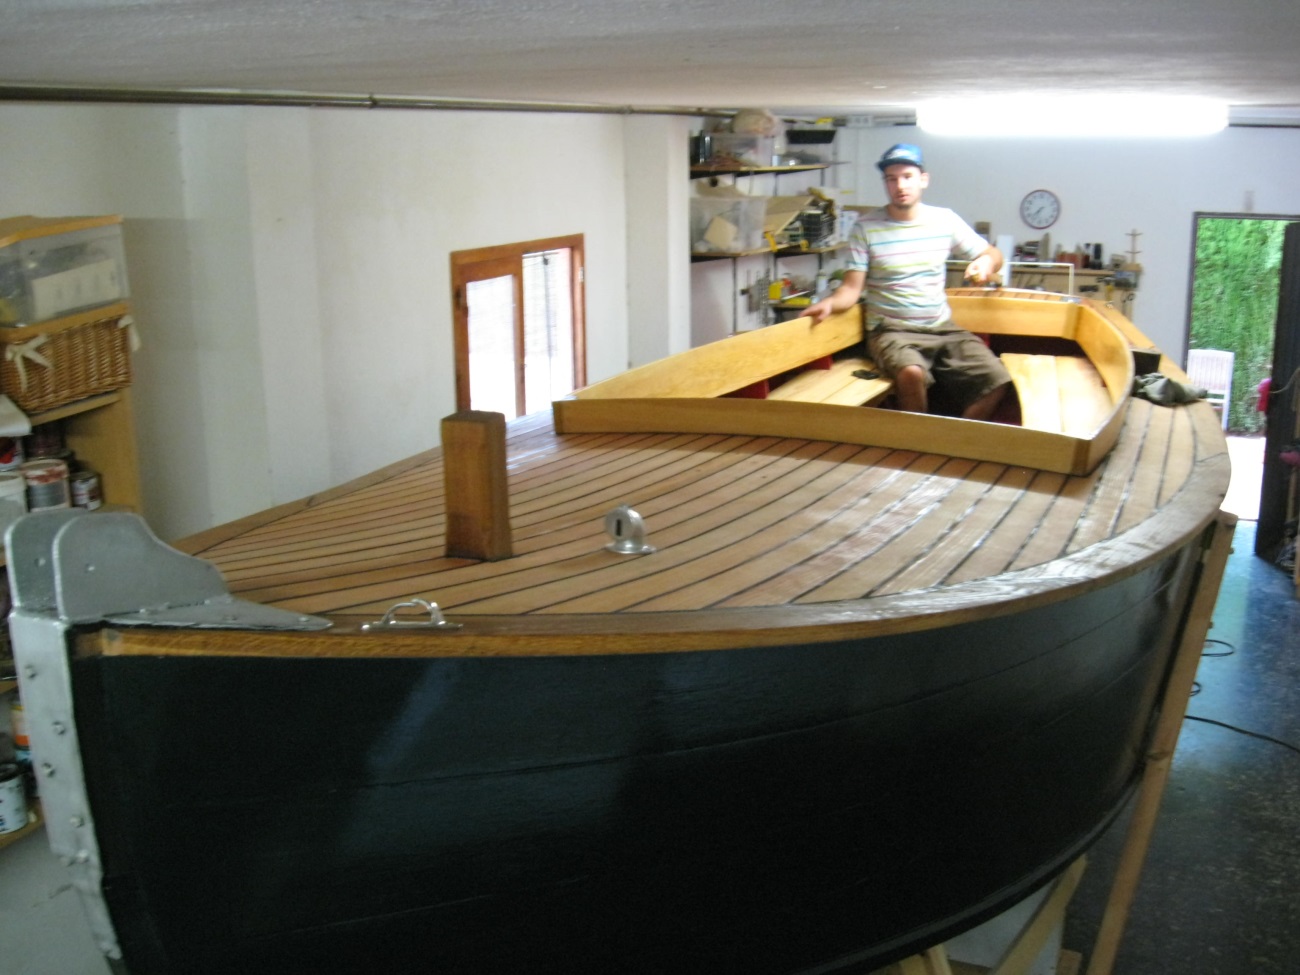
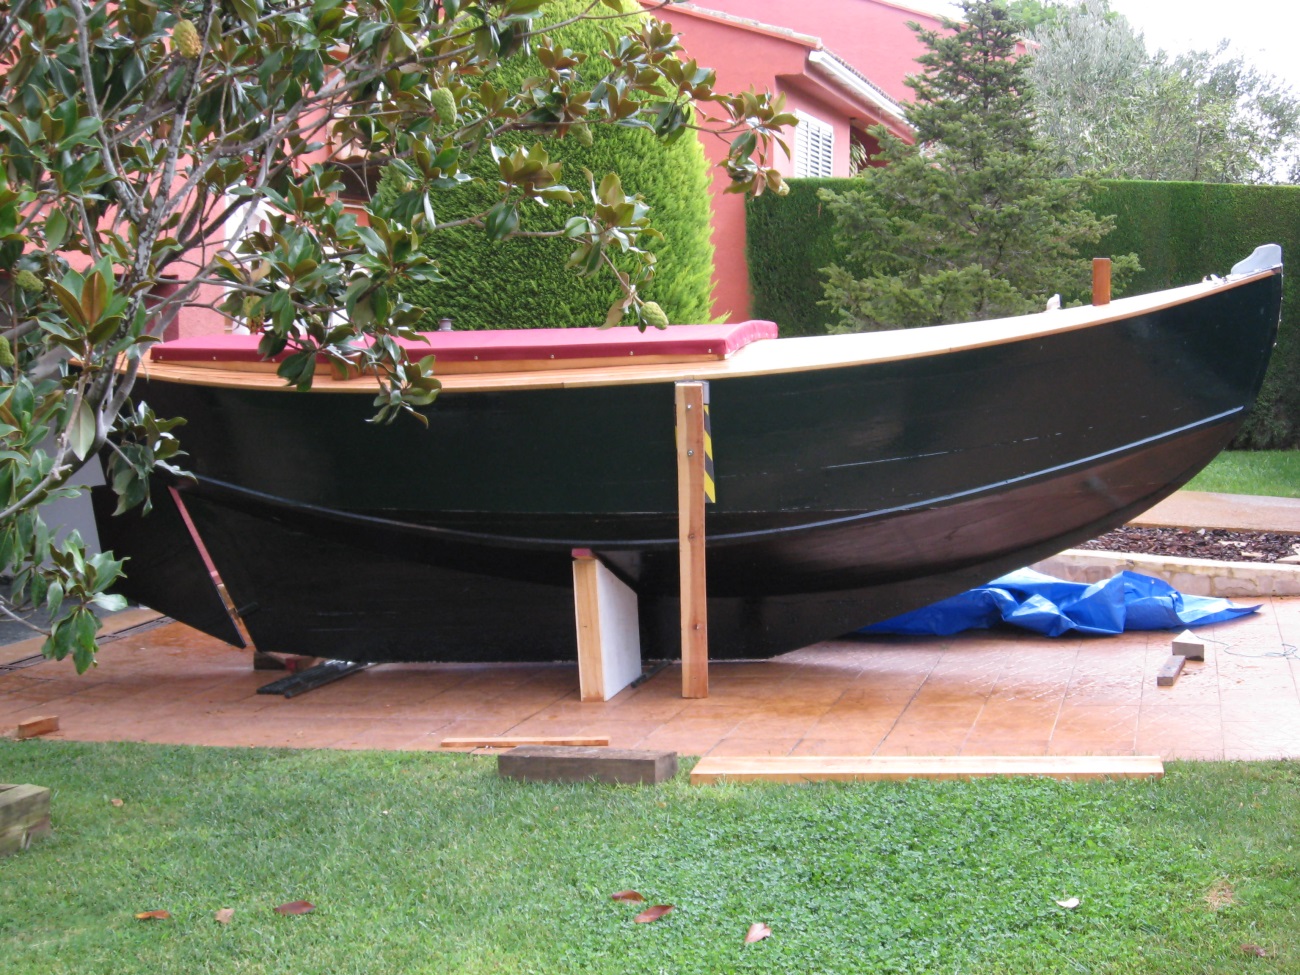
Seams caulked which will then be sanded when the Sikaflex is hard.
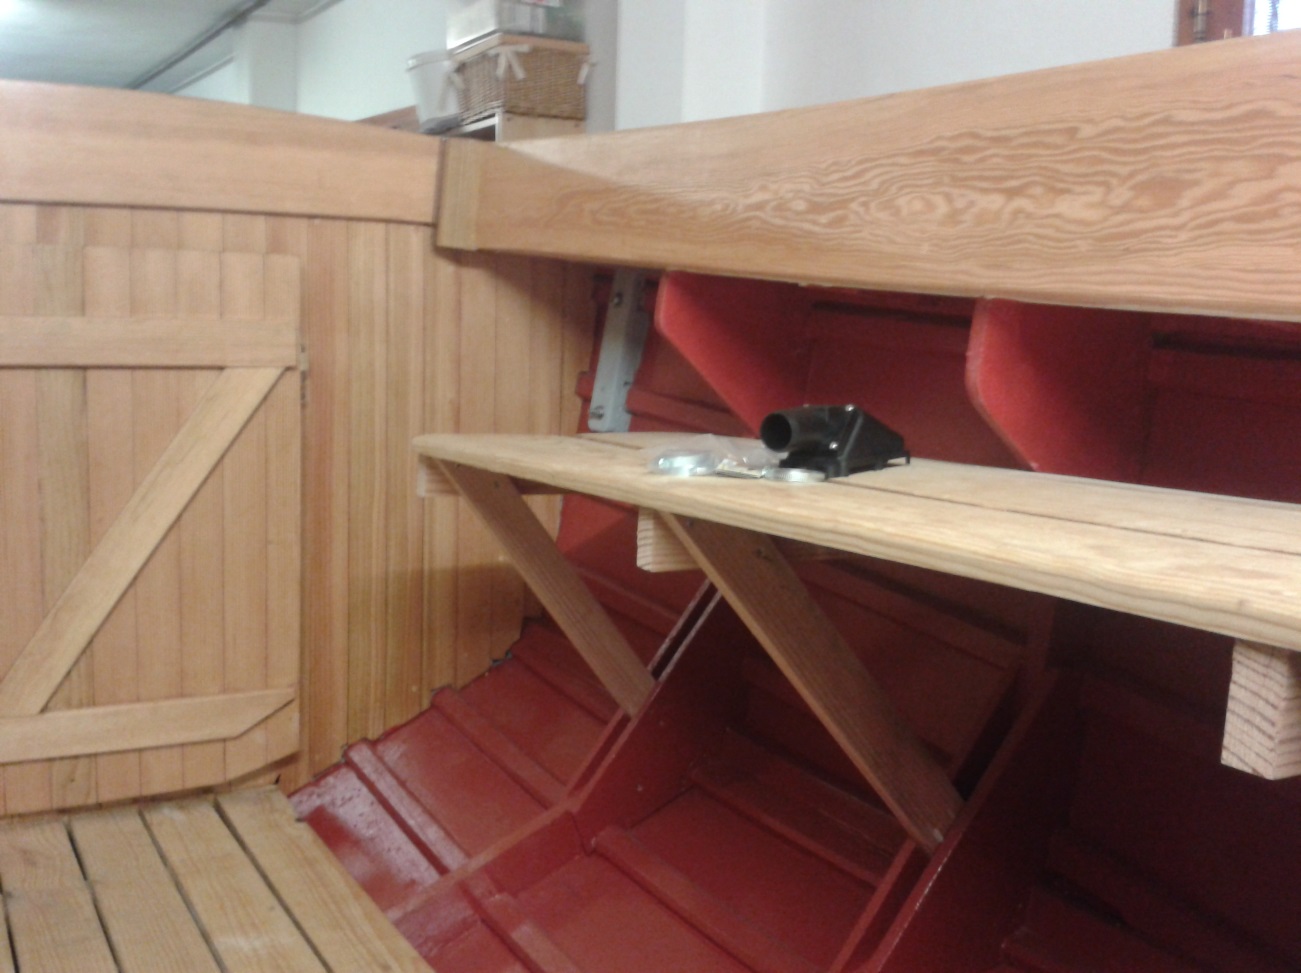
Installing seats
The seats and comings
A good view of the seats.
Dan Scully at the helm. The Boat is ready to leave the garage.
Waiting for the crane. Note the cover and the winches.
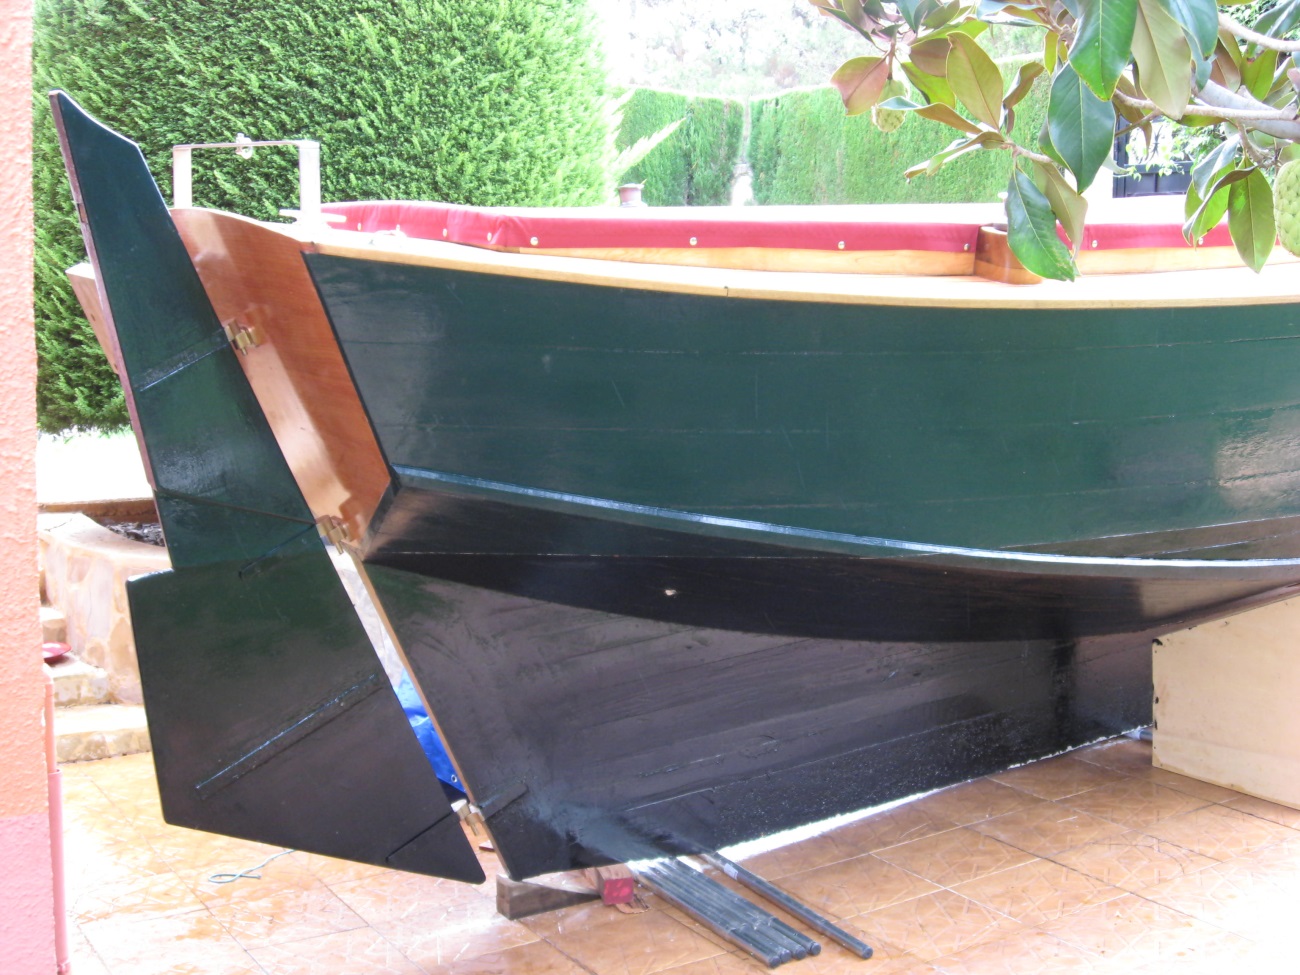
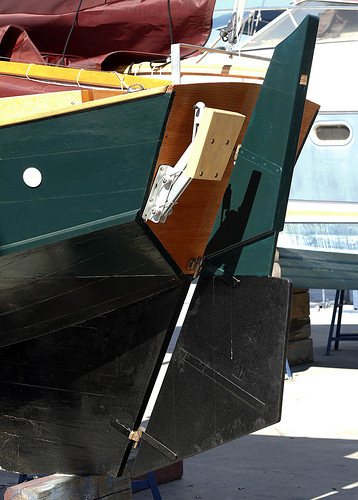
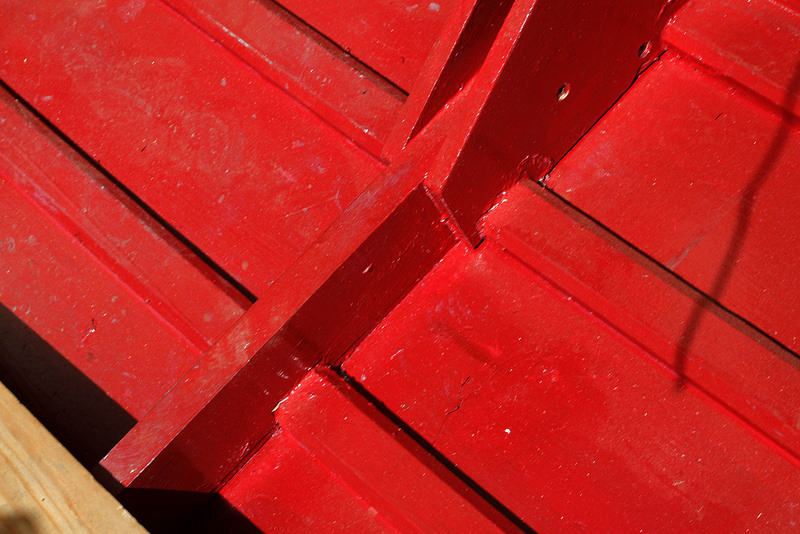
The rudder is classic!
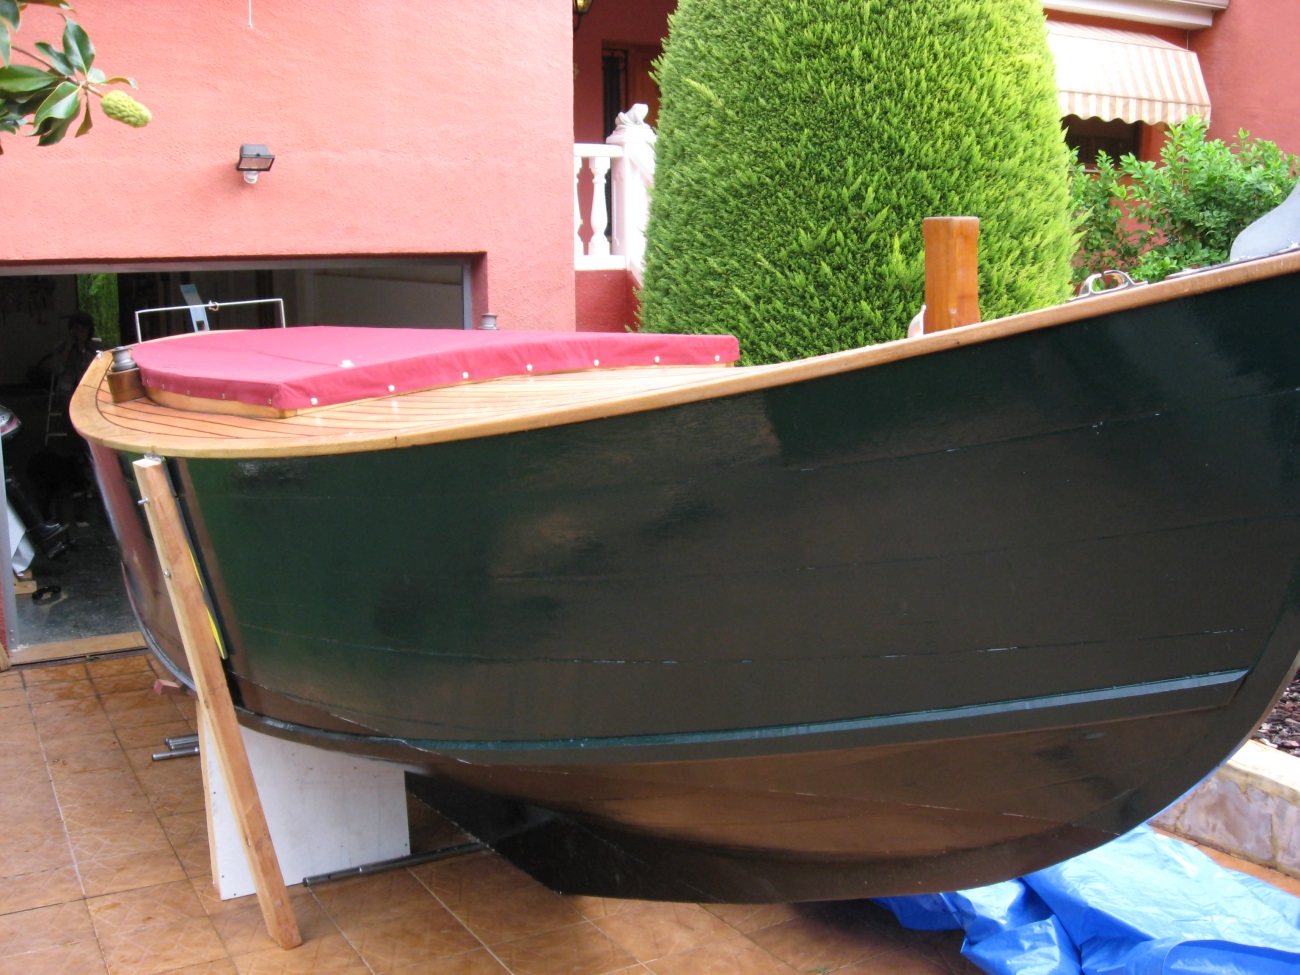
Beautiful Lines of a half-deck Wild Duck.
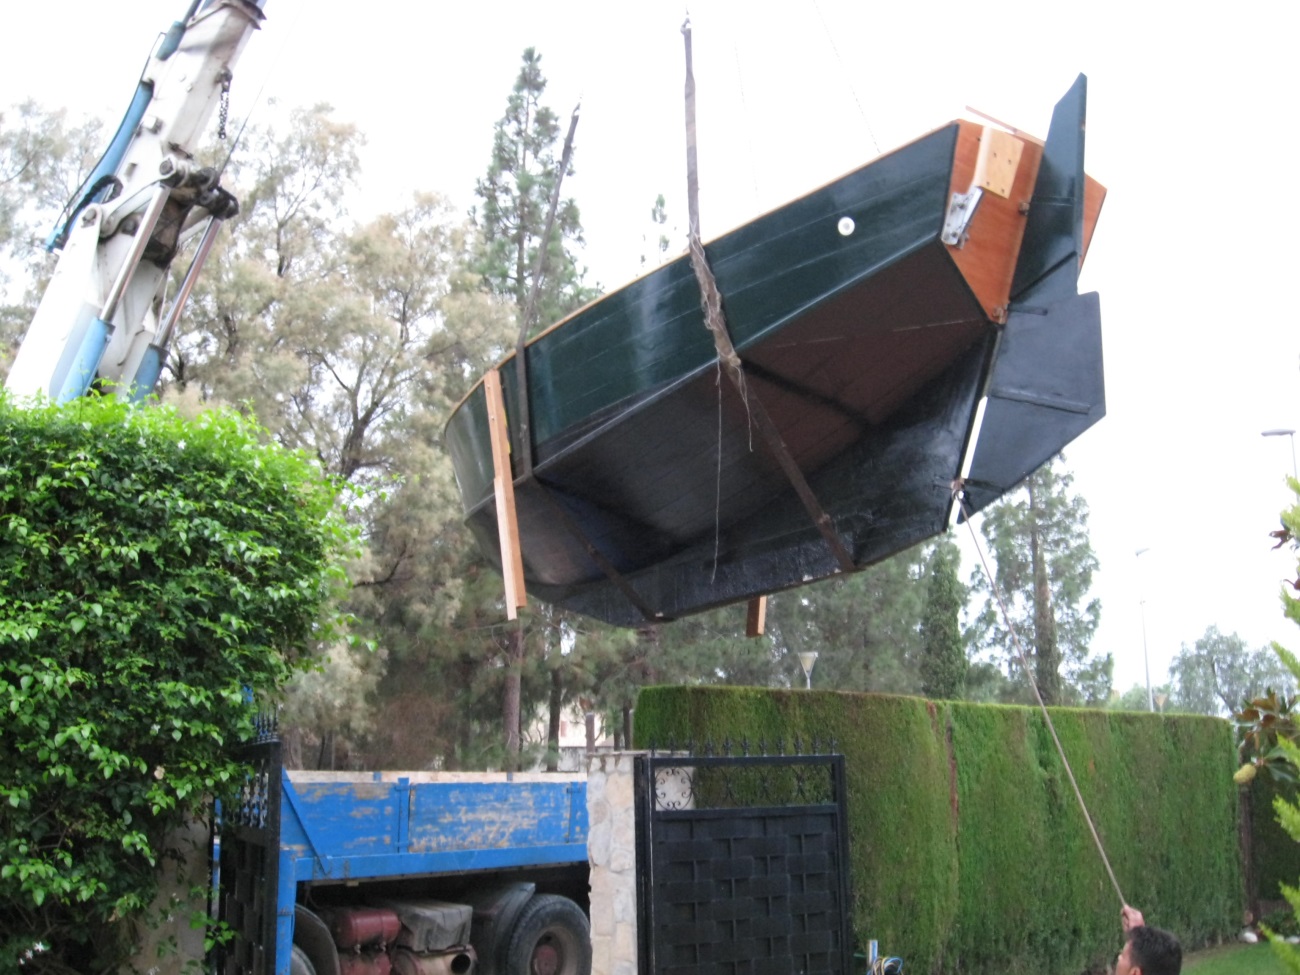
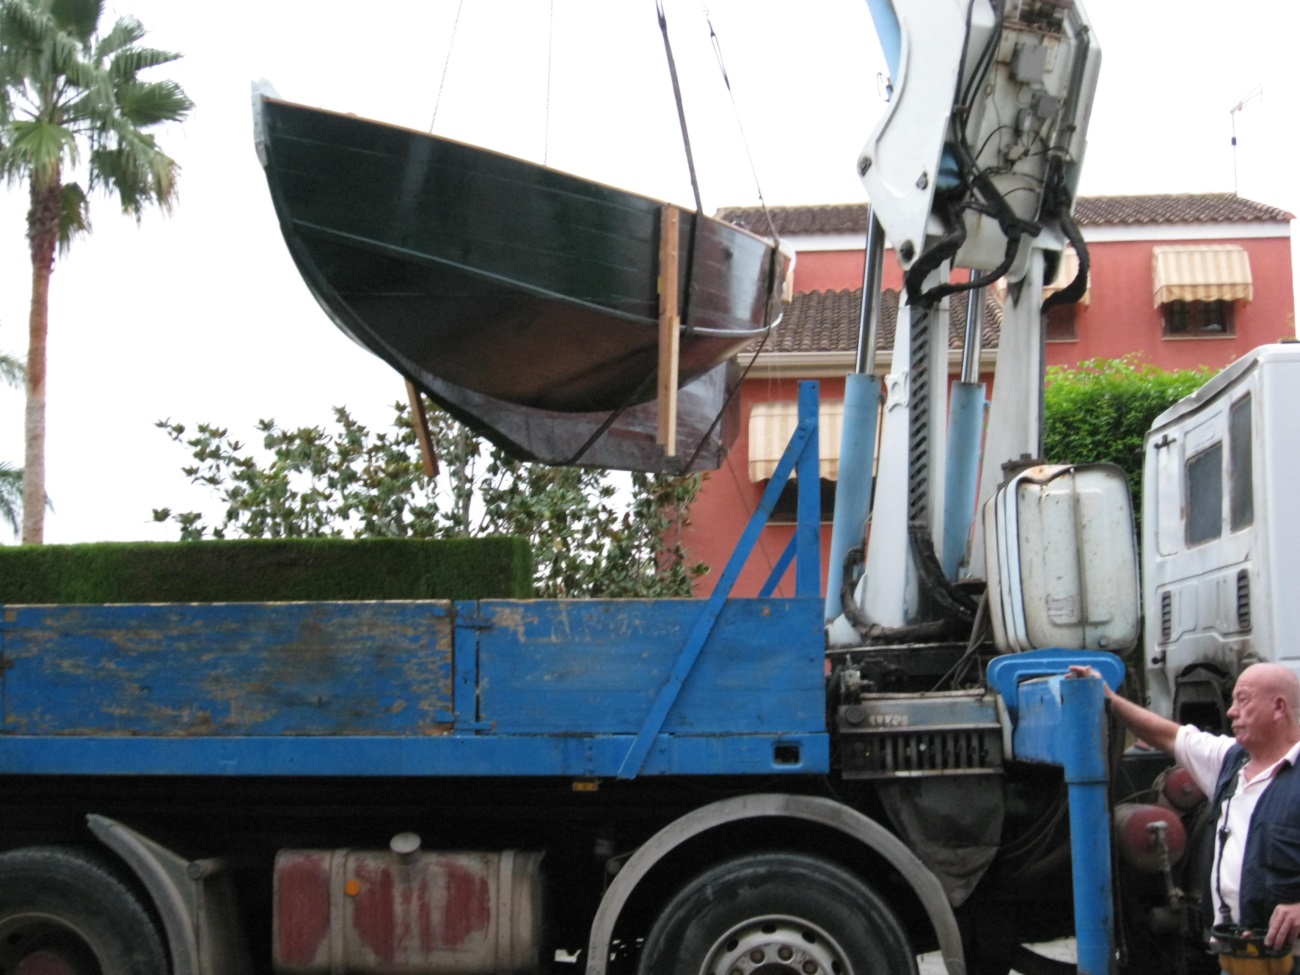
Up and over the garden she goes.
Next photos will be from the Boat Yard. Looking forward to the pics! well done Steve and co, John |
|
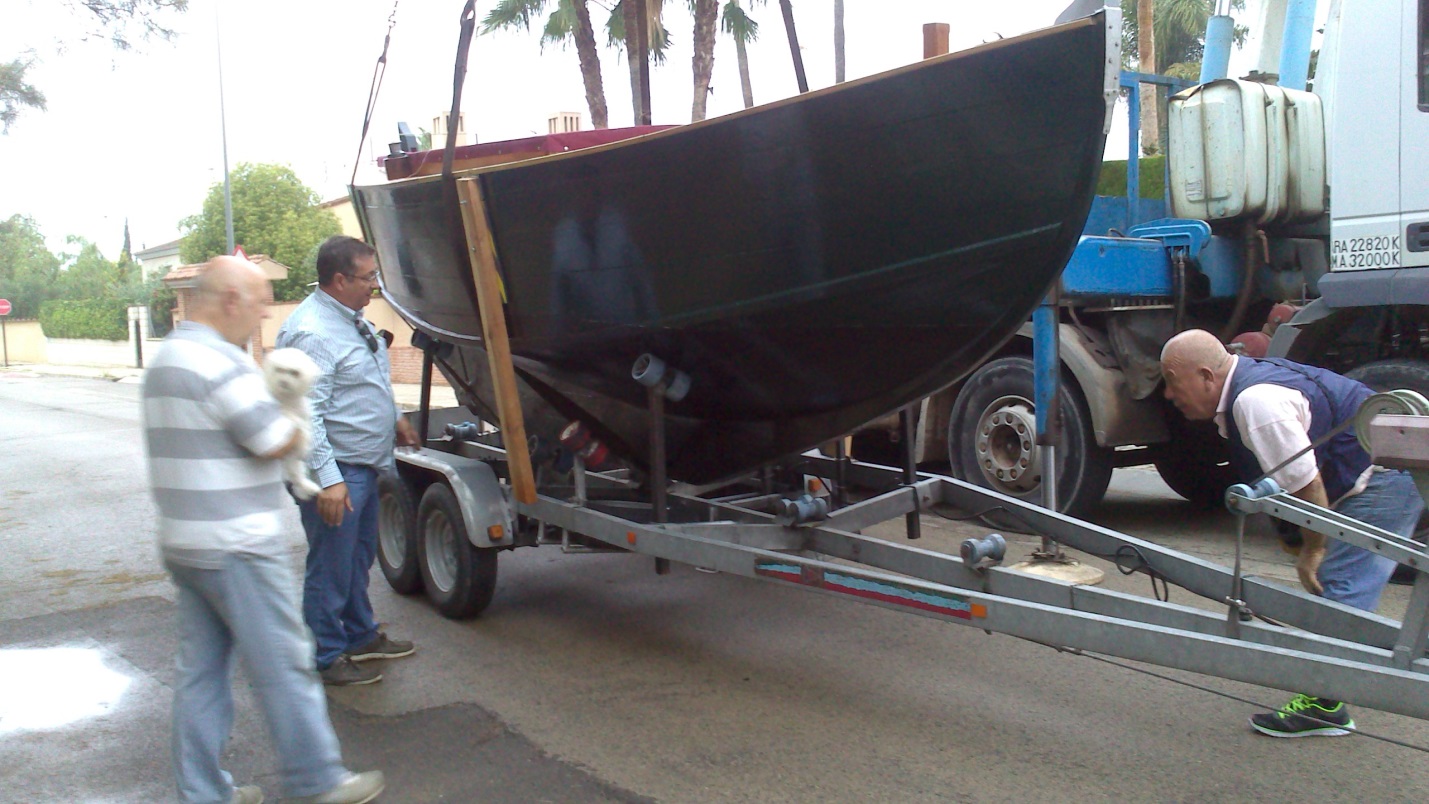
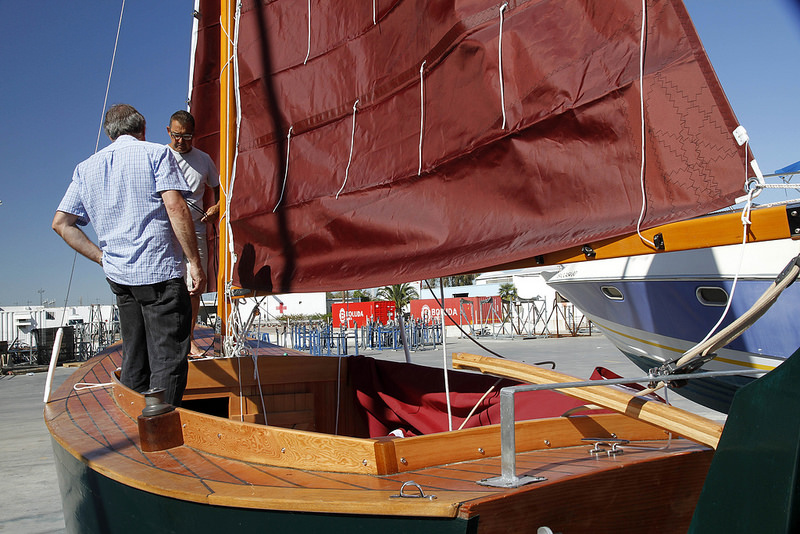
| October 2014 a few days
after the pics above came in We have a whole raft of new ones to add! First important detail is that she now has a name.... 'Tuna'.
More photos here:- https://www.flickr.com/photos/127933940@N05/sets/72157648387161149/
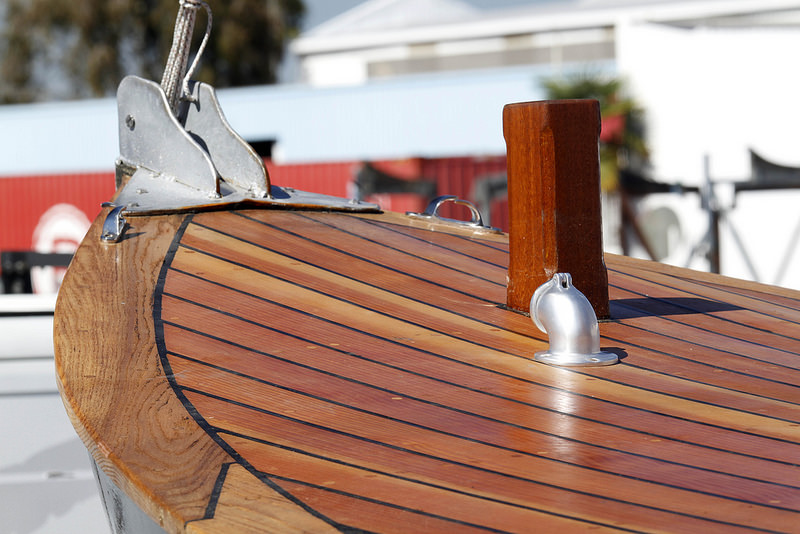
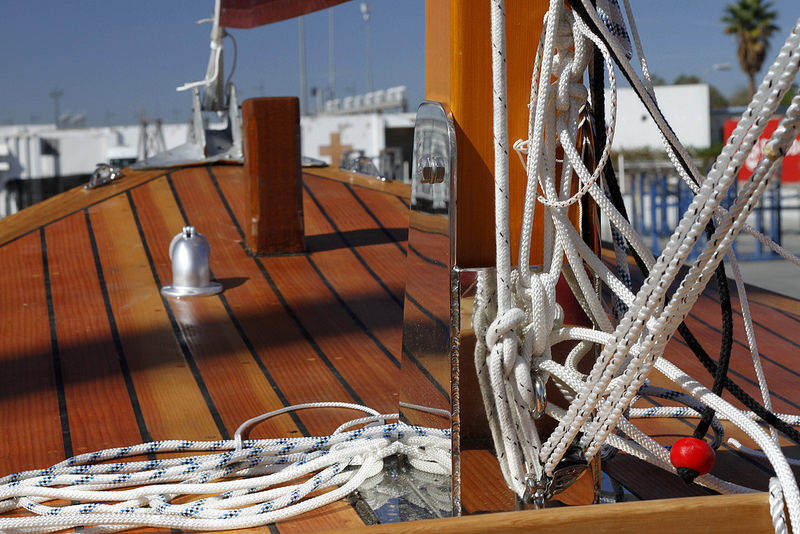
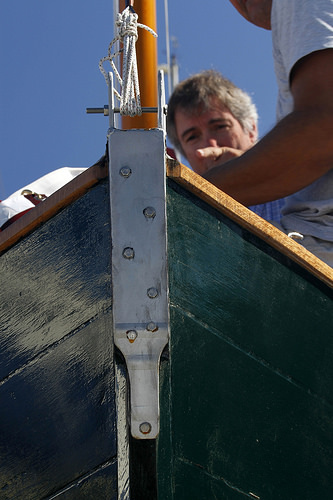
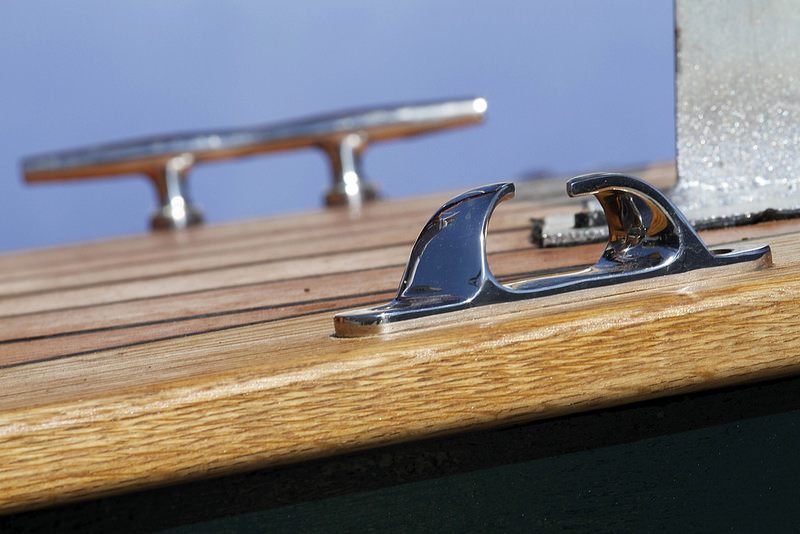
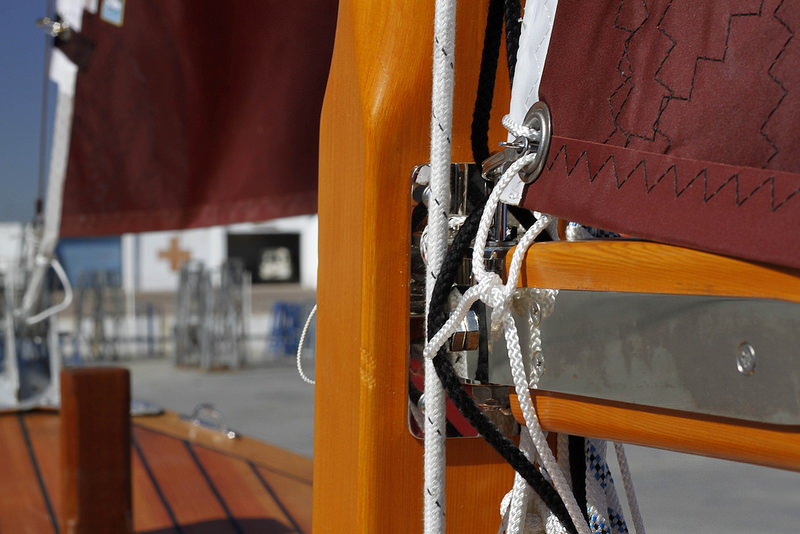
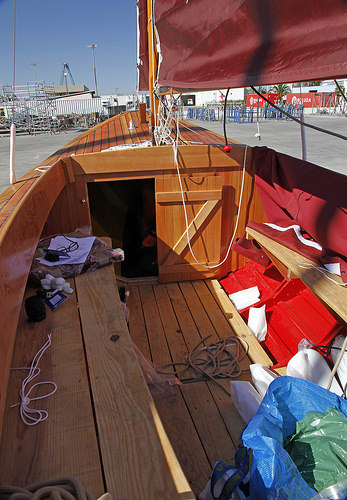
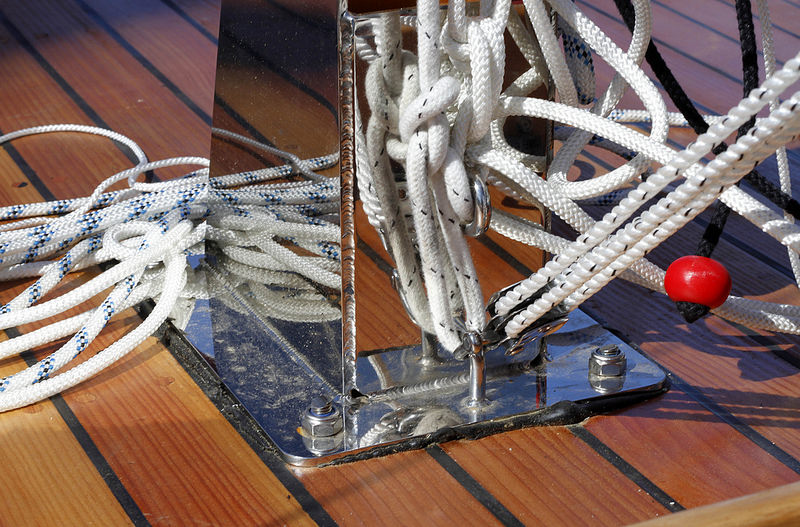
No words needed, just admire the work Steve and co have put in to create her! John |
|
|
|